gImageReader 3.3.1, open source GTK/Qt front-end of tesseract-ocr, was released a few days ago. Here’s how to install it in Ubuntu 18.04, Ubuntu 19.04, and derivatives.
Then you’ll be able to either upgrade FlightGear through Software Updater,
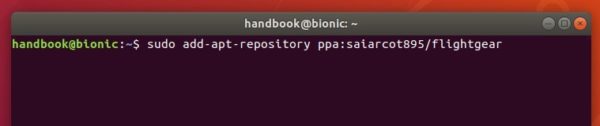
or install the simulator via command:
sudo apt update && sudo apt install flightgear
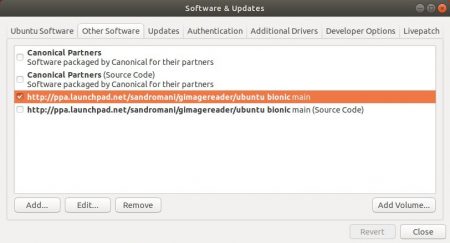
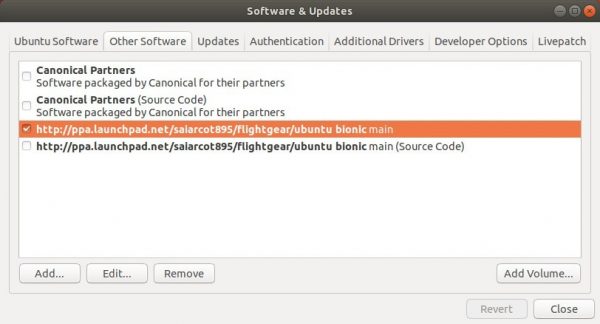
(Optional) You can remove the PPA either via the first step command with --remove added in the end, or by going to “Software & Updates -> Other Software” tab.
2. FlightGear Flatpak package is available in Flathub repository, where also contains how to install instructions.
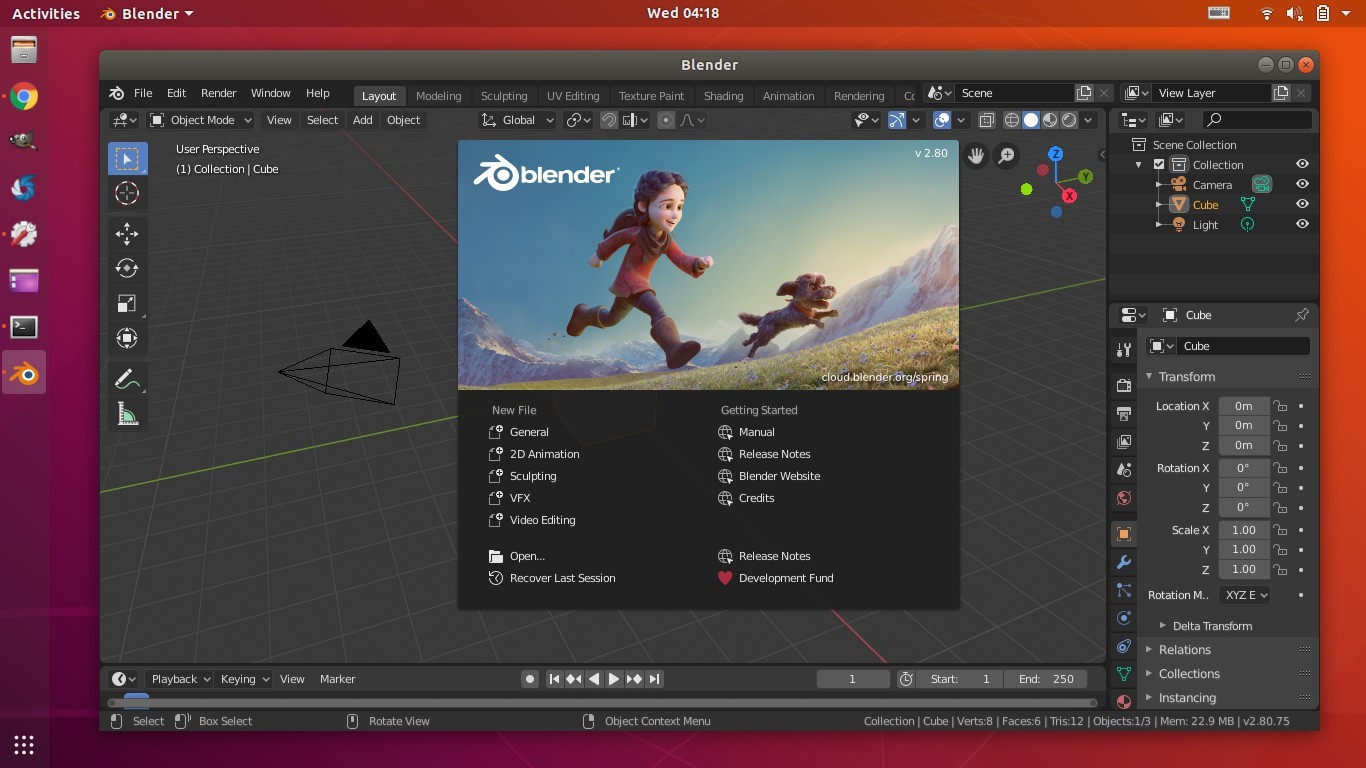
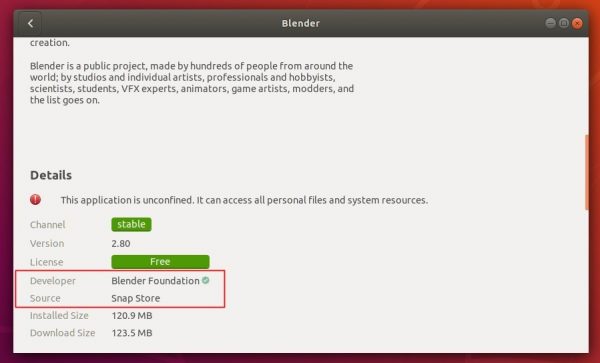
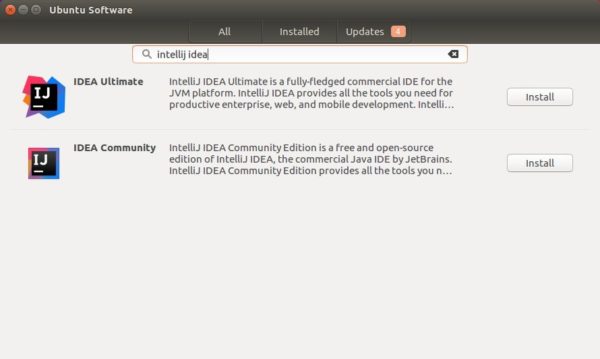
It’s quite easy to install the latest IDEA packages in Ubuntu since Jetbrains offers official snap (containerised software package) package in snappy store.
Simply open Ubuntu Software, search for and you’ll see IDEA ultimate and community packages available for install.
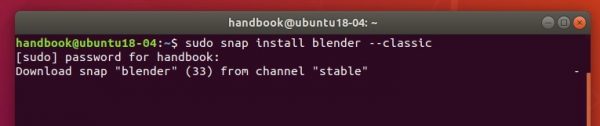
NOTE for Ubuntu 16.04 users who never installed a snap package, make sure snapd is installed by running command in terminal (Ctrl+Alt+T):
sudo apt-get install snapd
Then install the package via command (you may replace community in the code with ultimate):
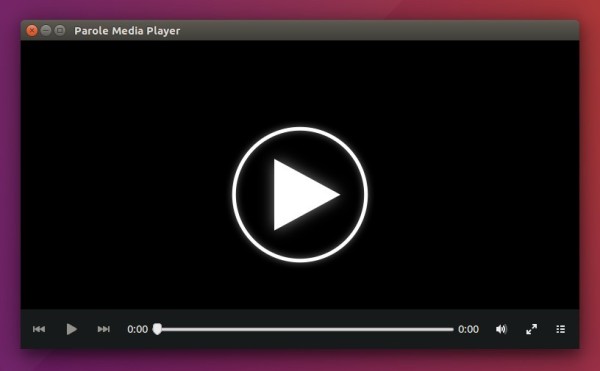
Xfce’s lightweight Parole media player released the third bug-fix update for the 1.0 series today. Here’s how how to install it in Ubuntu 18.04, Ubuntu 19.04, and their derivatives.
Parole 1.0.3 release highlights:
Drop deprecated OnlyShowIn keys in desktop actions
Ensure the time divider is shown/hidden correctly
Fix closing of Parole process with Ctrl-Q
Fix Gtk-CRITICAL when closing main window
Change text ‘…’ to ‘…’ for consistency with other Xfce apps
Change text ’60 seconds’ to ‘1 minute’
Move appdata to metainfo
How to Install Parole 1.0.3 in Ubuntu 18.04, 19.04:
The unofficial PPA has made the new release package for Ubuntu 18.04 and Ubuntu 19.04.
1. Open terminal either via Ctrl+Alt+T or by searching for “Terminal” from application menu. When it opens, run command:
sudo add-apt-repository ppa:ubuntuhandbook1/apps
Type user password (no asterisk feedback when typing due to security reason) when it prompts and hit Enter.
2. Then upgrade the media player via Software Updater utility:
or run following commands to install / upgrade it:
sudo apt update

sudo apt install parole
For those who don’t want to add PPA, grab the .deb package from HERE.
Uninstall:
Run following command to purge the PPA repository which also downgrade installed packages to the stock version in your Ubuntu:
Select generic for common system, and lowlatency for a low latency system (e.g. for recording audio), amd64 for 64bit system, i386 for 32bit system, or armhf, arm64, etc for other OS types.
Alternatively you can download and install the kernel binaries via terminal commands (Ctrl+Alt+T):
Restart your machine and select boot with the previous kernel in boot menu ‘Grub2 -> Advanced Option for Ubuntu’. Then run command to remove Linux Kernel 5.2.2:
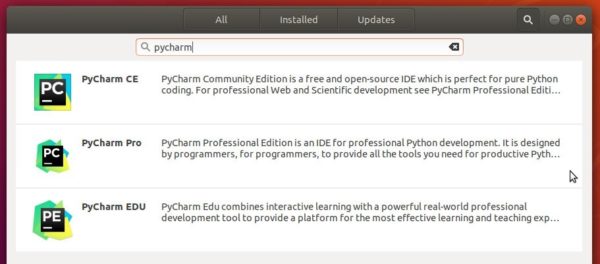
PyCharm 2019.2 was released today with exciting new features, initial Python 3.8 support, improved Jupyter Notebook experience, and many more other changes.
PyCharm 2019.2 release highlights:
Improved Jupyter Notebook integration. Some of the most requested features have been implemented.
Syntax highlight support for many other languages, C#, C++, Groovy, Lua, Makefiles, and more.
cURL format is now supported for HTTP requests.
Add support for some major Python 3.8 features.
Full-text search across multiple data sources
Improved debugging and variable refactoring experiences.
Gscan2pdf 2.5.5, GTK tool to produce PDF / DjVu from scanned document, was released yesterday with bug-fixes, some improvements, and updated translations.
Fix occasional error messages when clearing all pages
Only set paper to Manual if not applying profile
Update OCR view switching between pages with and without OCR output
xz compress log file if xz available
Fix bug applying paper after profile set SANE_INFO_INEXACT
When saving current settings as new profile, actually set the profile
If a device throws an error when opening it, add it to a session blacklist
option tolerance to cover buggy backends that return inexact options without setting SANE_INFO_INEXACT
Update translations.
How to Install gscan2pdf 2.5.5 in Ubuntu:
The official Ubuntu PPA has made the new release packages for Ubuntu 16.04, Ubuntu 18.04, Ubuntu 18.10, Ubuntu 19.04 and their derivatives.
1. Open terminal either by pressing Ctrl+Alt+T on keyboard or searching for ‘terminal’ from software launcher. When it opens, run command to add the PPA:
sudo add-apt-repository ppa:jeffreyratcliffe/ppa
Type user password (no asterisk feedback due to security reason) when it prompts and hit Enter.
2. For those who have a previous release installed, upgrade it through Software Updater:
For the first time, you can either install it via Synaptic Package Manager or by running following commands in terminal:
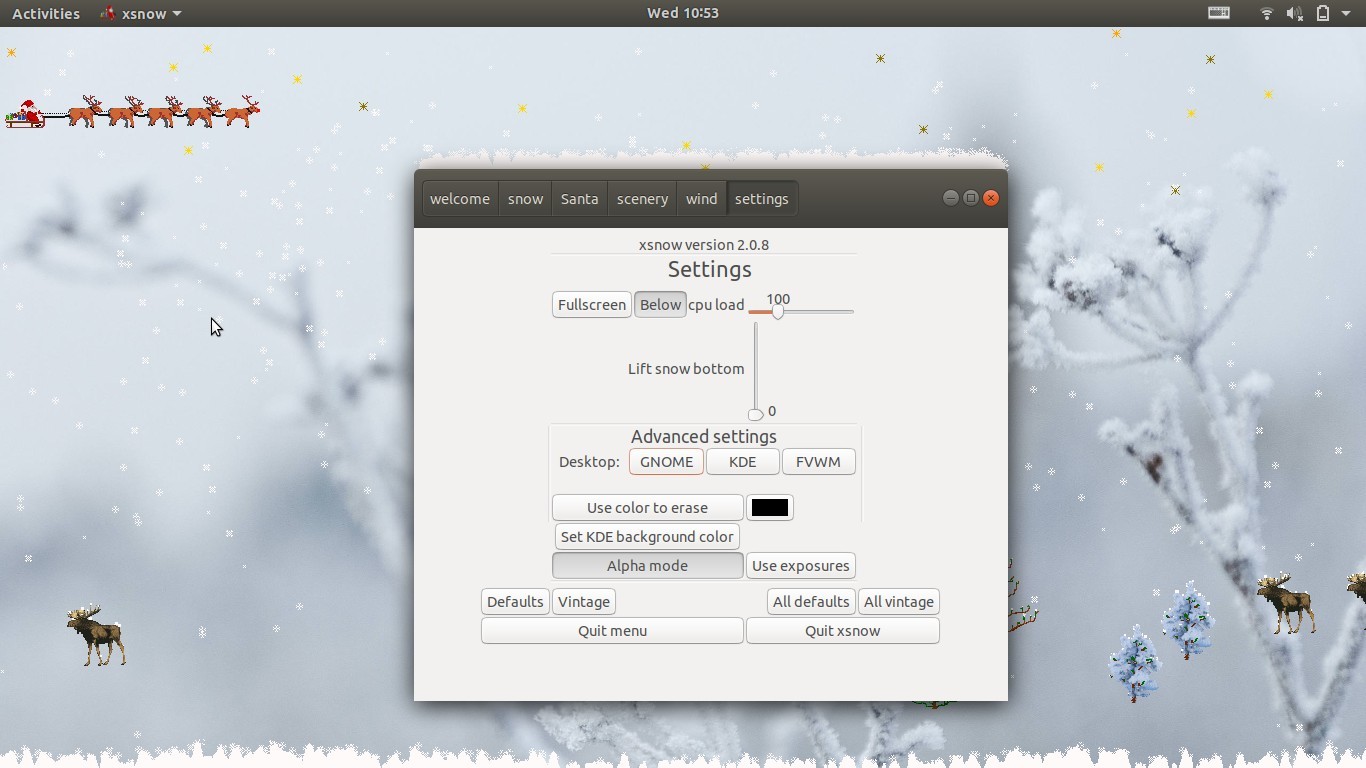
Xsnow, let it snow on your desktop, now is working on Gnome, KDE, FVWM desktop in Ubuntu 18.04 and higher.
Xsnow is a handy command tool that brings Christmas to your desktop. However, it does not work properly in Ubuntu since Ubuntu 12.04 Precise.
Now a brand new Xsnow based on the original xsnow-1.42 is available to work on many desktop environments, and a simple graphical interface is available for those who are not familiar with command line.
Finally, a working xsnow for Gnome, KDE, etc. Based on the original xsnow-1.42 created by Rick Jansen, after the xsnow-2019 conference in Antas (Spain) we now have available a xsnow that works on many desktop environments, even Raspian. By request of many beta-testers, a graphical front end has been created as well.
For Ubuntu 18.04, Ubuntu 18.10, Ubuntu 19.04, and higher, download the package from the link below:
Select download i386.deb for 32-bit OS, amd64.deb for 64-bit OS, or armhf.deb for Raspberry pi.
Then double-click to install via Ubuntu Software, or run command in terminal (Ctrl+Alt+T):
sudo dpkg -i ~/Downloads/xsnow_*.deb
Once installed, launch the tool from your application menu and enjoy!
(Optional) To remove the tool, simply run command in terminal: