Linux Mint announced new 21.3 release, code-name “Virginia”, this Friday.
It’s the 3rd update for the Mint 21 release series, which is based on Ubuntu 22.04 LTS and uses Kernel 5.15 LTS.
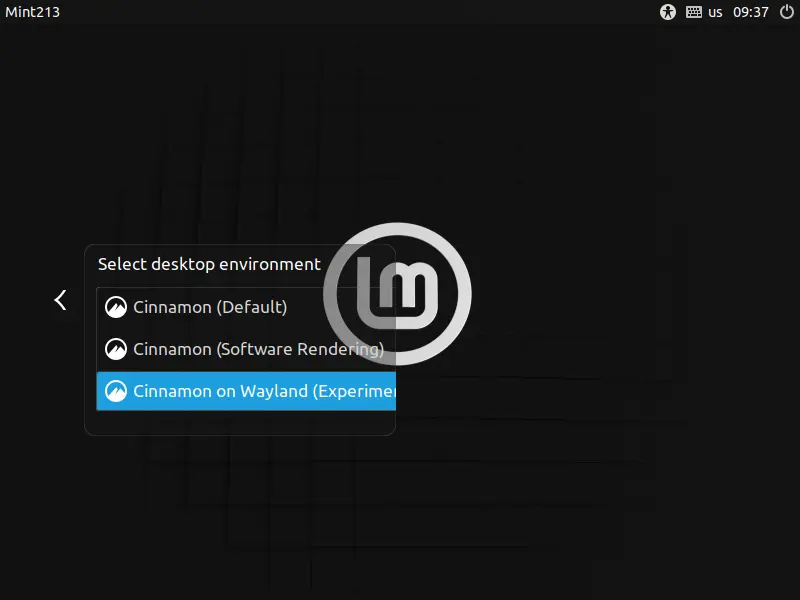
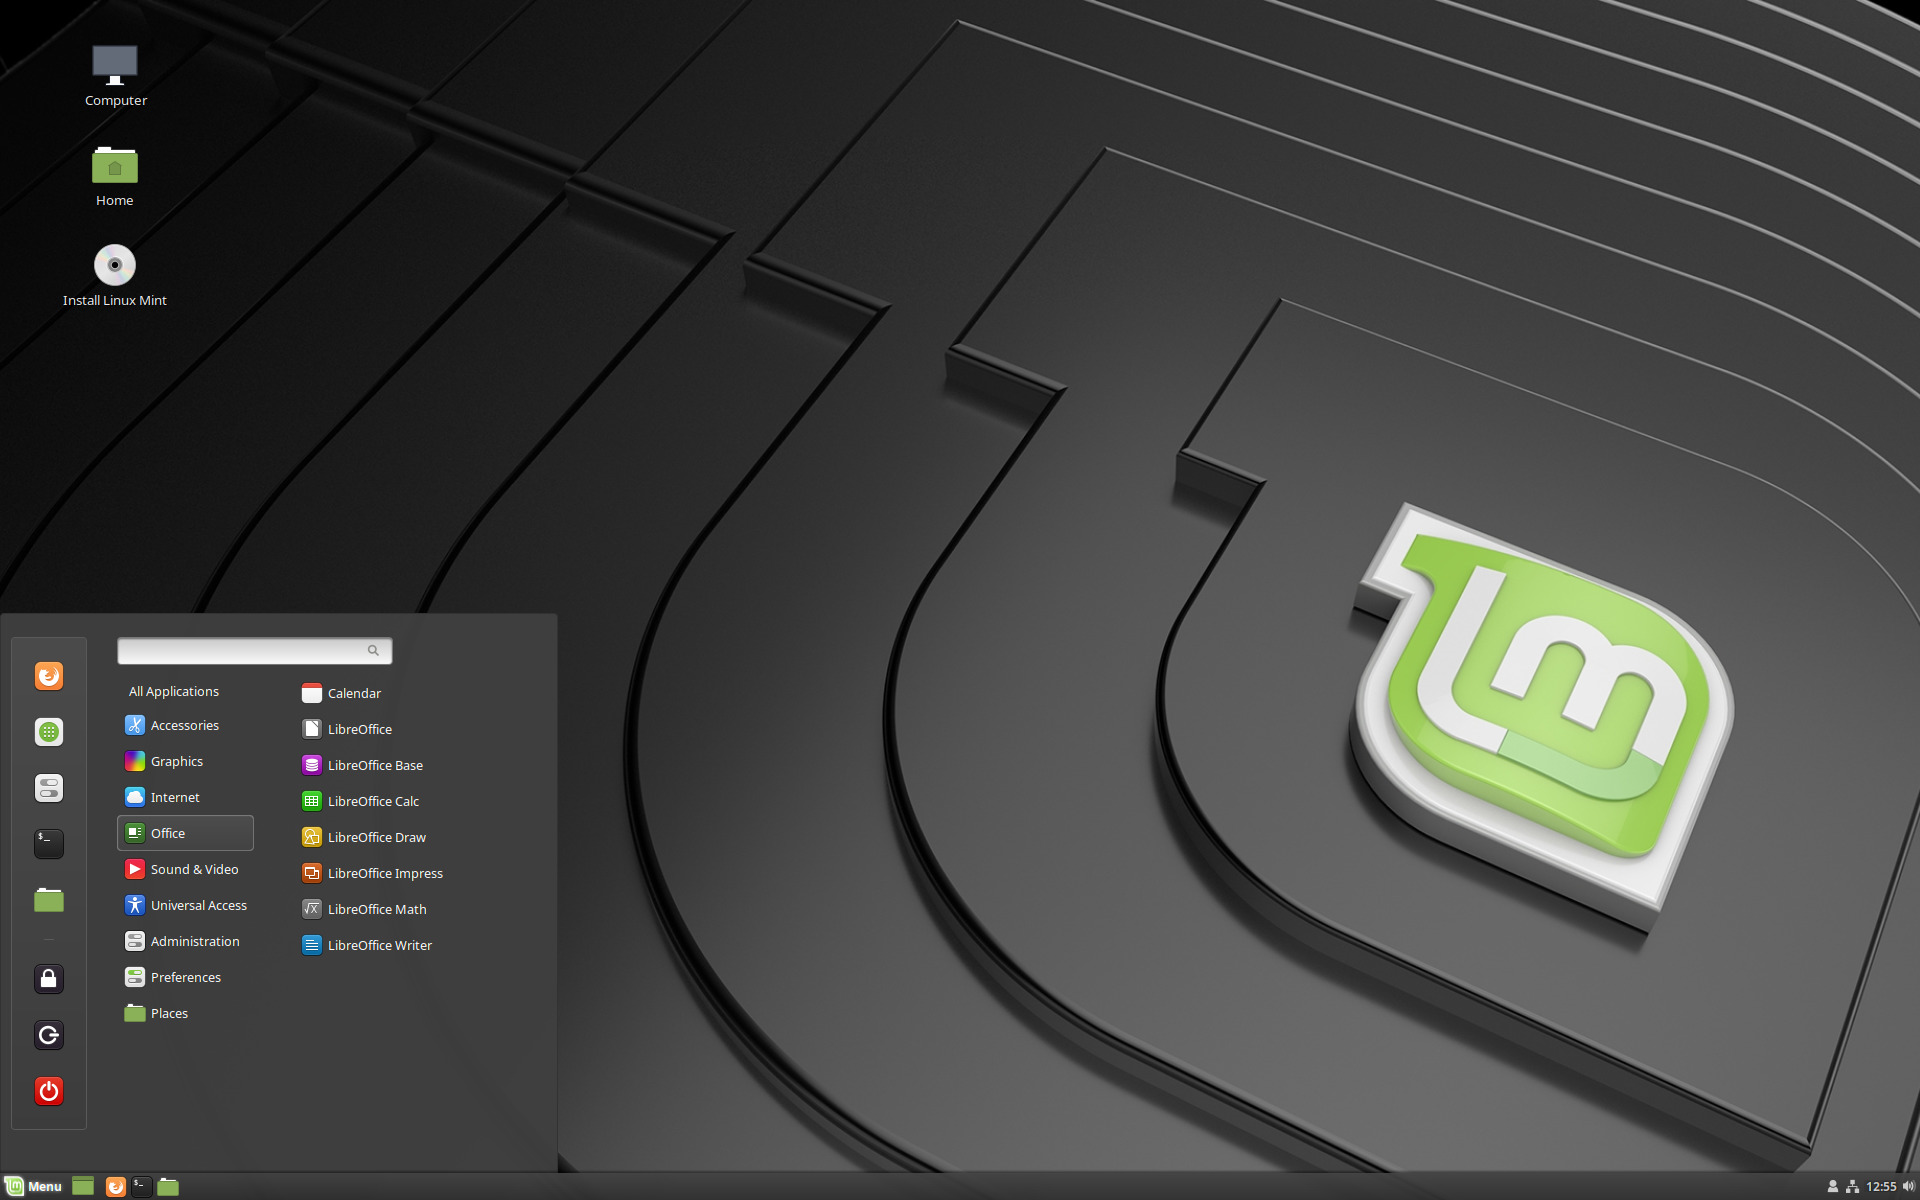
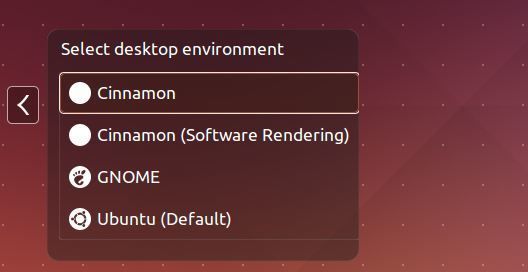
The new Linux Mint 21.3 features Cinnamon Desktop 6.0, with experimental Wayland support. Which, has been default in Ubuntu (since 22.04), Fedora Workstation, and other Linux with recent Gnome. However, there are still many applications do NOT work on wayland.
Mint Wayland session
The new desktop also features a new “Actions” page in System Settings. Like Applets, Extensions, and Desklets, it allows to add context menu (right-click menu) options to file browser & desktop, by downloading add-ons from the official cinnamon spices. Continue Reading…
Linux Mint announced the new 21.2 point release this Sunday!
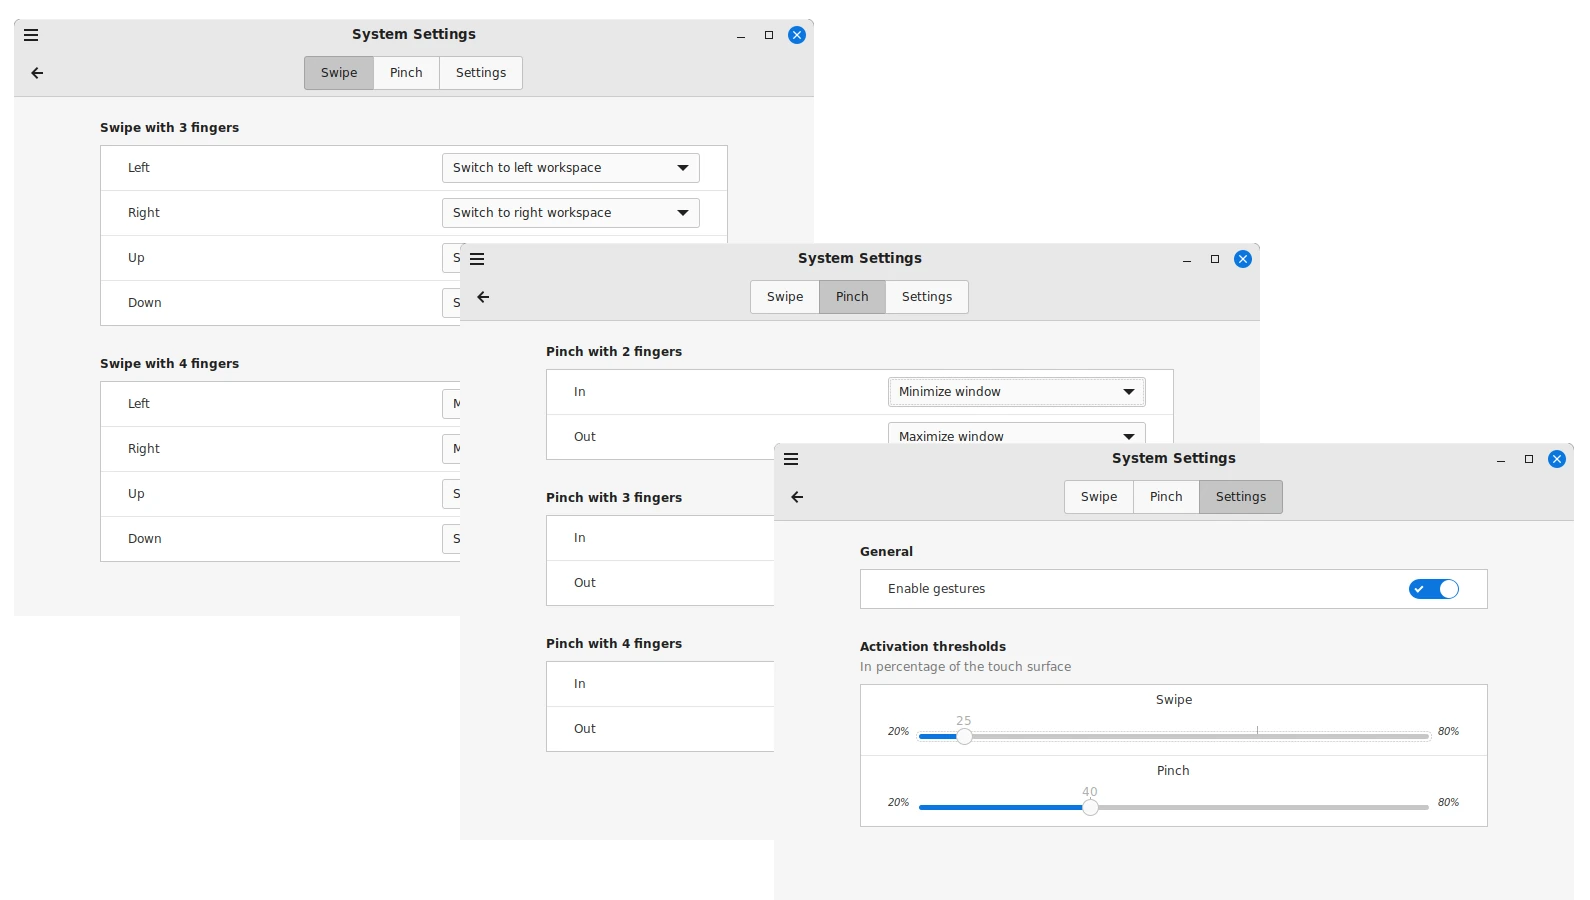
The new release introduced Cinnamon Desktop 5.8 with built-in gestures support for touchpad and touchscreen. With the touchegg service running in the background, System Settings now provides a ‘Gestures’ option, allowing to configure actions for 3-finger/4-finger swipe, 2-finger/3-finger/4-finger pinch, and activation thresholds.
Another big change is the “Themes” setting page. It now features “Style” option for changing theme, and each style has light, dark, and mixed, as well as accent colors to choose from.
This simple tutorial shows how to install the latest Cinnamon Desktop 5.8 in Ubuntu 22.04 or Ubuntu 23.04 via PPA.
The source of Cinnamon 5.8 was out a few days ago! It will be officially announced later in this month along with Linux Mint 21.2.
Cinnamon 5.8 features built-in touchpad / touchscreen gestures support! There will be new “Gestures” option in System Settings utility. Where, provides options to configure actions for 3-finger/4-finger swipe, 2-finger/3-finger/4-finger pinch, and activation thresholds.
The new release also added new theme option (prefer light, prefer dark, left app decide) to switch between light and dark mode.
How to Install Cinnamon 5.8 via Ubuntu PPA
Cinnamon 5.8 will be default in Linux Mint 21.2 coming later in this month. Ubuntu user can try my PPA repository instead.
NOTE 1: This is an unofficial PPA! NOTE 2: The packages seem working good in my case in Ubuntu 22.04, but WITHOUT well testing! It MAY or MAY NOT WORK due to various reasons! NOTE 3: light/dark switching feature does not work in my case. Not sure if something is missing! NOTE 4: Do NOT install this PPA in production machine! NOTE 5: New gestures feature seems using touchegg as background service. If the feature does not work, try installing touchegg from its official PPA.
1. First, press Ctrl+Alt+T on keyboard to open terminal. When terminal opens, run command to add the PPA:
Type user password (no asterisk feedback) when it asks and hit Enter to continue.
2. While adding PPA, it should automatically refresh package cache. When done, run command to upgrade to Cinnamon 5.8 in Ubuntu Cinnamon:
sudo apt upgrade
For non-Cinnamon desktop environment, run this command instead to install it:
sudo apt install cinnamon-desktop-environment
It’s better to write down what packages it’s going to install, in case you want to completely remove Cinnamon desktop later!
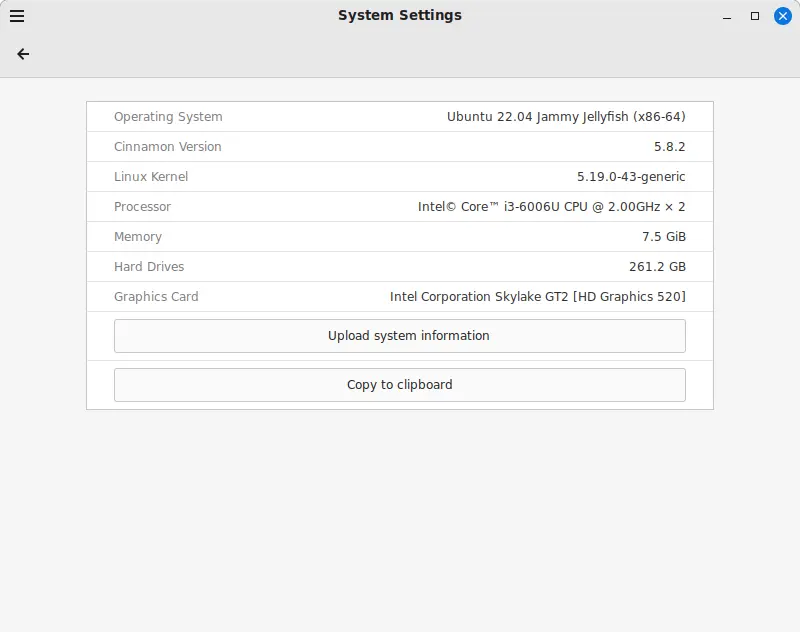
After installation, restart your computer and go to “System Settings -> System Info” to check the desktop version. You need to of course switch to ‘Cinnamon’ session from login screen.
Uninstall:
To restore the original Cinnamon desktop environment, open terminal and run command:
The previous command will restore Cinnamon to stock version in Ubuntu repository. To completely remove the desktop environment, use sudo apt remove package1 package2 package3 ... by replacing the package names to what you installed in previous step.
The first point release of Linux Mint 21 is out! Code-name ‘Vera’, Kernel 5.15, Ubuntu 22.04 package base, and Cinnamon 5.6, MATE 1.26, XFCE 4.16 for each desktop edition.
The default theme for mouse pointer in Linux Mint 21.1 now is Bibata-Modern-Classic, a modern black and rounded edge bibata cursors. Though, user can easily choose another one from System Settings -> Themes. For those like it, the cursor theme is available in the github page.
New default Bibata Modern Classic cursor theme
The default icon theme Mint-Y now has always yellow folders with different accent colors. The previous default icons are now Mint-Y-Legacy available in Themes selection page. The accent colors are also revamped in this release, compare to the legacy ones they look more vibrant.
New default Icons
The release also improved the Flatpak package format support. Update Manager utility can now update Flatpak applications as well as the run-time libraries just like classic .deb packages. And, Software Manager now provides an option to choose between Flatpak and Deb if an app is available to install in both formats.
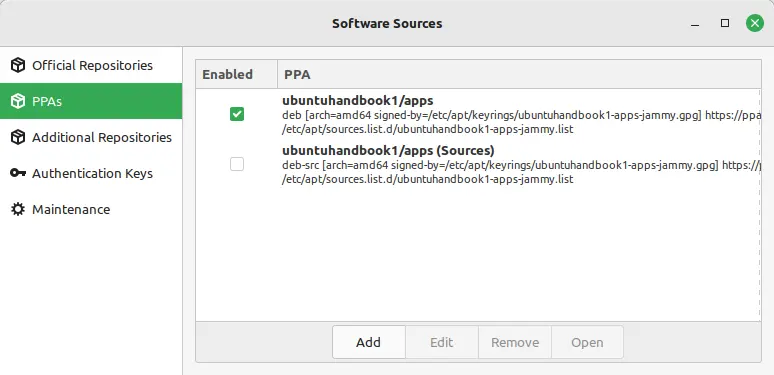
For 3rd repositories, Linux Mint 21.1 now follows Debian’s (rather than Ubuntu’s) new policy! When adding an Ubuntu PPA, it automatically install the key into ‘/etc/apt/keyrings‘ and adds signed-by section in source file, so the GPG key can only be used for that PPA repository.
Other changes in Linux Mint 21.1 include:
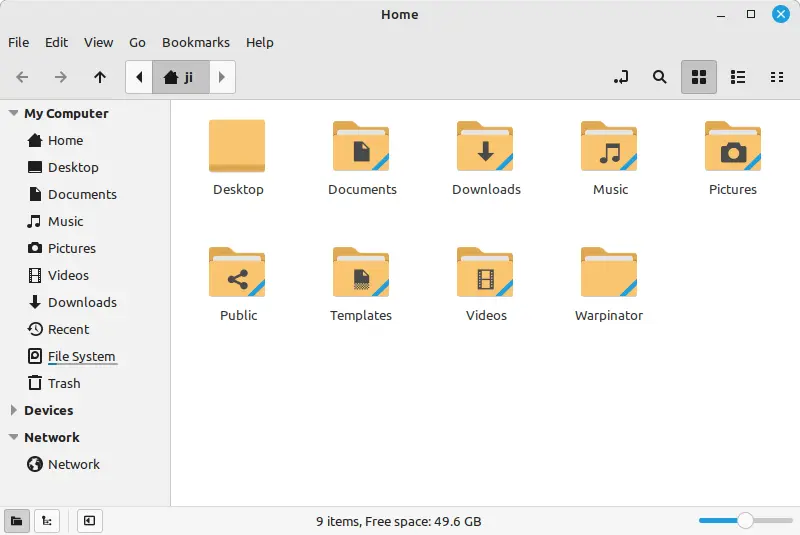
Hide Home, Computer, Trash and Network icons from desktop by default.
New sounds come from Material Design V2
New icons pre-installed: Breeze, Papirus, Numix, Yaru
Replace ‘Show Desktop’ panel applet with Microsoft Window style button in bottom right corner.
Add dummy hardware device, dummy packages in Drive Manager for debugging.
Add right-click menu option to verify ISO file checksum (sha256sum).
Get Linux Mint 21.1:
For the release note, as well as download link for the new ISO images, go to Linux Mint website:
Linux Mint team announced the second point release for Mint 20 today. Features Kernel 5.4, Ubuntu 20.04 package base, and Cinnamon 5.0, Xfce 4.16, MATE 1.24 for each desktop edition.
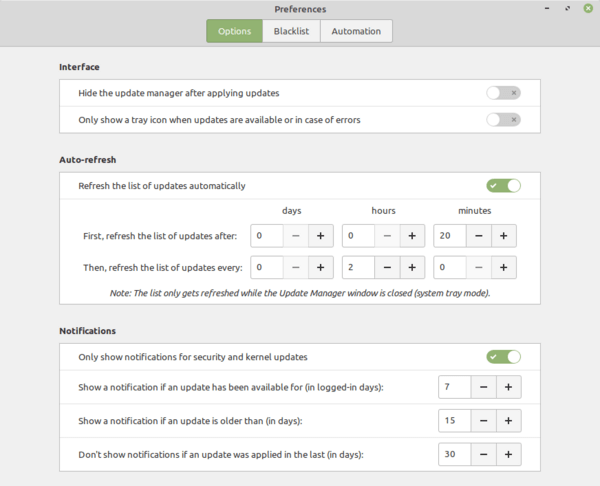
Linux Mint 20.2 will be supported until 2025. It comes with improved Update Manager that supports installing updates for applets, desklets, themes, and extensions.
As well, it now displays software update notifications if it has been available for more than 7 logged-in days or older than 15 calendar days. However, you can change the time period or disable the notification entirely.
For Cinnamon edition, the new Cinnamon 5.0 features file search and content search in Nemo file manager, memory limit for the desktop usage, new CLI and python3 module.
Other changes include:
Automated Flatpak updates in Update Manager preferences. It will automatically remove unused flatpak run-times to free up your disk space.
Replace GNote with Sticky Notes as default note taking app.
Improvements for the ‘Warpinator’ file transfer app.
HPLIP 3.21.2 as well as the latest ipp-usb and sane-airscan
The WebApp manager now supports for incognito/private browsing.
The NVIDIA Prime applet can now switch between AMD onboard chipsets and discrete GPUs.
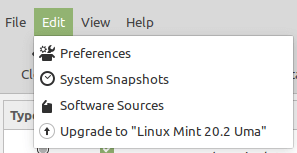
How to Get Linux Mint 20.2:
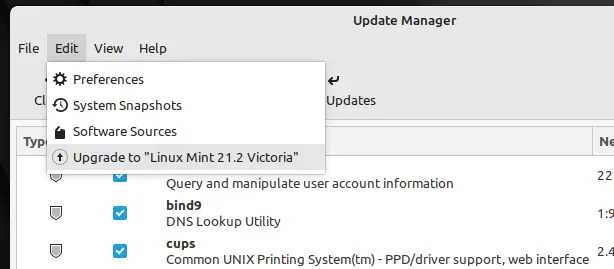
You can get the Linux Mint 20.2 upgrade wizard easily via “Edit->Upgrade to Linux Mint 20.2 Uma” menu in Update Manager. However, it’s recommended to backup, disable screensaver, and update Cinnamon spices (applets, desklets, extensions, themes) before getting started.
For the ISO images as well as release notes, go to linuxmint.com.
Linux Mint 20.1, code-name “Ulyssa”, was officially released. It includes Linux Kernel 5.4, based on Ubuntu 20.04, and features Xfce 4.14, Cinnamon 4.8, and MATE 1.24 for each desktop edition.
Linux Mint 20.1 is a long term support release which will be supported until 2025. New features in the release include:
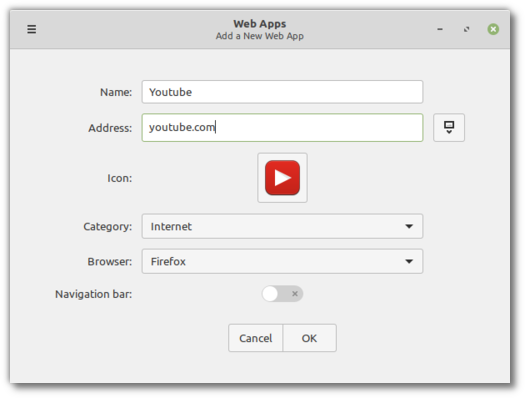
Web App manager to turn any web page into desktop application.
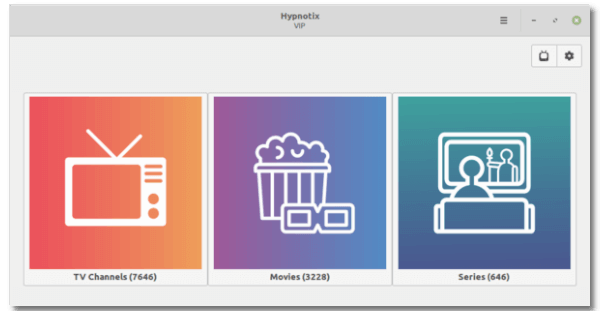
A new IPTV Player, Hypnotix
Favorites support in Nemo file manager, Xed, Xreader, Xviewer, Pix and Warpinator.
Removed ippusbxd, printing and scanning work the same way as in Linux Mint 19.x.
Updated to HPLIP 3.20.11.
Hardware video acceleration enabled by default in Celluloid.
The driver manager was migrated to PackageKit.
Added Chromium browser package to the repository.
Clock format in the login screen is configurable.
A unified filesystem layout, superb collection of backgrounds, and more.
Linux Mint 20.1 system requirements:
1GB RAM (2GB recommended for a comfortable usage).
15GB of disk space (20GB recommended).
1024×768 resolution (on lower resolutions, press ALT to drag windows with the mouse if they don’t fit in the screen).
Download / Upgrade to Linux Mint 20.01:
For the official announcements as well as iso images download link, simply go to LinuxMint.com.
To upgrade from Linux Mint 20 to Linux Mint 20.1:
1. Use TimeShift to create a system snapshot, so you can easily restore your system if anything goes wrong.
2. Disable your screensaver, and upgrade installed Cinnamon spices (applets, desklets, extensions, themes) from System Settings.
3. Open Update Manager and click on the Refresh button. If there are updates for mintupdate or mint-upgrade-info, apply them.
Then go to menu “Edit->Upgrade to Linux Mint 20.1 Ulyssa” to launch system upgrade.
Follow the wizard and reboot once the upgrade is finished.
The beta of Linux Mint 20.1 “Ulyssa” Xfce, Cinnamon, and MATE editions were released for testing and to help the Linux Mint team fix issues prior to the stable release.
Linux Mint 20.1 is a long term support release which will be supported until 2025. It features Linux Kernel 5.4, Ubuntu 20.04 package base, and Xfce 4.14 / Cinnamon 4.8 / MATE 1.24 desktop environment.
In the new release, it also features a new Web App manager to turn any web page into desktop application. Like normal desktop applications, each web app has its own window, icon, and available in application menu.
The new IPTV Player, Hypnotix, is shipped with Linux Mint 20.1. It supports live TV, movies or even TV series if your playlist or IPTV provider also has a VOD section. The player comes with Free-IPTV as default IPTV provider.
Other changes include:
ippusbxd was removed so printing and scanning work the same way as in Linux Mint 19.x and prior releases.
Updated to HPLIP 3.20.11.
Hardware video acceleration enabled by default in Celluloid.
The driver manager was migrated to PackageKit.
Added Chromium to the repository.
Clock format in the login screen is configurable.
Aunified filesystem layout, superb collection of backgrounds, and more.
Linux Mint 20.1 system requirements:
1GB RAM (2GB recommended for a comfortable usage).
15GB of disk space (20GB recommended).
1024×768 resolution (on lower resolutions, press ALT to drag windows with the mouse if they don’t fit in the screen).
The iso image is available to download at the link below:
Linux Mint 19, a popular Ubuntu-based Linux distribution, was officially released today for Cinnamon, MATE, and Xfce editions.
Linux Mint 19, codename “Tara”, is a long term support (LTS) which will be supported until 2023. It ships with Linux kernel 4.15 and based on Ubuntu 18.04.
Linux Mint 19 features:
Ships with Cinnamon 3.8, MATE 1.20, Xfce 4.12 for respective editions.
TimeShift now is used for performing OS system snapshots (system restore points).
Brand new welcome screen.
Various improvements to Update Manager and Software Manager.
Great improvements for HiDPI support
The multimedia codecs now include the Microsoft fonts.
All the Mint tools support HiDPI, GTK3 and Python3.
Cinnamon desktop environment has reached the new massive 3.4 release a few days ago. Though there’s noofficial announcement published on Linux Mint blog at the moment of writing, you can now install it in Ubuntu 16.04, Ubuntu 17.04 via PPA.
Cinnamon 3.4.0 brings over 160 changes, and here are some of them:
The settings daemon is split into multiple processes. Make it easy to identify excessive CPU or memory usage and isolating crashes to only affect a particular plugin.
Nemo is split into two separate processes. One for the desktop icons, and one for the file manager windows.
Added “Run now” button in the settings’ module for managing startup applications
Support for configuring the LightDM login manager in Cinnamon Settings.
New Cinnamon Settings option for configuration acceleration and sensitivity of the mouse.
Cinnamon is now capable of adapting to the multi-process CSD.
HP print, scan and fax Drivers for Linux just got an update a few hours ago with new printers and Linux Distros support, Linux Mint 17 Qiana is included.
HPLIP (Hewlett-Packard Linux Imaging & Printing) is an HP-developed solution for printing, scanning, and faxing with HP inkjet and laser based printers in Linux. It is free, open source software distributed under the MIT, BSD, and GPL license.
The latest HPLIP 3.14.6 was released on June 4th, which added support for Boss 5.0, Debian 7.5, Linux Mint 17, and following new printers:
HP DesignJet Z6600 PostScript
HP DesignJet Z6800PS Photo
HP DesignJet D5800 60-in Production Printer
HP DesignJet T3500 36-in Production eMFP
HP Designjet T7200 42-in Production Printer
HP Deskjet 2543 All-in-One Printer
HP Deskjet 2549 All-in-One Printer
HP OfficeJet Pro 8640 e-All-in-One Printer
HP OfficeJet Pro 8660 e-All-in-One Printer
Also there are a few bug fixes:
Fixed Device Communication Error on launching HP Device Manager
Unable to add/remove file in ‘hp-sendfax’ wizard
Fax cover page does not get changed after changing recipient second time
Improved scan performance for ‘hp-scan’ utility
Install HPLIP 3.14.6:
1. Download the installer:
Or check out if there’s a new release at official page.
2. Press Ctrl+Alt+T on keyboard to open the terminal. When it opens, run the installer via:
cd ~/Downloads && chmod +x hplip-3.14.6.run && ./hplip-3.14.6.run
Answer the questions to finish the installing process. Once done, restart your computer.