![]()
Hugin panorama stitcher 2019.0.0 was released today. Here’s how to install it in Ubuntu 16.04, Ubuntu 18.04, Ubuntu 18.10, Ubuntu 19.04.
Changes in Hugin 2019.0.0 include:
- Added raw import: It converts the RAW images to TIFF using a raw converter.
- Fixes for align_image_stack with EXR images.
- Added option for range compression.
- New hotkeys for mask editor (change zoom level with 0, 1 and 2).
- Expression parser can now read also all image variables.
- line_find: Ignore lines with low distance to each other to get better coverage.
- pano_modify: Added new switch
--projection-parameterto set projection parameters. - Store program settings according to XDG base dir specification (Linux only, needs wxWidgets >= 3.1.1).
How to Install Hugin 2019 in Ubuntu:
For all current Ubuntu releases, do following steps to install the panorama stitcher via an unofficial PPA.
1. Open terminal either via Ctrl+Alt+T or by searching for ‘terminal’ from app launcher. When it opens, run command to add the PPA:
sudo add-apt-repository ppa:ubuntuhandbook1/apps
Type user password (no asterisk feedback) when it prompts and hit Enter to continue.

2. Then run commands to check updates and install Hugin 2019:
sudo apt update

sudo apt install hugin
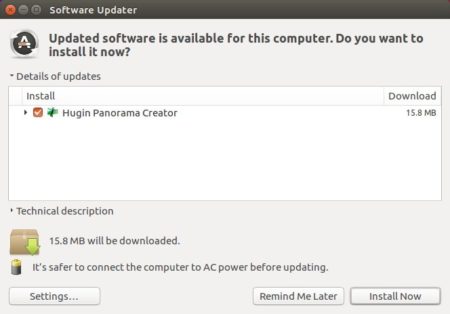
or upgrade it via Software Updater if a previous release was installed.

Uninstall:
To remove Hugin panorama stitcher, run command in terminal:
sudo apt-get remove --autoremove hugin hugin-tools
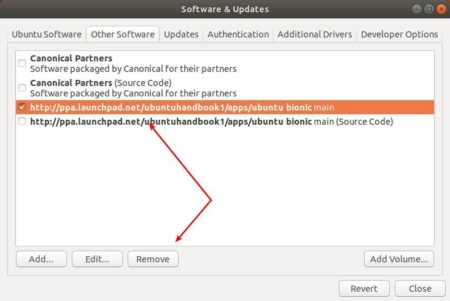
To remove PPA, launch Software & Updates and navigate to ‘Other Software’ tab.


