![]()
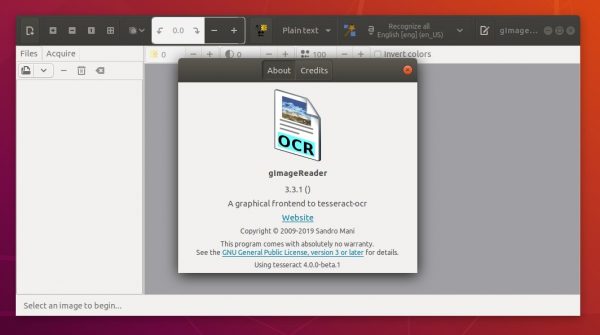
gImageReader 3.3.1, open source GTK/Qt front-end of tesseract-ocr, was released a few days ago. Here’s how to install it in Ubuntu 18.04, Ubuntu 19.04, and derivatives.
gImageReader 3.3.1 release highlights:
- Allow specifying a DPI to assume for image sources when exporting to PDF
- Allow to choose whether to sanitize hyphens when exporting to PDF
- Attempt to map 639-2 language codes to ISO 639-1 to set spelling language
- Allow specifying character whitelist / blacklist for recognition
- Various other improvements, bug-fixes, and translation updates.
How to Install gImageReader 3.3.1 in Ubuntu:
The PPA repository has made the new release packages for Ubuntu 18.04, Ubuntu 19.04, and derivatives.
1. Open terminal either via Ctrl+Alt+T keyboard shortcut or from application menu. When it opens, run command to add the PPA:
sudo add-apt-repository ppa:sandromani/gimagereader
Type user password (no asterisk feedback due to security reason) when it prompts and hit Enter to continue.

2. You may remove old gImageReader package if installed from Ubuntu Software:
sudo apt remove --autoremove gimagereader
3. Finally install the latest packages via command:
sudo apt update; sudo apt install gimagereader-gtk
For qt version, replace gimagereader-gtk with gimagereader-qt in last command.

Uninstall gImageReader:
To remove the software, open terminal and run command:
sudo apt remove --autoremove gimagereader-qt gimagereader-gtk
And remove the PPA repository by going to Software & Updates -> Other Software tab.


