As you may know, Pinta is a Paint.NET-like image drawing and editing program which is free and open-source. It is lighter and simpler than popular open-source image editor GIMP.
Pinta is available in Ubuntu Softare Center by default, but it’s a little old. In this tutorial I’ll show you how to install the latest stable and development version of Pinta in Ubuntu 13.10 Saucy, Ubuntu 13.04 Raring, 12.10 Quantal, 12.04 Precise and Linux Mint via PPA repository.
To get started, press Ctrl+Alt+T on your keyboard to open terminal. When it opens, run below commands:
To install the latest development version, run following 3 commands one by one in terminal:
sudo add-apt-repository ppa:pinta-maintainers/pinta-daily

sudo apt-get update

sudo apt-get install pinta
To install the latest stable version (support Ubuntu 12.10, 12.04, 11.10), run below commands instead:
sudo add-apt-repository ppa:pinta-maintainers/pinta-stable

sudo apt-get update

sudo apt-get install pinta
This simple tutorial is going to show you how to install and setup Google Authenticator to secure your Ubuntu SSH remote login by two-factor authentication.
Google provides this application for various smartphone platforms. With it, you can secure your account by logging in with a frequently-changing authentication code. So far, I’m using this in WordPress Login, Ubuntu Server SSH Login, Linode VPS Login. As I know, Google Authenticator also works on Amazon Web Services, App.net, Dropbox, and more.
Install Google Authenticator in Ubuntu:
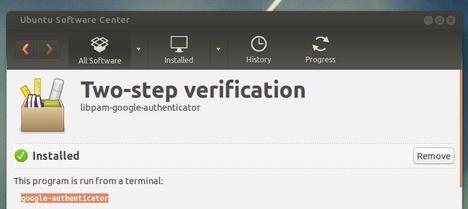
Since Ubuntu 12.04 Precise, the Google Authenticator PAM module is available in the universe repository by default. Just open Ubuntu Software Center, search for and install libpam-google-authenticator package
Once installed, press Ctrl+Alt+T to open terminal. Run below command to create a key and display a QR code which you can scan using the smartphone app. The emergency codes can be used when you don’t have your phone.
google-authenticator
To enable two-step authentication for SSH login, add the line “auth required pam_google_authenticator.so” (witout quotes) into /etc/pam.d/sshd. To do so, run below command in terminal:
sudo sh -c 'echo "auth required pam_google_authenticator.so" >> /etc/pam.d/sshd'
Also add the line “ChallengeResponseAuthentication yes” (without quotes) to /etc/ssh/sshd_config, you can do it by running below command:
sudo sh -c 'echo "ChallengeResponseAuthentication yes" >> /etc/ssh/sshd_config'
UPDATE 2024: Nightingale is also discontinued! Try Clementine Music Player which is available in Ubuntu Software / App Center.
Here I’m going to tell you that the popular Songbird Music Player project has been discontinued. For those who are looking for an alternative, check out Nightingale which is built upon Songbird.
Eric Wittman announced on the Songbird blog, “Unfortunately, the company has found ourselves unable to fund further business operations and as of June 28, 2013 all of Songbird’s operations and associated services will be discontinued.”
Songbird is a music player originally released in early 2006 with the stated mission “to incubate Songbird, the first Web player, to catalyze and champion a diverse, open Media Web”. On June 3, 2010, official Linux support for Songbird was dropped.
While thanking the users, investors, partners, developers of Songbird, Eric Wittman openly recommends the open source desktop media player Nightingale as an alternative.
To access the open source for the Songbird Desktop player, you can go here:
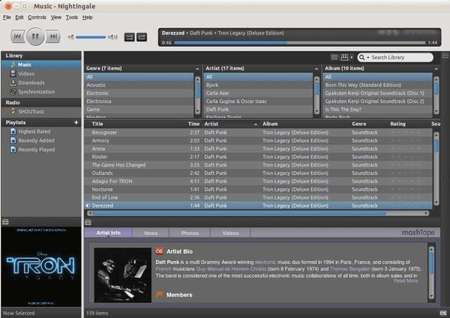
Nightingale is an open source media player based on Songbird and focused on Linux. It has a beautiful interface with a wide range of supported audio formats, all with multi-platform support!
This tutorial shows you how to install Cisco VPN on Ubuntu 13.04 Raring or 13.10 Saucy. You don’t have to do anything special to install Cisco VPN client, because network manager supports Cisco IPSec VPNs after installed the vpnc plugin.
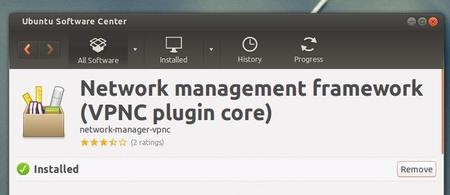
To get started, search for and install network-manager-vpnc package from Ubuntu Software Center. It installs the Cisco-compatible VPN client as well as the plugin for network manager.
Once installed, you can follow below steps to setup Cisco VPN for Ubuntu:
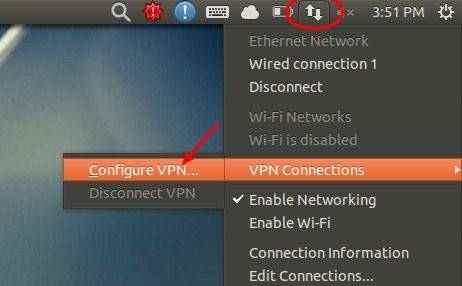
1.) Move your cursor to right-top corner system tray area, click on Network Manager icon and choose VPN Connections -> Configure VPN
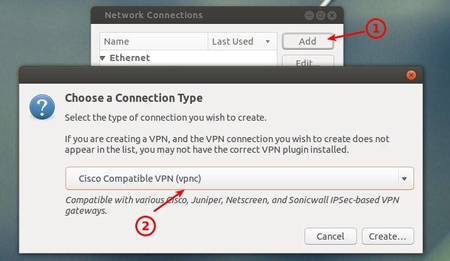
2.) In next window, click on Add button to add a new connection and then choose Cisco Compatible VPN (vpnc) from the drop-down menu.
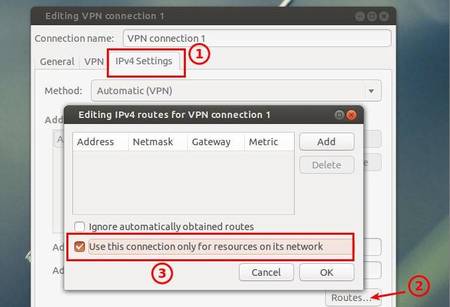
3.) Click on Create and you’re able to type in your Cisco VPN details in next window. After all, check off “Use this connection only for resources on its network” otherwise your traffic significantly slowed down
Want to display weather on Ubuntu Desktop? Well, the best choice should be Typhoon since Stormcloud is not available in Ubuntu 13.04 due to dependency problem.
Typhoon is a free and open-source weather application, which displays a HTC-like weather widget on your Ubuntu desktop. It uses Yahoo! weather service
Typhoon is a fork of discontinued Stormcloud 1.1 with some changes. It excludes the multiple locations feature because no one can live in more than one places in a specific time except electrons! It also removes ‘chameleonic background’ as it would make the app resource hungry.
Install Typhoon in Ubuntu:
To install this weather app for Ubuntu 13.10 Saucy, Ubuntu 13.04 Raring, 12.04 Precise, 12.10 Quantal and Linux Mint users. Press Ctrl+Alt+T to open terminal. When it opens, run below commands to add the Typhoon ppa:
sudo add-apt-repository ppa:apandada1/typhoon
Then update package lists and install it via:
sudo apt-get update; sudo apt-get install typhoon
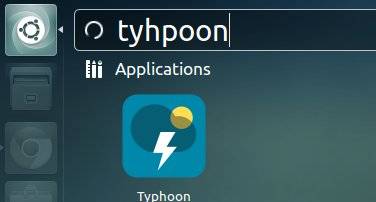
Once installed, open it from Unity Dash and enjoy!
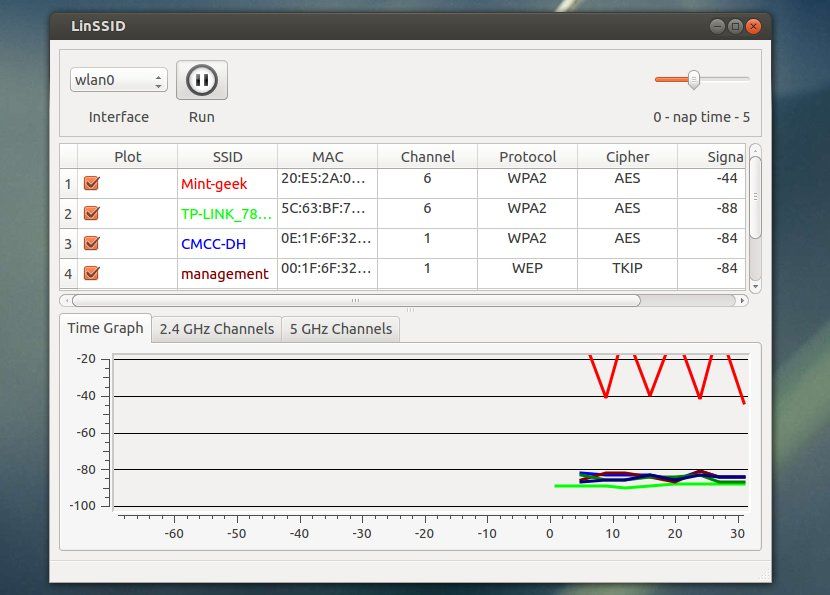
LinSSID is a graphical and functional wifi scanner for Ubuntu Linux, which is similar to iwscanner and Inssider. It can be easily installed in Ubuntu and Linux Mint via PPA repository.
LinSSID is written from scratch entirely in C++ using Linux wireless tools and Qt4. It displays the information available from iwlist tool in graphical format. LinSSID displays a table of all of the local wireless networks that your device can receive, and information about them. It also displays charts of the signal strength of each network by channel number and over time. LinSSID will work with more than one wireless device attached to a system, but only one at a time (selectable).
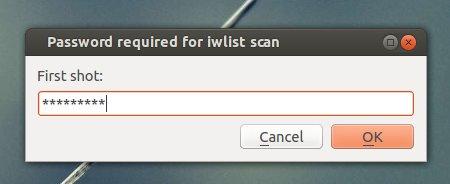
LinSSID requires root privilege to run the iwlist tool. So you’ll be prompt to input the user password when start the program from Unity Dash.
Install LinSSID wifi scanner for Ubuntu & Linux Mint
UPDATE: LinSSID is NOT being updated for years!
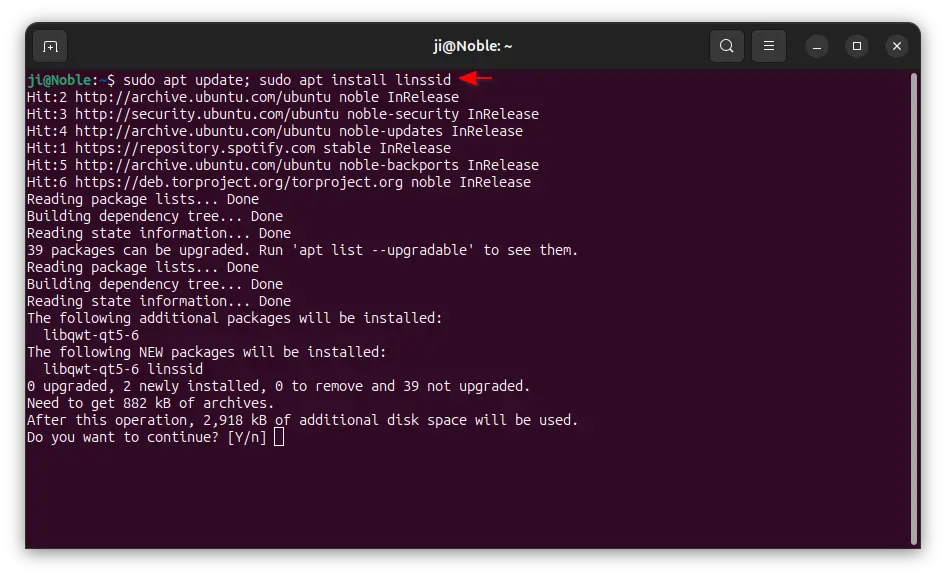
For recent Ubuntu 20.04, Ubuntu 22.04, Ubuntu 24.04 and higher, Linux Mint 21/22, simply press “Ctrl+Alt+T” to open terminal, then run the commands below to install:
sudo apt update; sudo apt install inssid
For old Ubuntu 12.04, Ubuntu 14.04, Ubuntu 16.04, and Ubuntu 18.04:
Press Ctrl+Alt+T on your keyboard to open terminal. When it opens, run below command to add the LinSSID ppa. So far, the ppa supports for Ubuntu 13.04 Raring, 12.10 Quantal, 12.04 Precise and Linux Mint 13, 14, 15.
sudo add-apt-repository ppa:wseverin/ppa
After that, you can use your favorite application manager to install the wireless scanner. Or just run below commands:
sudo apt-get update; sudo apt-get install linssid
Once installed, you’re able to open it from Unity Dash Home. Enjoy!
This simple tutorial shows you how to install Sigil WYSIWYG epub editor on Ubuntu 13.04 Raring, 12.04 Precise via Sigil PPA repository.
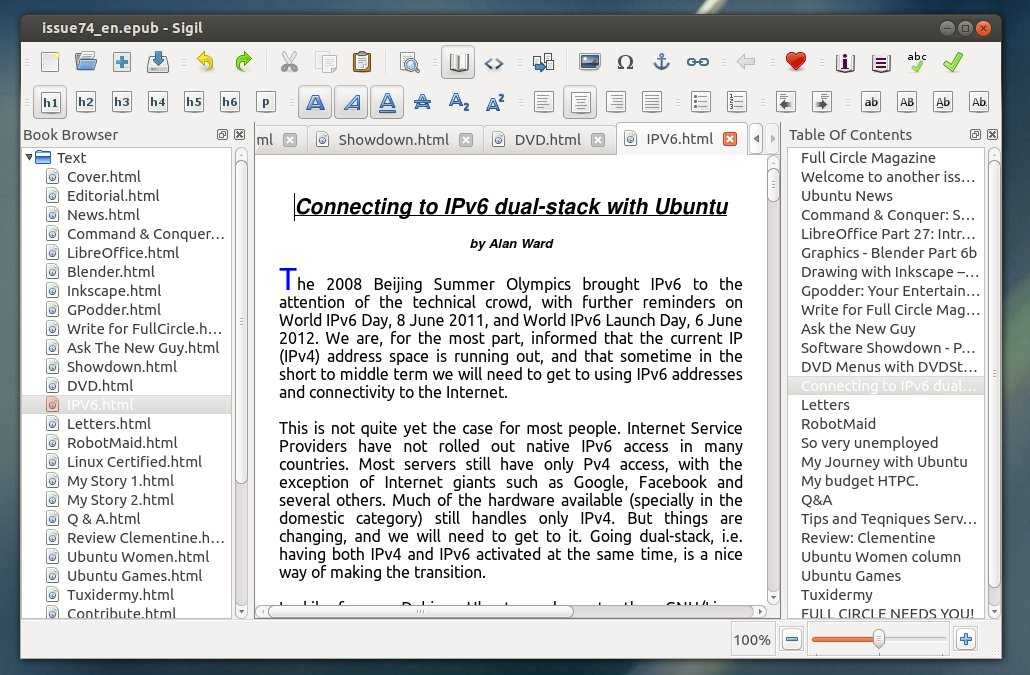
Sigil is a free and open-source EPUB ebook editor. It runs on Linux, Windows and Mac with full EPUB 2 spec and UTF-16 support.
Multiple Views: Book View, Code View and Preview View
WYSIWYG editing in Book View
Complete control over directly editing EPUB syntax in Code View
Table of Contents generator with multi-level heading support
Metadata editor with full support for all possible metadata entries (more than 200) with full descriptions for each
User interface translated into many languages
Spell checking with default and user configurable dictionaries
Full Regular Expression (PCRE) support for Find & Replace
Supports import of EPUB and HTML files, images, and style sheets,
Documents can be validated for EPUB compliance with the integrated FlightCrew EPUB validator
Embedded HTML Tidy: all imported files have their formatting corrected, and your editing can be optionally cleaned
Install Sigil Epub Editor:
There is only a personal Sigil PPA for Ubuntu users. Now supports Ubuntu 14.10 and Ubuntu 14.04. Supports Ubuntu 13.10, Ubuntu 13.04, Ubuntu 12.04, Ubuntu 12.10. Use it at your own risk!
Press Ctrl+Alt+T on your keyboard to open terminal. When it opens, run below commands to add the ppa:
sudo add-apt-repository ppa:sunab/sigil-release
For Ubuntu 12.10, Ubuntu 12.04, you’ll need the Ubuntu SDK PPA:
sudo add-apt-repository ppa:ubuntu-sdk-team/ppa
After adding the ppa repository, you’re able to install the editor via below commands:
Want to watch Live TV Channels on your Ubuntu desktop? Well, here I’ll give a list of free software to do it. I’ve tested them in my 32-bit Ubuntu 13.04 laptop. Feel free to leave a comment if you have a good suggestion.
1. Me TV
Me TV is a user-friendly desktop application for watching digital television services that use the DVB standard. It works with DVB-T, DVB-S, DVB-C and ATSC devices that are supported by Linux kernel drivers. Application uses GTK+ libraries for user interface and VLC or Xine libraries for DVB TV.
Me TV is available in Ubuntu Software Center by default. Just search for and install the package. Or click the link below:
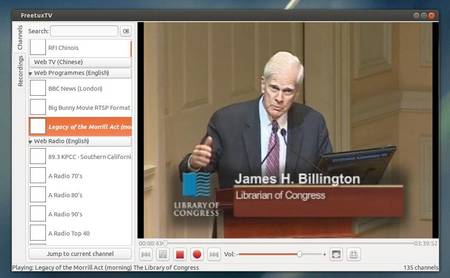
FreetuxTV is a free GTK+ WebTV and Web Radio player for Linux. It can be used by french people to watch ADSL TV on the PC with ISPs or by other people to watch WebTV and Web Radio in many languages. The GUI is developed in GTK2+ and is using the VLC engine to display the channels.
FreetuxTV is available in Ubuntu Software Center. Just search for and install the package. Or click the below link:
Livestation is a platform for distributing live television and radio broadcasts over a data network. A number of channels can be watched for free on the Livestation website or on their desktop player, a freely downloadable video application that presents all the channels through one interface. You need to register (for free) to use this software.
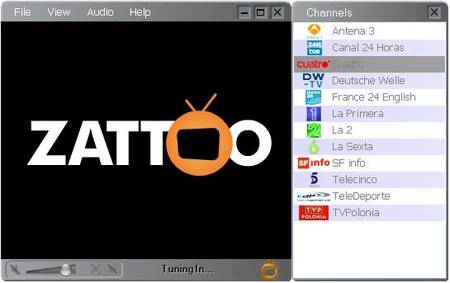
Zattoo is a free Live TV on PC and Mac. Zattoo service is currently restricted to Switzerland, Denmark, Spain, Germany, Norway (closed again in 2008), United Kingdom and France, but was in 2007 expected to expand to other European countries, (with Austria and Poland being at the top of that list) then to Canada and the US while adding fee-based channels to its list.
Zattoo only provides 32-bit app , download and install it via below 2 commands:
Sopcast is a free P2P internet service. It is a simple, free way to broadcast video and audio or watch the video and listen to radio on the Internet. Adopting P2P(Peer-to-Peer) technology, It is very efficient and easy to use. Let anyone become a broadcaster without the costs of a powerful server and vast bandwidth.
Sopcast is available from the PPA repository, but only support from Ubuntu 8.04 to Ubuntu 12.04:
I can install this player in Ubuntu 13.04 by downloading and installing the sopcast-player and sp-auth packages from the ppa, but it doesn’t player channels for me.
This simple tutorial shows you how to repair your Windows 7 boot loader (MBR) from Ubuntu dual boot or Ubuntu Live CD / USB. This can be useful if you don’t have a Windows CD or DVD on hand.
To do so, first boot into your Ubuntu system. When you’re in Ubuntu, press Ctrl+Alt+T on your keyboard to open terminal and follow below steps:
1.) First run below command to check your disk:
sudo fdisk -l
The output tells you the disk information:
Disk /dev/sda: 320.1 GB, 320072933376 bytes
255 heads, 63 sectors/track, 38913 cylinders, total 625142448 sectors
Units = sectors of 1 * 512 = 512 bytes
Sector size (logical/physical): 512 bytes / 4096 bytes
I/O size (minimum/optimal): 4096 bytes / 4096 bytes
Disk identifier: 0x016c8108
Device Boot Start End Blocks Id System
/dev/sda1 * 63 39054014 19526976 7 HPFS/NTFS/exFAT
2.) Now run commnad to install syslinux, which is a suite of lightweight IBM PC MBR bootloaders for starting up computers with the Linux kernel.
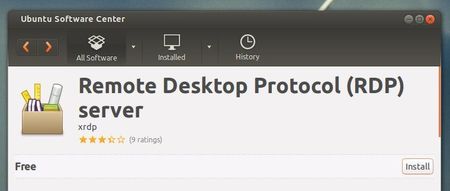
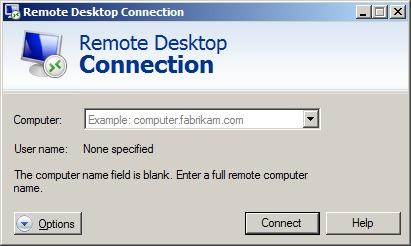
Here I’ll show you how to connect to Ubuntu 13.04 Raring Ringtail from Windows 7 via Remote Desktop Connection. All you need to do is install xRDP server in Ubuntu, then use Windows RDP to connect to Ubuntu without any configuration.
xRDP is a rdesktop project which uses the Remote Desktop Protocol (RDP) to make it easy to connect Ubuntu from remote client especially not having to log into Ubuntu first.
xRDP is available in the universe repository, just search for and install it from Ubuntu Software Center.
Or you can install it via below command in terminal:
sudo apt-get install xrdp
After that, open Windows 7’s Remote Desktop Connection and type in Ubuntu hoastname or IP address.
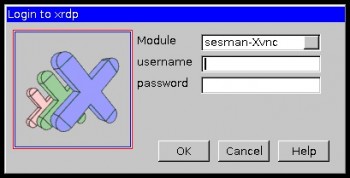
Then type in Ubuntu username and password to login to xrdp: