For Ubuntu 24.04 LTS, the top 8 photo images that won the wallpaper competition are out! They will be shipped by default in the .iso image as optional wallpapers for Ubuntu 24.04 Desktop.
Ubuntu Desktop team started the wallpaper competition for Ubuntu 24.04 on Feb 8. The submissions are grouped into 4 categories, including Mascot Theme, Digital / Abstract Art, Nature, Other. Each category has 2 winners and they are:
NOTE: The images here are optimized for faster loading. For original images, please scroll down and go to the competition web page.
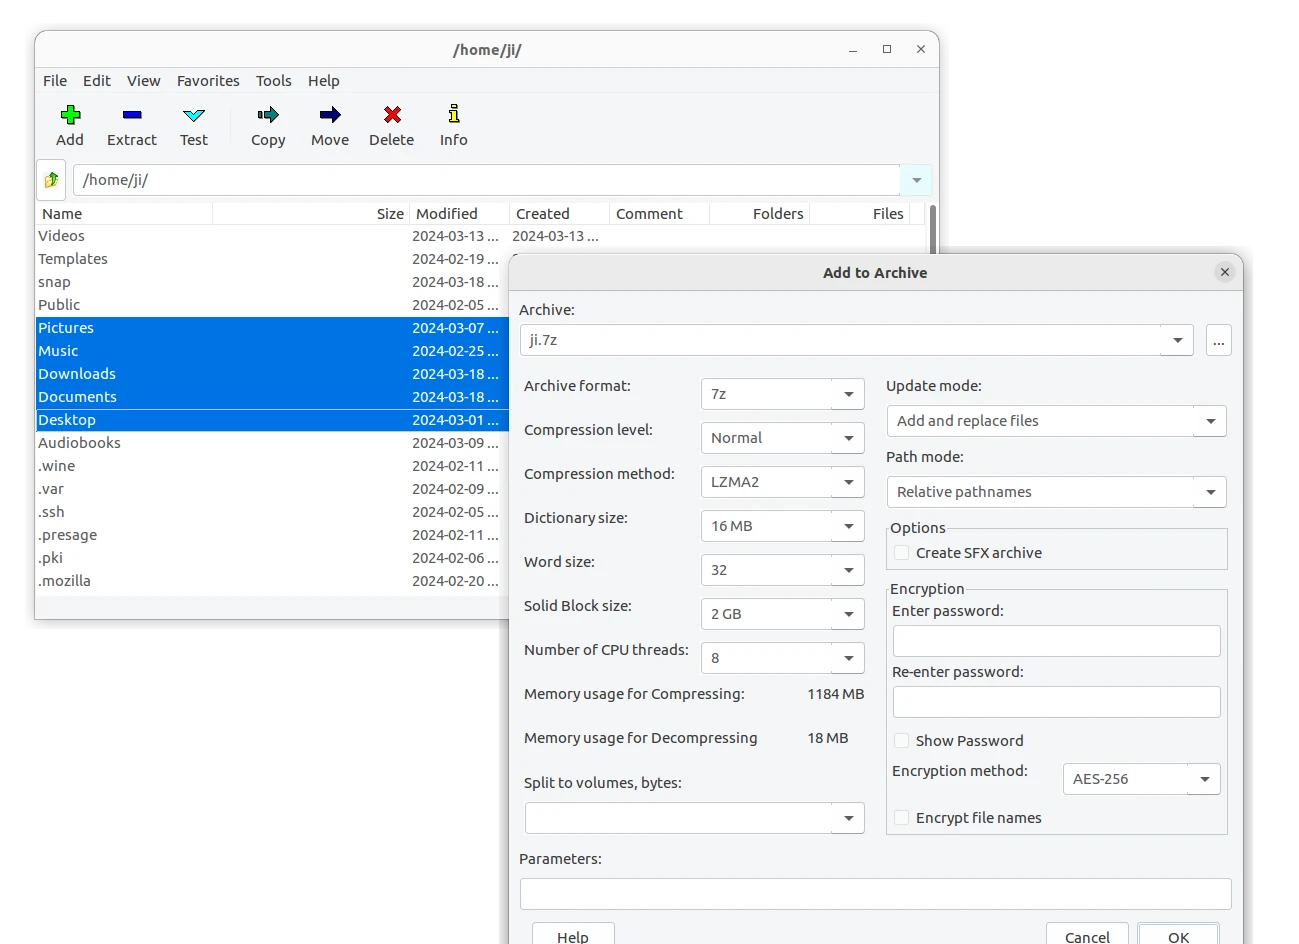
This simple tutorial shows how to install 7-Zip file archiver in Ubuntu Desktop.
7-Zip is a popular free open-source file archiver with a high compression ratio. Ubuntu Linux can get it in few different packages:
p7zip – a command line port of 7-Zip for POSIX systems, including Linux, when 7-Zip was Windows-only. Discontinued since 2016, but still popular and working good.
p7zip-desktop – fork of p7zip with a graphical interface.
7zip – 7-Zip for Linux, command line version.
NOTE: If you just want to do compress and/or extract .7z files, then Ubuntu supports the feature out-of-the-box with the Nautilus file manager.
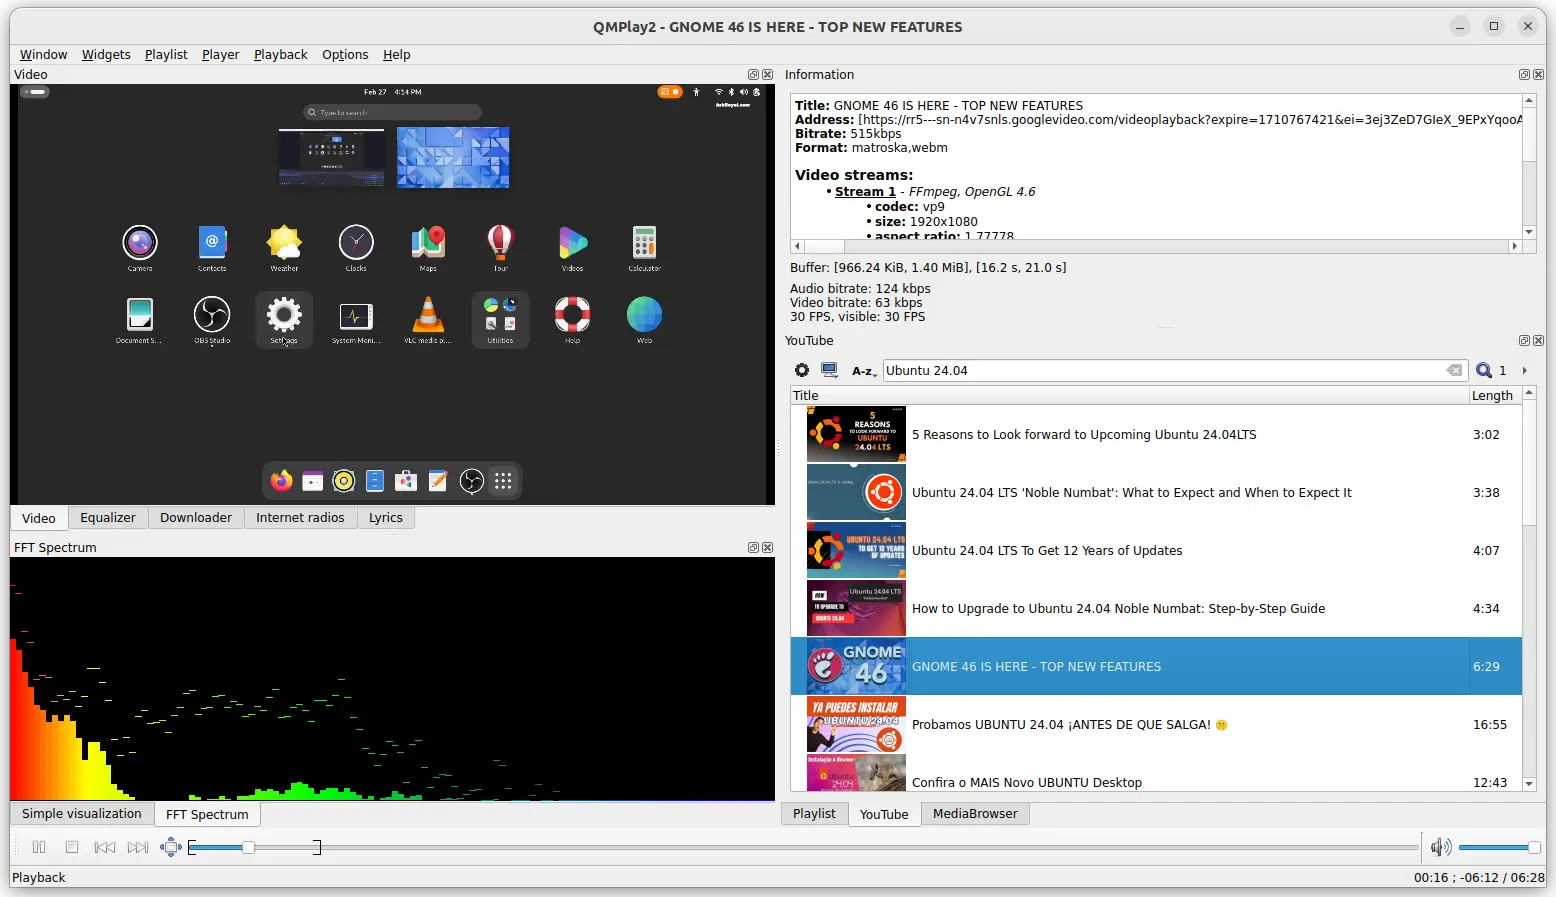
QMPlay2, the free open-source Qt media player, released version 24.03.16 few days ago.
QMPlay2 is a Qt based media player that uses FFmpeg as backend for most video and audio codecs support. It also supports Audio CD, raw files, Rayman 2 music and chiptunes, as well as ALSA, PulseAudio or PipeWire sound servers. And, it has built-in a browser to search & play YouTube videos.
The most recent 24.03.16 release added better support for FFmpeg 6.1, and experimental Vulkan Video decoder support. So, since this release, the media player now supports hardware accelerated video playback through following APIs:
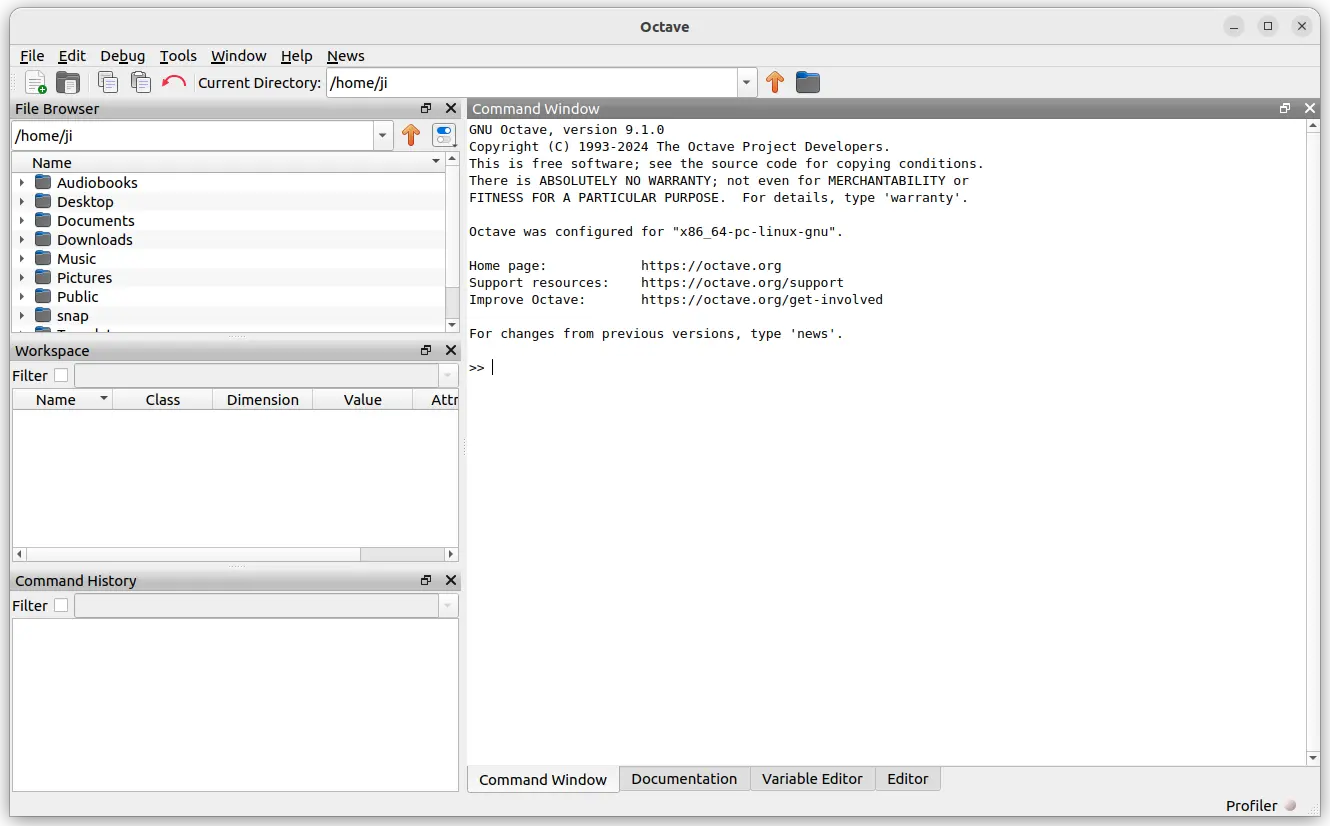
GNU Octave, the free open-source application for numerical computations, released new major 9.1.0 version! Here’s how to install it in Ubuntu 20.04, Ubuntu 22.04, Ubuntu 23.10, and Ubuntu 24.04.
The GNU website has not yet announced the new release, but it’s available in the download page.
According to the changelog, the new Octave 9.1.0 overhauled dec2base, dec2bin, and dec2hex. They now accept negative inputs and fractional inputs.
It re-architected the inputParser function to get a 60% performance improvement. And, the perms function has been made faster. The audiowrite function now supports writing to MPEG audio formats (including MP3) if the sndfile library supports it. The current directory of oruntests now changes to the directory containing the files with the tests for the duration of the test.
The release features new functions, including isenv, ismembertol, isuniform, tensorprod.
The disable_diagonal_matrix, disable_permutation_matrix, and disable_range functions have been removed! Replacements are optimize_diagonal_matrix, optimize_permutation_matrix, and optimize_range
Operators, such as .+, .+=, **, and .**= are removed. Replacements are +, +=, +=, ^, and .^=. And, following function are obsolete:
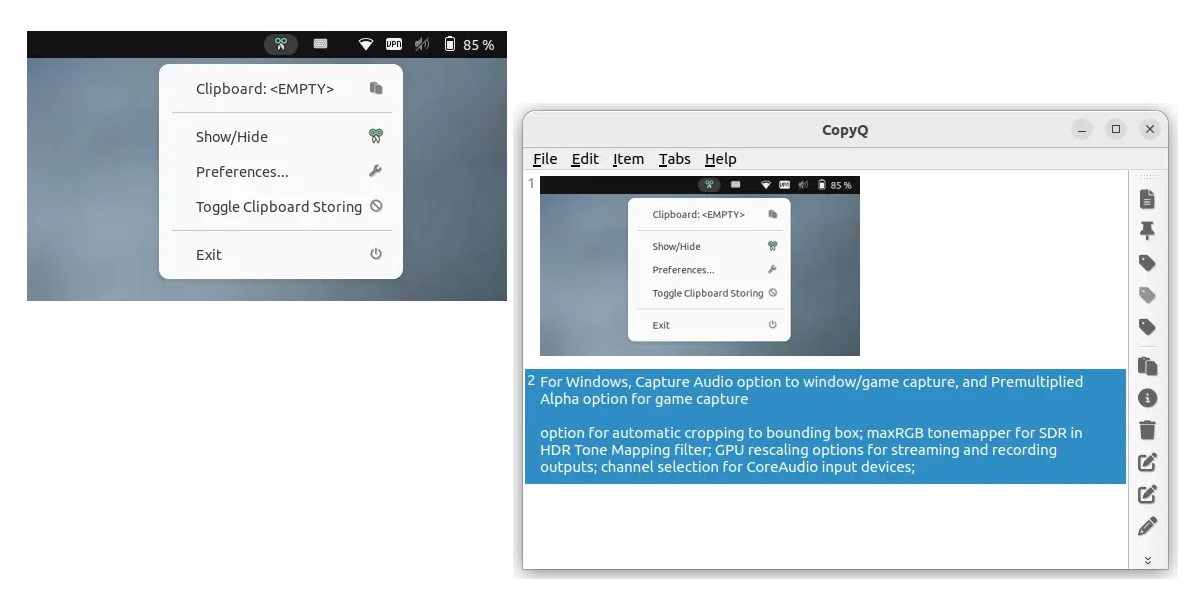
CopyQ, the popular free open-source clipboard manager, announced new 8.0.0 release today!
The new release features new arm64 build packages for MacOS, Debian, and Raspberry Pi. The packages for Windows and MacOS are now based on Qt6 framework. The 64-bit Windows packages now install the app to “Program Files” instead of incorrect “Program Files (X86)“. User has to remove the old path after installing the new version.
For Linux, CopyQ 8.0.0 adds cmake option -DWITH_X11=OFF to disable X11 support, and build option to disable auto-start, which is useful for Flatpak package so far does not support this feature due to permission issue.
For security, the release also disallows storing and processing data from password managers, such as KeePass, KeePassXC, 1Password, and some browsers in private mode.
This simple tutorial shows how to install Beta version of your Flatpak app package from Flathub Beta repository in Ubuntu Linux.
Flatpak now is one of the top popular package formats for Linux. It runs in sandbox, allowing to easily manage software permissions and installing latest apps without worrying about dependency issues.
Most software developers publish their Flatpak app packages through Flathub repository. And for testing purpose, Flathub also provides a Beta repository.
There used to be beta.flathub.org web page for browsing and installing beta apps. The page however does no longer present in the website, though the beta apps are still installable.
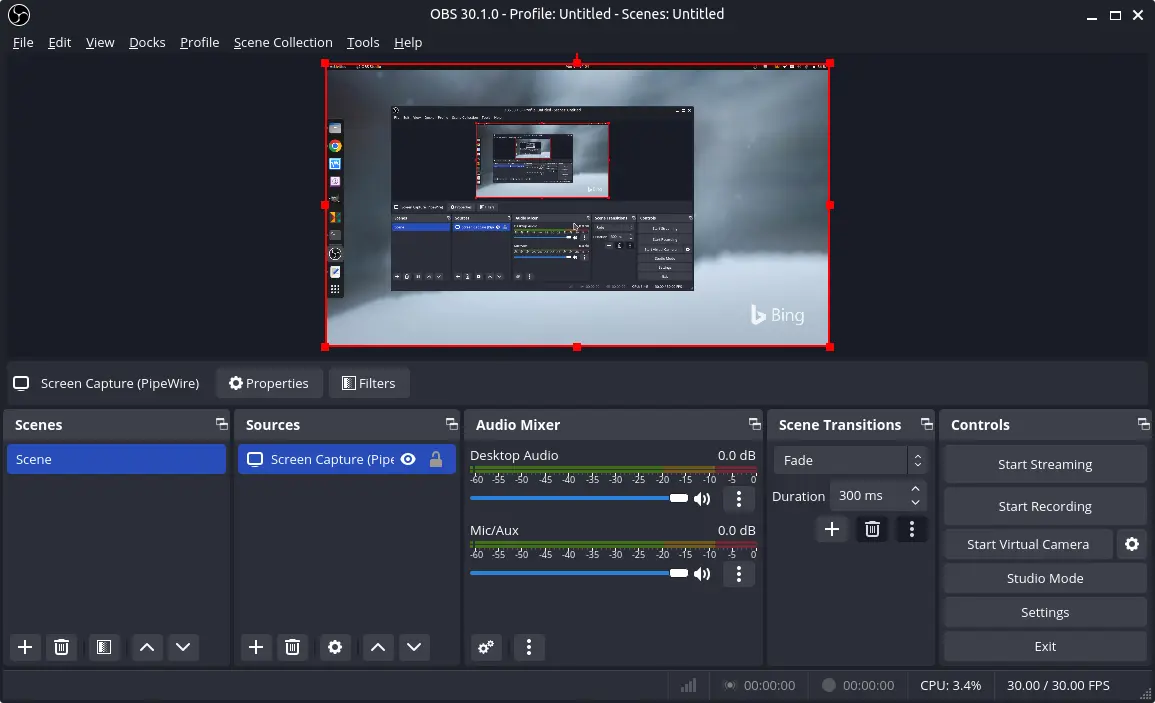
OBS Studio, the popular free open-source live streaming app, announced new major 30.1 release this Wednesday!
The new release enabled HDR for HEVC over the RTMP protocol, AV1 HDR is not currently supported by YouTube.
OBS Studio 30.1 reworked Image Slideshow source to load files asynchronously, and fixed an issue where the slideshow would loop before showing all images. Existing Image Slideshow sources will continue functioning as before. To change them to the new version, you have to re-create them.
The release also added AV1 support for VA-API video hardware acceleration, and AV1 support for WebRTC/WHIP output.
For those who prefer the native .deb app packages, here’s new unofficial PPA for installing the most recent Kdenlive video editor 24.08.3 in Ubuntu 24.04 and 24.12.2 in Ubuntu 24.10.
Since version 24.02, the Kdenlive video editor is finally ported to Qt6 plus KDE Frameworks 6, which brings big performance improvements, but also a few regressions.
Due to this change, the developer team discontinued the official Kdenlive PPA, since KF6 is NOT yet made into Ubuntu repositories.
The official packages are now only Flatpak and AppImage, that run in sandbox. For those who prefer the .deb package format, here’s the new unofficial PPA for choice.
This tutorial shows how to turn off your laptop’s built-in display for using external monitors in Ubuntu Desktop.
When working with multiple monitors, it can be useful to disable the built-in screen for saving power. You can set lid close action to do nothing then just close the laptop lid.
However, the lid close action may not work properly in some laptops, or you need to use the built-in keyboard and touch-pad. In the cases, here are a few other ways to do the job. Continue Reading…
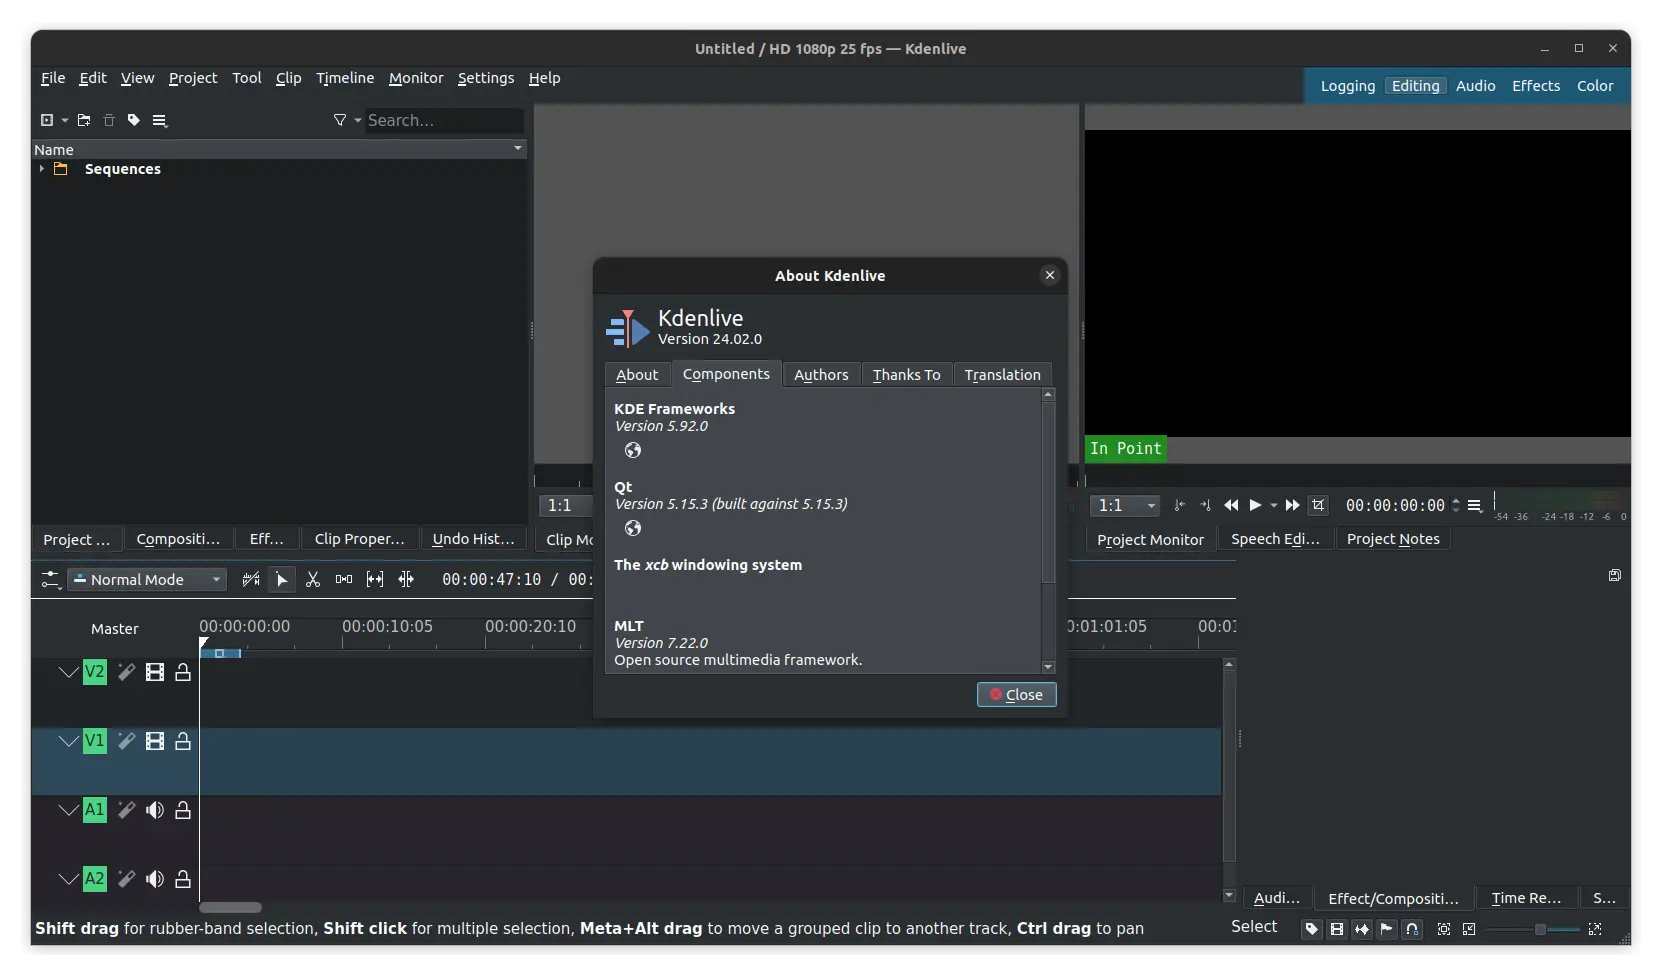
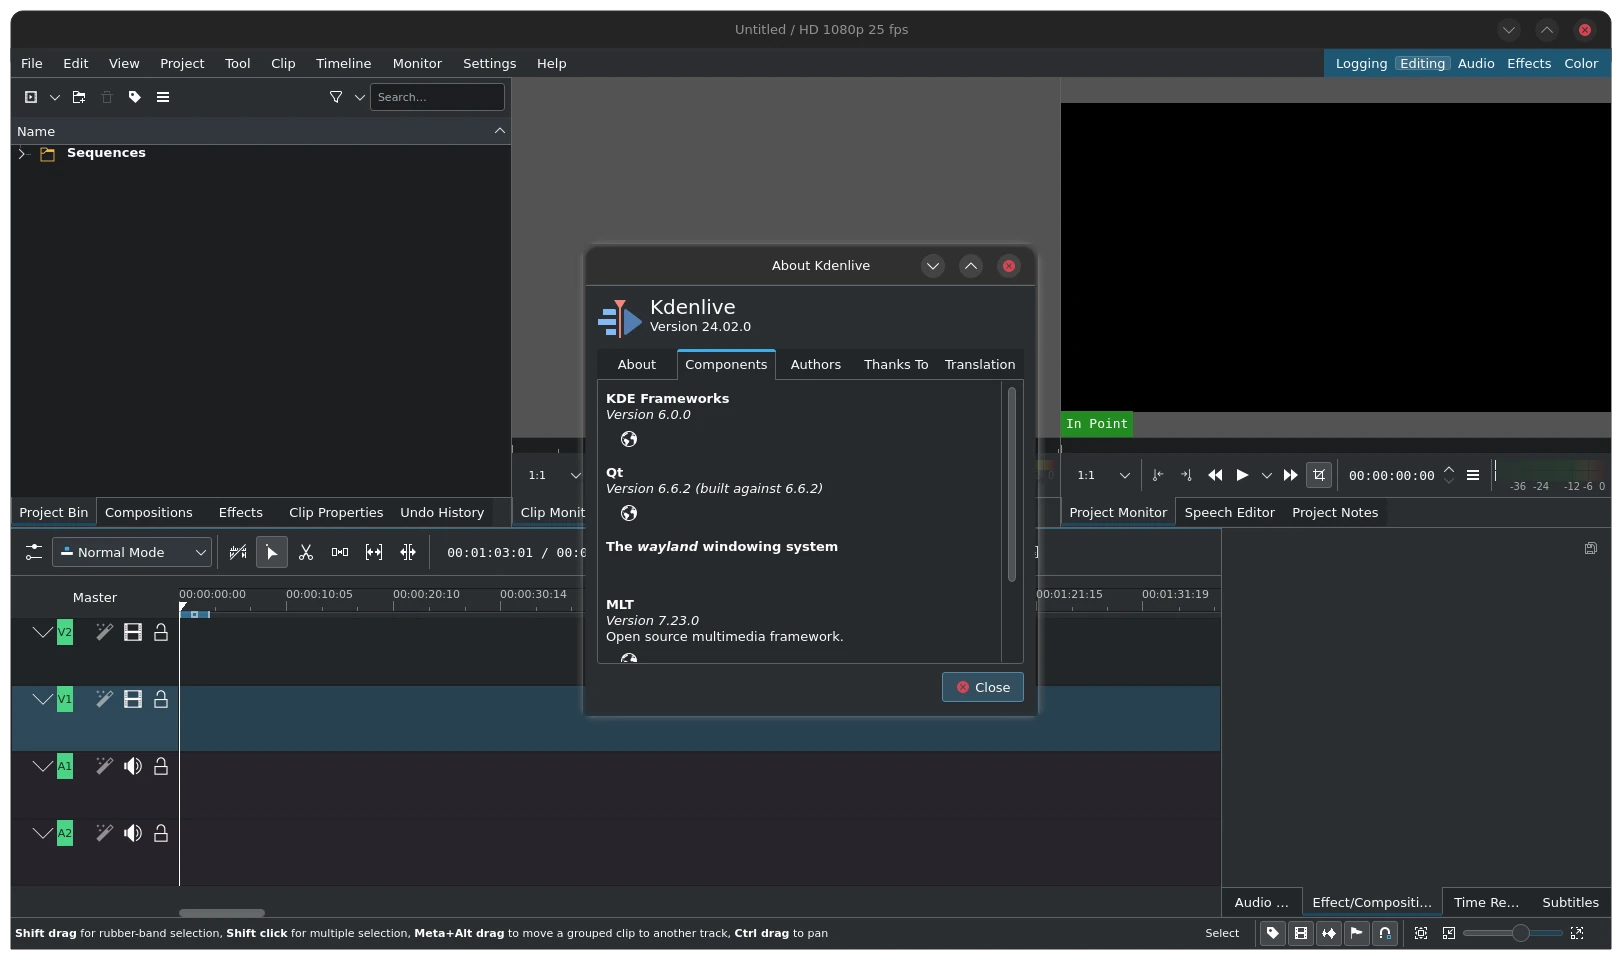
Kdenlive video editor released new 24.02.0 version this Monday!
The new release now takes use of Qt6 and KDE Frameworks 6 for its user interface. The port gets overall experience and better Wayland support for Linux users. And, it now runs natively on DirectX, Metal, and Vulkan respectively on Windows, MacOS, and Linux with substantial performance boost.
However, due to this change, the developer team discontinued supporting for the official PPA that contains the native .deb package for Ubuntu and Linux Mint. Now, it supports only AppImage & Flatpak for Linux.
Other downsides due to switched to Qt6 and KDE Frameworks 6 include:
Themes and icons not applied properly in Windows and Linux AppImage.
Temporarily removed audio recording feature.
Text not properly displays in clips in the timeline for Linux Wayland.