![]()
This is a step by step tutorial shows how to encrypt Ubuntu, while preserving its data, after you installed it on your computer.
While installing Ubuntu 24.04, if you didn’t choose to use the entire disk, then there’s no graphical option to enable encryption. You can however manually encrypt the full Ubuntu system afterward.
So, on every boot of the Ubuntu system, it asks to input password to unlock boot entry (if /boot partition is also encrypted), then asks again to unlock disk partition before user being able to login.
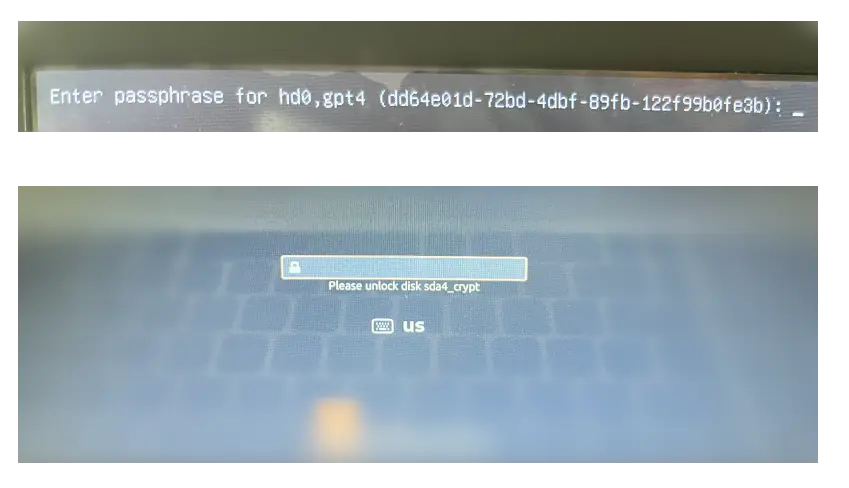
it asks password twice to unlock boot entry & then root partition