


![]()
After nine months of hard work, the developer finally announced the GraphicsMagick 1.3.19. This release brings dozens of bugfixes, several feature and performance improvements, and also below new features:
- JPEG: Add support for writing ‘XMP’ profile.
- PNM: As a simple non-standard extension to the standard PNM and PAM formats, support writing and reading 32-bit sample depth. Writing such files is only supported by the Q32 build although they may be read by any build.
- WebP: Now supports reading and writing Google’s WebP format. This feature is not currently supported by the Windows Visual Studio build.
See the official release note.
Install GraphicsMagick via PPA:
Press Ctrl+Alt+T on keyboard to open terminal. When it opens, run commands below to add the PPA:
sudo add-apt-repository ppa:dhor/myway
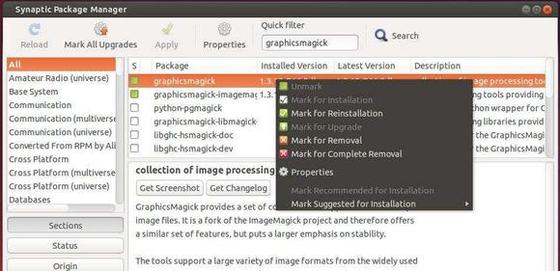
After that, check for updates and install the app via Synaptic Package Manager, or just run commands below one by one:
sudo apt-get update

sudo apt-get install graphicsmagick


On Linux Mint 13, this installs graphicsmagick 1.3.12 which is the same as the one from the official repositories.