


![]()
Want to install Microsoft fonts, Google web fonts for off-line use, or you just found a favorite font on the web and want to install it in Ubuntu?
Well here’s how to install the font files (.ttf, .ttc) downloaded from web, Google fonts page, or copied from your Windows OS.
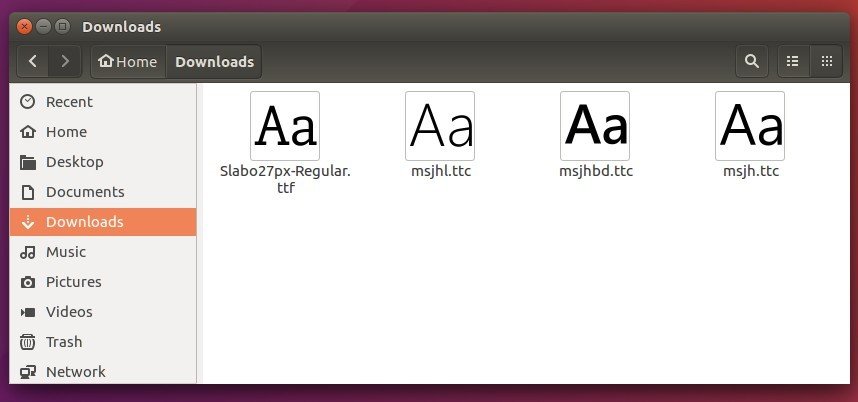
Here are 4 font files shown in the picture above. In the steps below I’ll show you how to install and use it in Ubuntu Desktop.
Option 1: Install Fonts for current user only
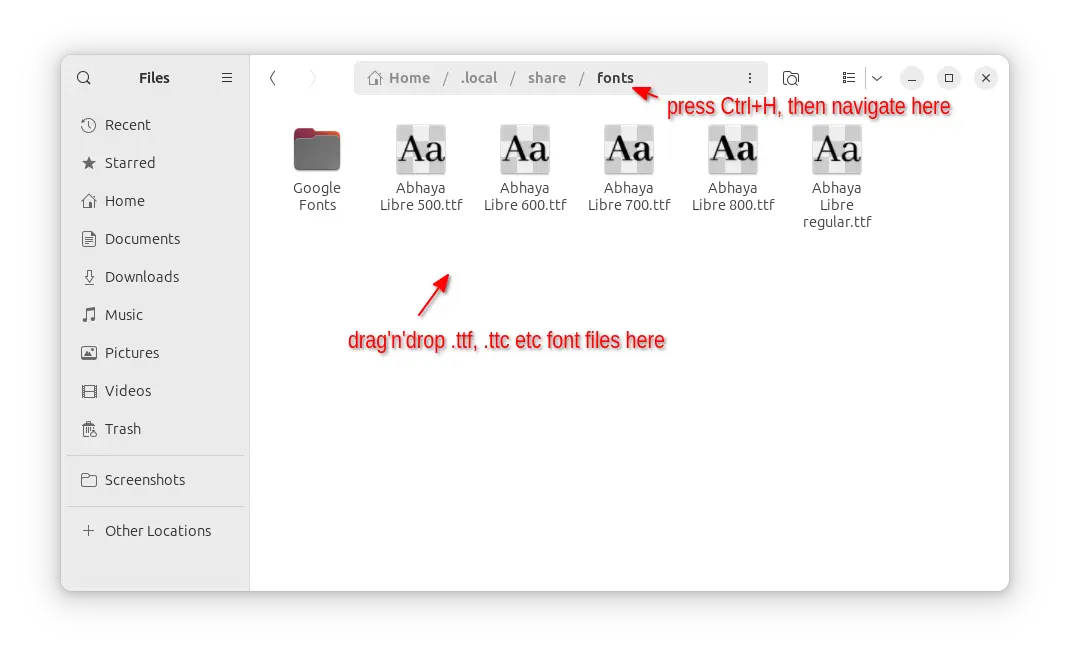
If you want to install the fonts for current user use only, then simply open up a “Files” (file manager) window, press Ctrl+H to show hidden folder, and navigate to .local/share/fonts (create fonts sub-folder if not exist).
Next, drag’n’drop your font files into that directory, or a sub-folder of that directory.
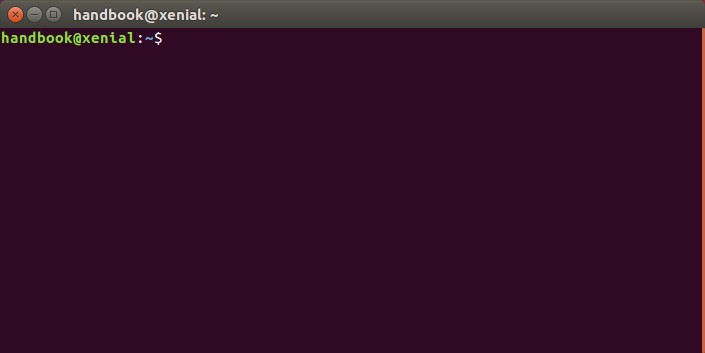
Finally, press Ctrl+Alt+T on keyboard to open terminal, and run command to refresh the cache:
sudo fc-cache -fv
Next, your system configuration tool can find and allow you to apply the fonts
Option 2: Manually install Fonts to system wide use
To install fonts for all users use, do the following steps one by one instead.
1. Launch Terminal from start menu, or by pressing Ctrl+Alt+T on keyboard:
When it opens, paste following commands and run one by one.
2. In Ubuntu Linux, font files are installed to /usr/local/share/fonts or /usr/share/fonts. The former directory is recommended in this case for manual installation.
First create a sub folder in the font directory, ms_fonts, as example:
sudo mkdir /usr/local/share/fonts/ms_fonts
Type in your password when it asks (no visual feedback) and hit Enter.
3. Move all font files from your Downloads directory to the new created folder:
sudo mv ~/Downloads/*.ttc ~/Downloads/*.ttf /usr/local/share/fonts/ms_fonts/
4. Set permissions to these files by running the commands below one by one:
sudo chown root:staff /usr/local/share/fonts/ms_fonts -R

sudo chmod 644 /usr/local/share/fonts/ms_fonts/* -R

sudo chmod 755 /usr/local/share/fonts/ms_fonts
5. Finally builds font information caches for apps using fontconfig for their font handling:
sudo fc-cache -fv
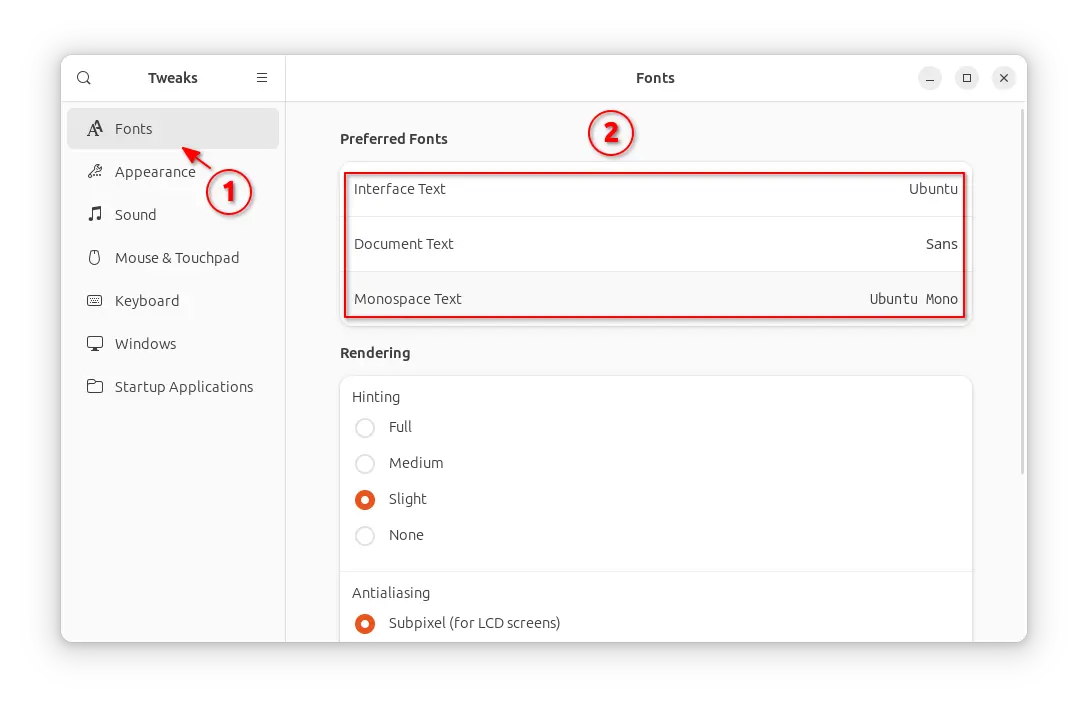
Now you can apply new installed fonts via GNOME Tweaks (available in Ubuntu Software / App Center) in default GNOME desktop:
For Chrome browser, go to Settings -> Advanced settings-> Web contents -> Customize fonts.


Or just use Typecatcher and download all the fonts you want with one click.
Sadly, Typecatcher does not work in my 16.04
Hey, like a lot of things, you can have your
/home/$user/directory keep that stuff safe through upgrades and reinstalls. Install all the fonts you want, in whatever directory structure you like in~/.fonts/. This means you don’t need to usesudo, or even the Terminal, everything can be done through the GUI.Thanks this helped a lot with ubuntu 16.04
It still doesnt help me a bit. I have wallibi holland font installed using the steps above but my java fx is not rendering it properly in ubuntu 16.04. In Ubuntu 14.04 even without installing the font on the OS side, just include it in the java classpath and load it on the background, it is working perfectly. But i need to move into 16.04. Any help would be much appreciated.
Well it’s not working for me. Is there any other way to install it??
Simply copy all your fonts collection to ~/.local/share/fonts
“font files are installed to /usr/lib/share/fonts or /usr/share/fonts. The former directory is recommended in this case for manual installation” why is this?
“sudo mkdir /usr/local/share/fonts/ms_fonts”
why did you put “local” between usr and share? which is this “font directory” you mentioned? and since as I’ve found “fonts” is already there inside the “share” folder, why create another folder? Is this just what you did to organize your MS fonts? Thanks
“Now you can apply new installed fonts via Unity Tweak Tool:”
there’s just a picture with no instructions. How do you “apply new installed fonts via Unity Tweak Tool”??
As font viewer didn’t work on my ubuntu 16.04 LTS, I installed the “font manager” from here: http://fontmanager.github.io
Just follow the instructions to install it. Then right click on a font that you want to install, choose open with other application -> fontmanager, click install, and it worked.