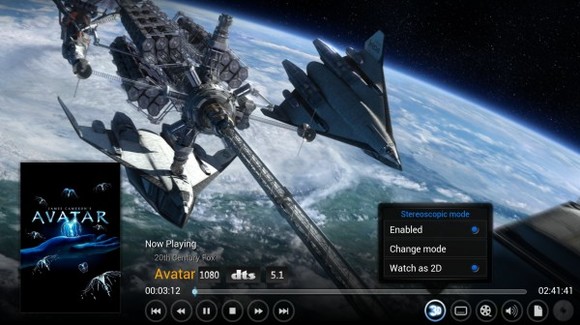
XBMC 13.0 Gotham edition was finally released a few hours ago. This tutorial will show you how to upgrade or install this free and open-source media center in Ubuntu 14.04, Ubuntu 13.10, Ubuntu 12.10 and Ubuntu 12.04.

According to the announcements, XBMC 13 brings:
Android hardware decoding
Raspberry Pi and Android speed improvements
Stereoscopic 3D rendering
Improved UPnP capabilities
Dramatic audio engine improvements
making subtitle search better
An extended Python and JSON-RPC API for developers
Update to FFMPEG v1.2 used for audio/video playback
Stereo audio can now be up-mixed to 5.1 and sent through optical/SPDIF devices
Various visual changes throughout the skin which should improve usability and logic.
Improve the handling of subtitle downloading and selection
Extend and improve the User-interface Engine which developers use to create a variety of skins to be used.
Drop of support for Windows XP.
When initiating a library cleaning, XBMC will send a wake-on-lan request to any sleeping servers first, before cleaning the library, to ensure that content isn’t unnecessarily cleaned
Numerous PVR fixes and updates with additional new features updated on a per-platform basis.
Copy/paste support on Windows, OSX, and iOS to match copy/paste support elsewhere
Movie sets are now user editable
Episodic bookmarks
More details, go to official release page
Install / Upgrade to XBMC 13 in Ubuntu:
IMPORTANT NOTICE: 1. Backup your your current userdata folder before upgrading; 2. Due to changes related to the add-on system and skin improvement, certain plugins, scripts and skins may become incompatible when upgrading from Frodo to Gotham.
Press Ctrl+Alt+T on keyboard to open terminal and run the commands below one by one will added XBMC PPA and install/upgrade to XBMC 13.0:
sudo add-apt-repository ppa:team-xbmc/ppa

sudo apt-get update

sudo apt-get install xbmc
Enable this blog? Please spread the world :)


