![]()
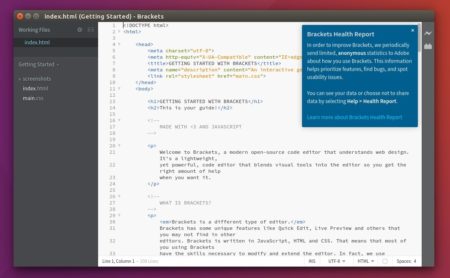
Adobe Brackets, a modern open-source code editor for the web, has reached the 1.11 release a day ago. Here’s how to install it in Ubuntu 14.04, Ubuntu 16.04, Ubuntu 17.04, and derivatives.
What’s New in Brackets 1.11:
- Brackets now supports ECMAScript 2015. Quick-type listing now shows classes, methods, arrow functions, generator functions and much more. Brackets also supports linting of ECMAScript 2015 code, with ESLint defaulting as Javascript linter, as well.
- Brackets now offers full support for the Linux platform.
- Fix a few minor issues found by lgtm.
- Fix extension registry link in README.md
- Fix CTRL+Space handling while the CodeHintList is open
- Fix wrong function call in ProjectManager.js
- Double click on search result header closes search results window
- Add mapping for stylus mode in LanguageManager
- Now reverse inspect can be disabled by setting the ‘livedev.enableReverseInspect’ pref to false
- Upgrade brackets-eslint to 3.2.0
- See the release note for more.
How to Install Brackets 1.11 in Ubuntu:
Adobe offers the official .deb packages in the github release page.
For those who want to receive updates though Software Updater, you can use the Webupd8Team PPA which provides Brackets packages for Ubuntu 14.04, Ubuntu 16.04, Ubuntu 17.04, and derivatives.
1. Open terminal via Ctrl+Alt+T or from app launcher. Run command to add the PPA:
sudo add-apt-repository ppa:webupd8team/brackets
Input your password (no visual feedback while typing) when it prompts and hit Enter.

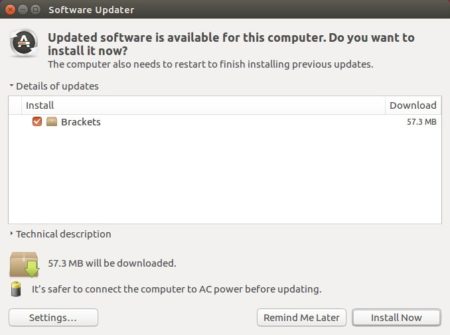
2. Then you’re able to upgrade the code editor via Software Updater utility:

or install it for the first time via commands:
sudo apt-get update

sudo apt-get install brackets
Uninstall:
To remove the PPA repository, launch Software & Updates utility and navigate to Other Software tab.
To remove Brackets code editor, either use system package manager or run command:
sudo apt-get remove --autoremove brackets


