![]()
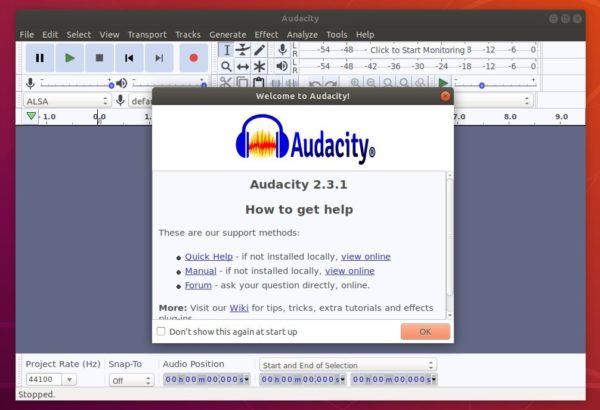
Audacity audio editor 2.3.1 was finally released and restored Linux support which was missing in 2.3.0.
Audacity 2.3.1 brings over 20 bug-fixes and following new features / improvements:
- Microfades are now an opt-in feature. They were always on in 2.3.0.
- The advanced vertical zooming option is now available in the View->Zoom menu.
- Regular interval labels now support range labels.
How to Install Audacity 2.3.1 in Ubuntu:
There’s an unofficial PPA contains the 2.3.1 packages for Ubuntu 16.04, Ubuntu 18.04, Ubuntu 18.10, Ubuntu 19.04, and their derivatives, e.g., Linux Mint 18.x and 19.x.
1. Open terminal either via Ctrl+Alt+T keyboard shortcut or by searching for ‘terminal’ from app launcher. When it opens, run command:
sudo add-apt-repository ppa:ubuntuhandbook1/audacity
Type user password (no asterisk feedback due to security reason) when it prompts and hit Enter to add the PPA.

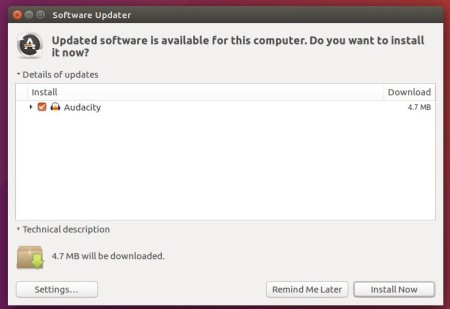
2. If you have a previous version installed, you can upgrade Audacity via Software Updater after adding the PPA.

or run following commands one by one to check updates and install (or upgrade) audacity 2.3.1:
sudo apt-get update

sudo apt-get install audacity
Uninstall:
To remove the PPA repository, launch Software & Updates utility and navigate to ‘Other Software’ tab.
To remove Audacity audio software, either use system package manager or run command in terminal:
sudo apt-get remove --autoremove audacity audacity-data


