


![]()
This tutorial shows how to install and use CoolerControl to control your CPU or graphics card fan speed in Ubuntu desktop computer or laptop.
I’ve written about how to control fan speed for Thinkpad laptops. But for those who are looking for how to do the job for NVIDIA/AMD GPUs and other laptops, then try CoolerControl.
CoolerControl is a free open-source feature-rich cooling device control application written in Python programming language.
It depends on Hwmon kernel drivers and liquidctl to access and control supported hardware, including Thinkpads, some ASUS and HP laptops, as well as most NVIDIA and AMD GPUs.
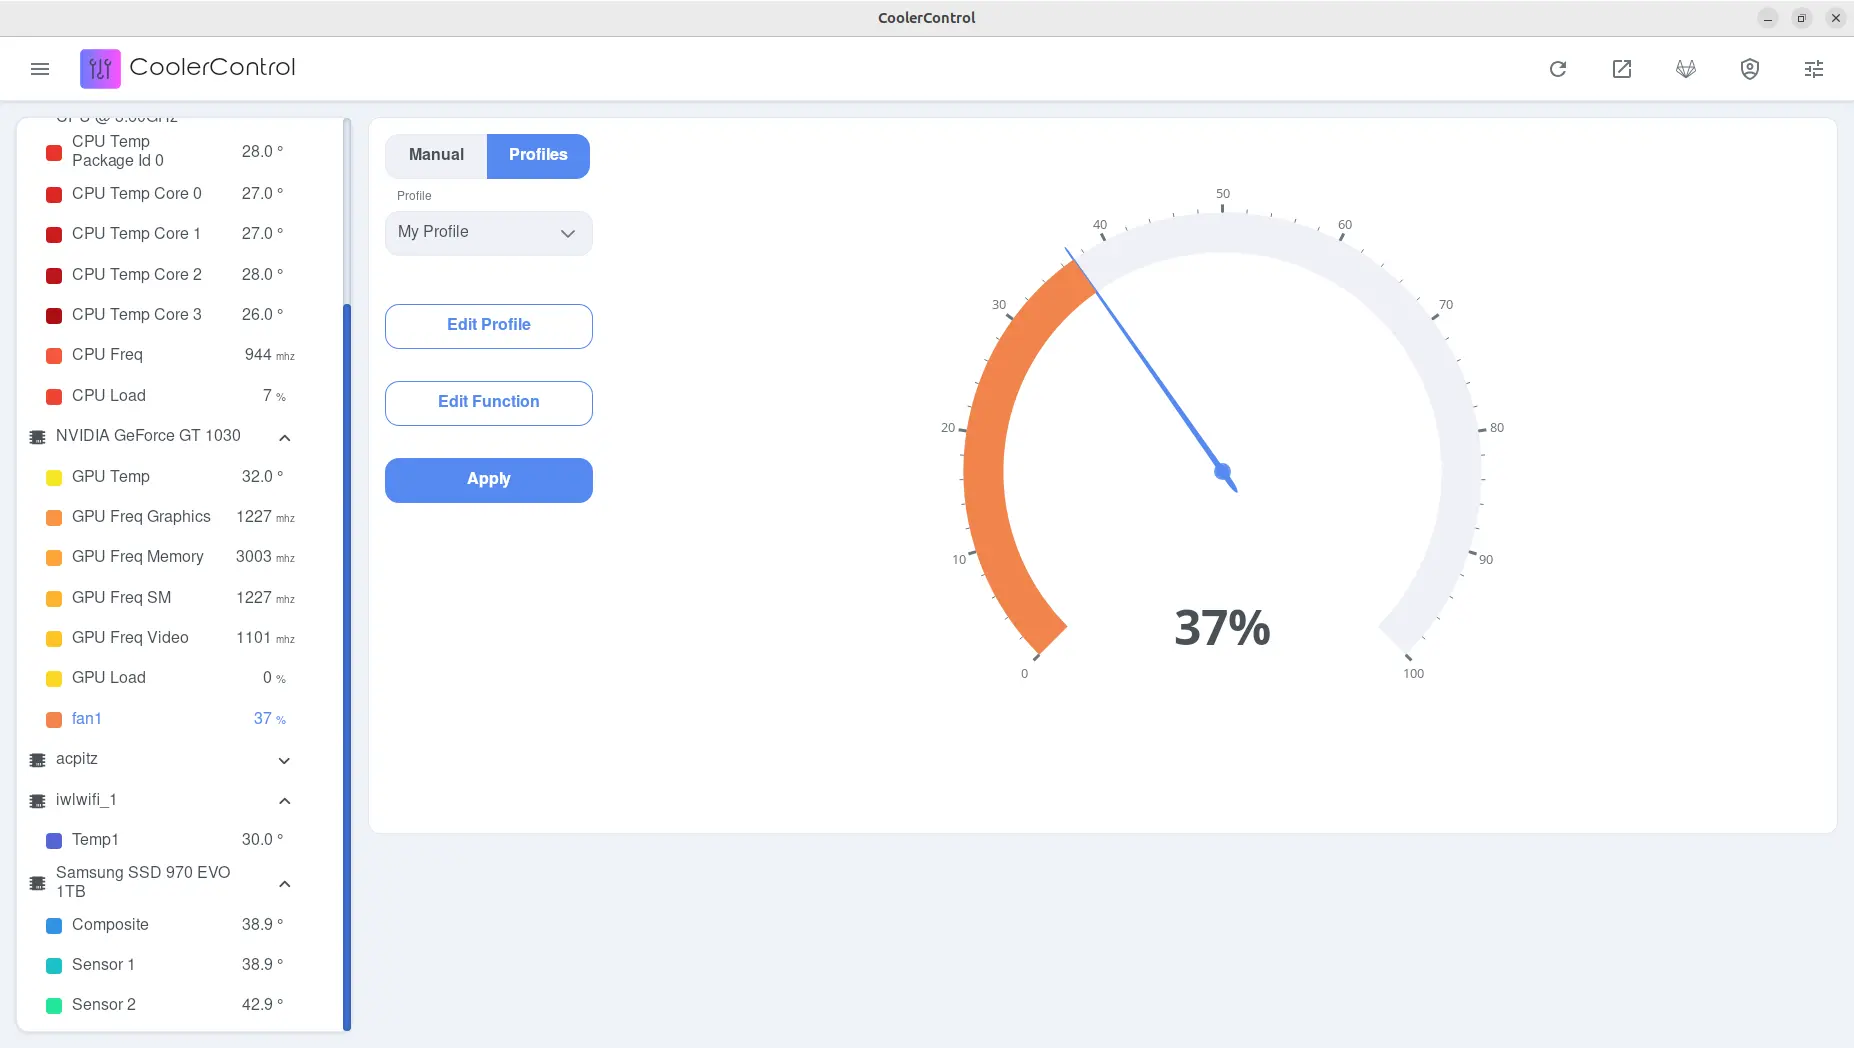
CoolerControl user interface
With CoolerControl, you can monitor the temperatures of your CPU, GPU, hard disk, etc devices in graphs, and set fan to either fixed or dynamic speed.
As the tool depends on open-source drivers and contributors, not all hardware is guaranteed to be supported. It will detect supported devices and available capabilities automatically.
NOTE: This tutorial is tested in my case in following machines and systems. It MAY or MAY NOT work in your case depends on your hardware.
- Thinkpad T480s with Ubuntu 24.04.
- ASUS K501L with Linux Mint 22, Ubuntu 25.10.
- Desktop PC (Intel i3-10100f + NVIDIA GT1030) with Ubuntu 24.10.
Step 1: Install lm-sensors
This step is optional but recommended for installing all available kernel modules.
lm-sensors is a popular command line utility to detect and monitor hardware temperature, voltage, and fan speed. It’s available in all current Ubuntu and most other Linux system repositories.
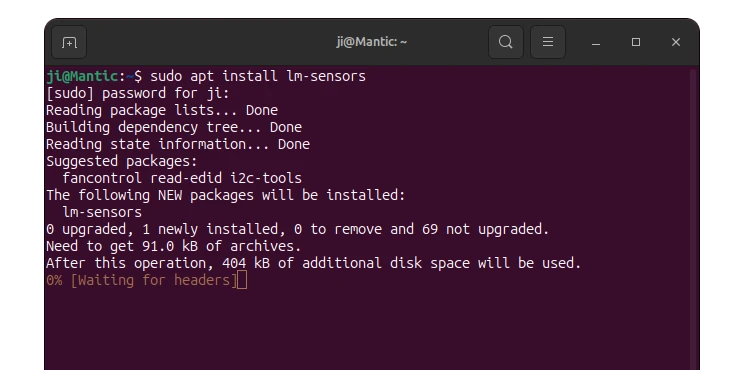
To install lm-sensors, open terminal (Ctrl+Alt+T) and run command:
sudo apt install lm-sensors
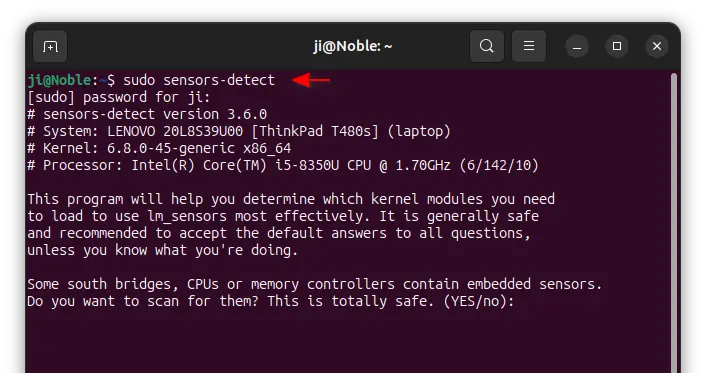
After installed the package, run command to detect your hardware:
sudo sensors-detect
In the terminal output, you need to answer some questions, though it’s OK to hit Enter for all to choose default. When done, you may run sensors command at anytime to check your hardware temperature and fan speed.
Step 2: Install CoolerControl
The software provides an official apt repository that contains the .deb packages for Debian, Ubuntu, Linux Mint and their based system. So far, it supports Debian 12 Bookwarm, Debian 13 Trixie, Ubuntu 22.04, 24.04, and 25.04
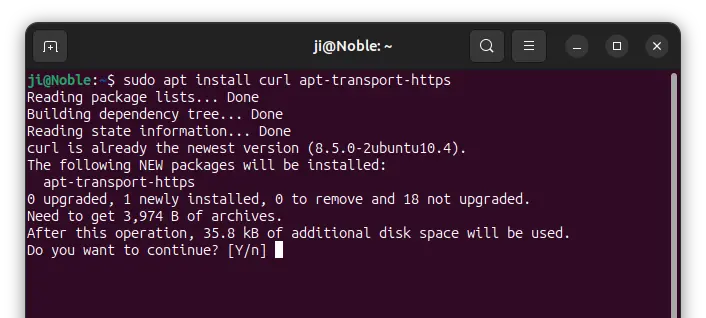
1. First, open terminal (Ctrl+Alt+T) and run command to install the required packages: curl downloader and apt extension for https support:
sudo apt install curl apt-transport-https
Try running sudo apt update to refresh cache if the command above failed.
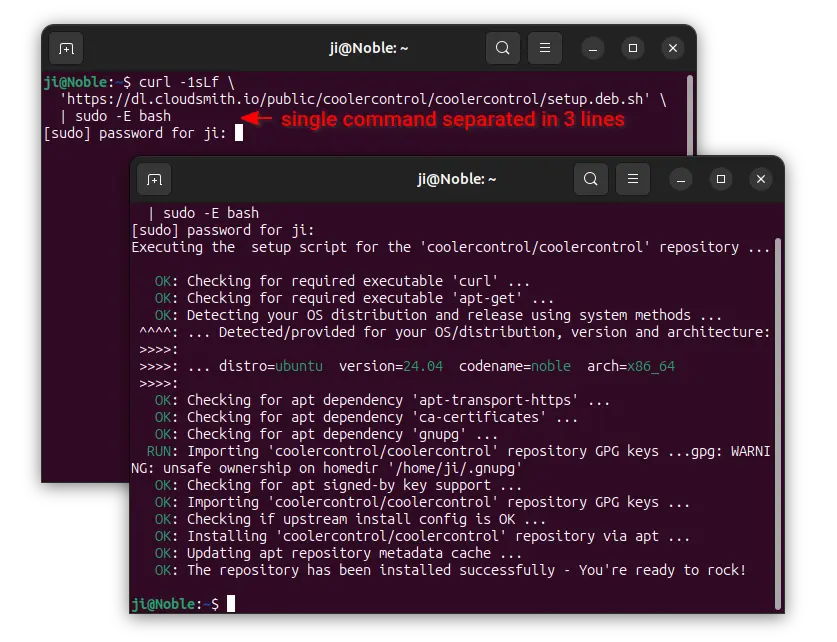
2. Next, run command to download the official script, then run it via single command below:
curl -1sLf \
  'https://dl.cloudsmith.io/public/coolercontrol/coolercontrol/setup.deb.sh' \
  | sudo -E bash
This is a single command separated in 3 lines. And, the script will automatically check your system version, dependency libraries, and add the apt repository into your system.
3. Finally, refresh system package cache by running command:
sudo apt update
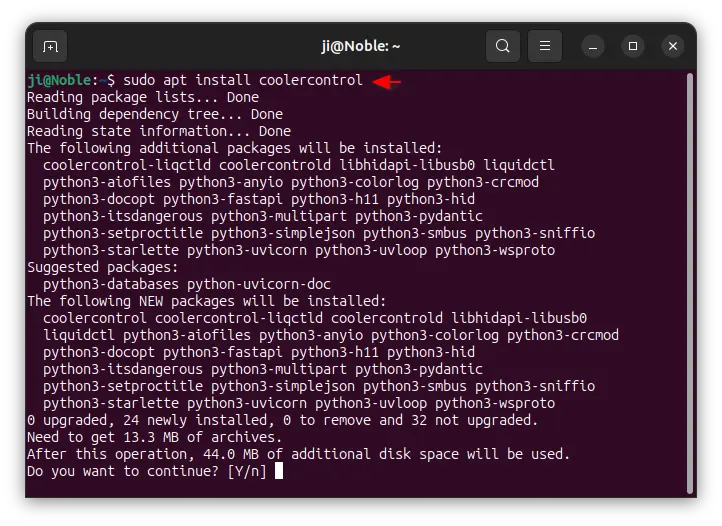
And, install the tool via command:
sudo apt install coolercontrol
NOTE for Ubuntu 22.04: the ‘liquidctl’ package in the 22.04 repository is outdated, which may cause some devices now show. You may upgrade the package by running the commands below one by one, though this is OPTIONAL.
- First, run command to stop the coolercontrol service:
sudo systemctl stop coolercontrold.service
- Then upgrade the liquidctl package:
sudo pip install liquidctl --upgrade
- Finally, start the daemon service:
sudo systemctl start coolercontrold.service
Step 3: Launch CoolerControl and configure your Fan speed
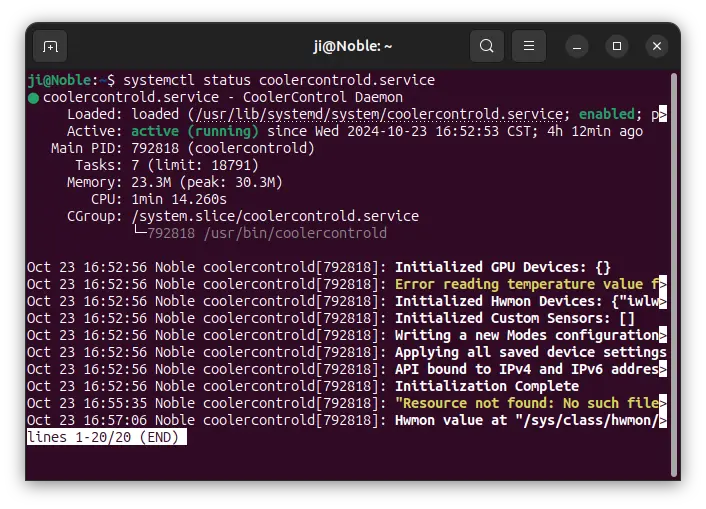
After installed the tool, run the command below to check if the background service is running:
systemctl status coolercontrold.service
If not enabled, use systemctl enable --now coolercontrold to enable and start it.
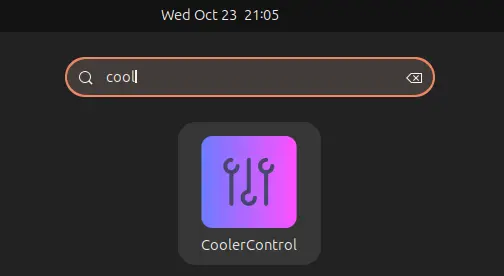
Then, either search for and launch “CoolerControl” from start menu (or GNOME Overview), or visit localhost:11987 in web browser to launch the graphical interface.
When the app opens, you can choose your devices in left side-bar, then see the real-time temperature, frequency, fan speed, etc information in both text and graph.
NOTE: For computer with only dedicated NVIDIA GPU, you may need to install the proprietary driver via “Additional Drivers” utility, then restart computer.
For fixed fan speed, just choose your fan device in left, then choose “Manual” mode in right and adjust the speed value in percentage and click Save.
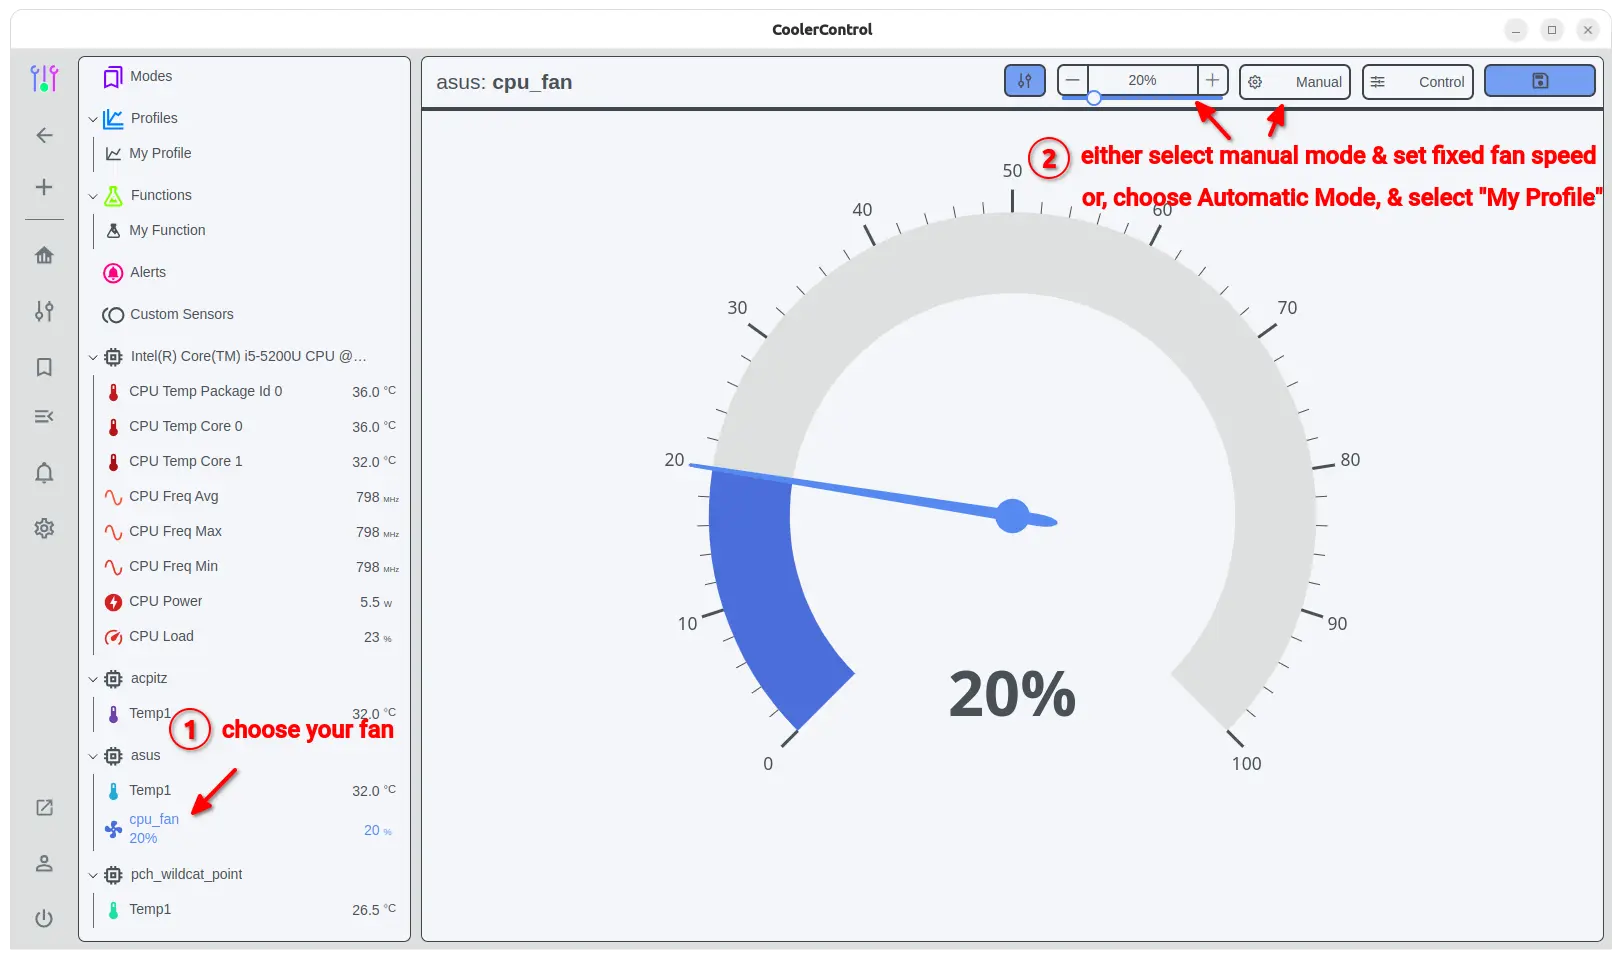
If you want to make your fan speed changes automatically according to CPU/GPU temperature, then select “Automatic” mode in the screenshot page above, then choose a profile (e.g., “My Profile”).
Then, navigate to that profile in left panel, choose a working mode (Graph for example), choose a device temperature to monitor. Finally drag moving the dots on graph to set your desired fan speeds according to the temperatures.
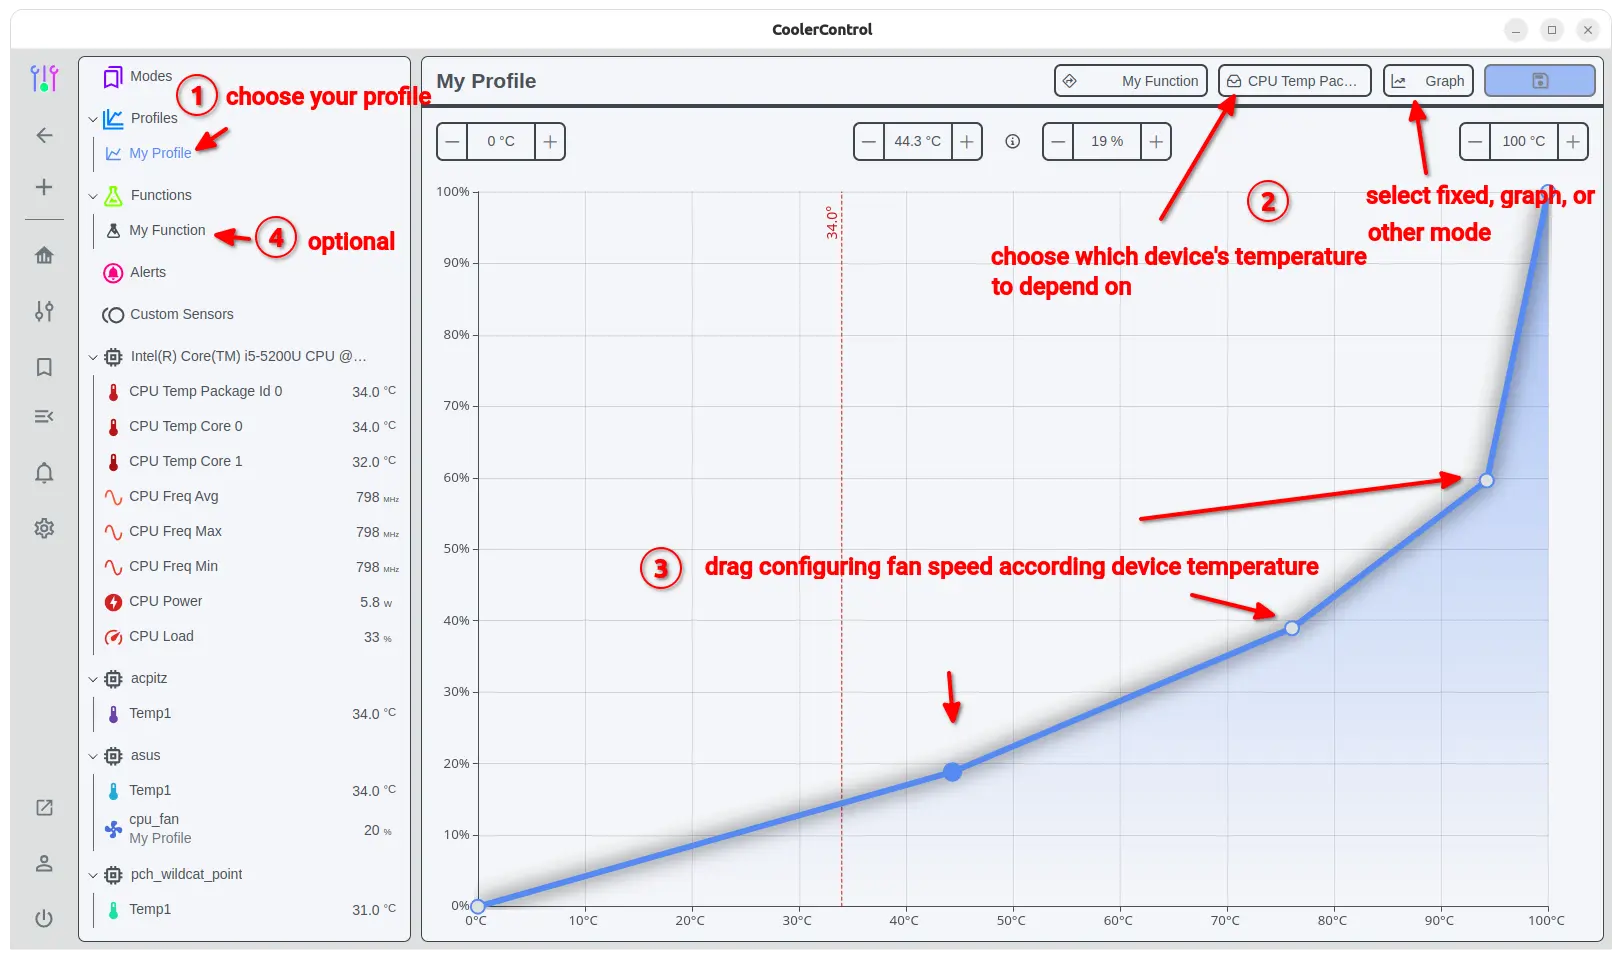
When done, click Save to apply changes and enjoy!
Uninstall CoolerControl
For any reason, you can easily remove the software by running the command below in terminal (Ctrl+Alt+T):
sudo apt remove --autoremove coolercontrold
To remove the apt repository, use the command to delete the source file:
sudo rm /etc/apt/sources.list.d/coolercontrol*.list
As well, delete the gpg key file added for that repository via command:
sudo rm /usr/share/keyrings/coolercontrol*.gpg
Finally, run sudo apt update command to refresh your system package cache.


Horrible GUI
Totally agree! But, as far as I know, it’s the easiest way to adjust fan speed for my old laptop…
Seems to work on ThinkPad P53 when Steam is running …
Thanks !
It’s worth mentioning that if you already have fancontrol running, the two will conflict, as the systemd services aren’t set up as mutually exclusive. So, if you want to try out coolercontrol, stop fancontrol first:
sudo systemctl stop fancontrol
If you decide to stick with coolercontrol – and I think I will, as I’d only just installed fancontrol when I found coolercontrol – run the following:
sudo systemctl disable fancontrol
That way only coolercontrol will start on boot.
awesome – just what i needed for transition to mint as a cad workstation
the app does nothing with regards to fans speed control. all I see is a bunch of temperature monitoring and absolutely no UI for fan speed adjustments.
Anyone ever get this to work on a Razor Laptop? Even if I could just hard set fan to 100% I’d be happy.