


To help users switching from Adobe PhotoShop, PhotoGIMP project updated today with support for the new GIMP 3.0 image editor.
PhotoGIMP is a free open-source project that optimizes GIMP for AdobeShop users. By changing the local app data, it organised the tools and their options to be PhotoShop style, assigned keyboard shortcuts to similar to the ones in Photoshop for Windows, following Adobe’s Documentation, and added new default settings to maximize space on the canvas.
As well, it added new custom startup splash screen and a separated launcher entry with new icon and name.
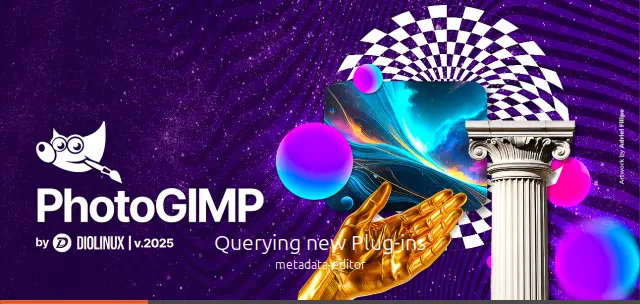
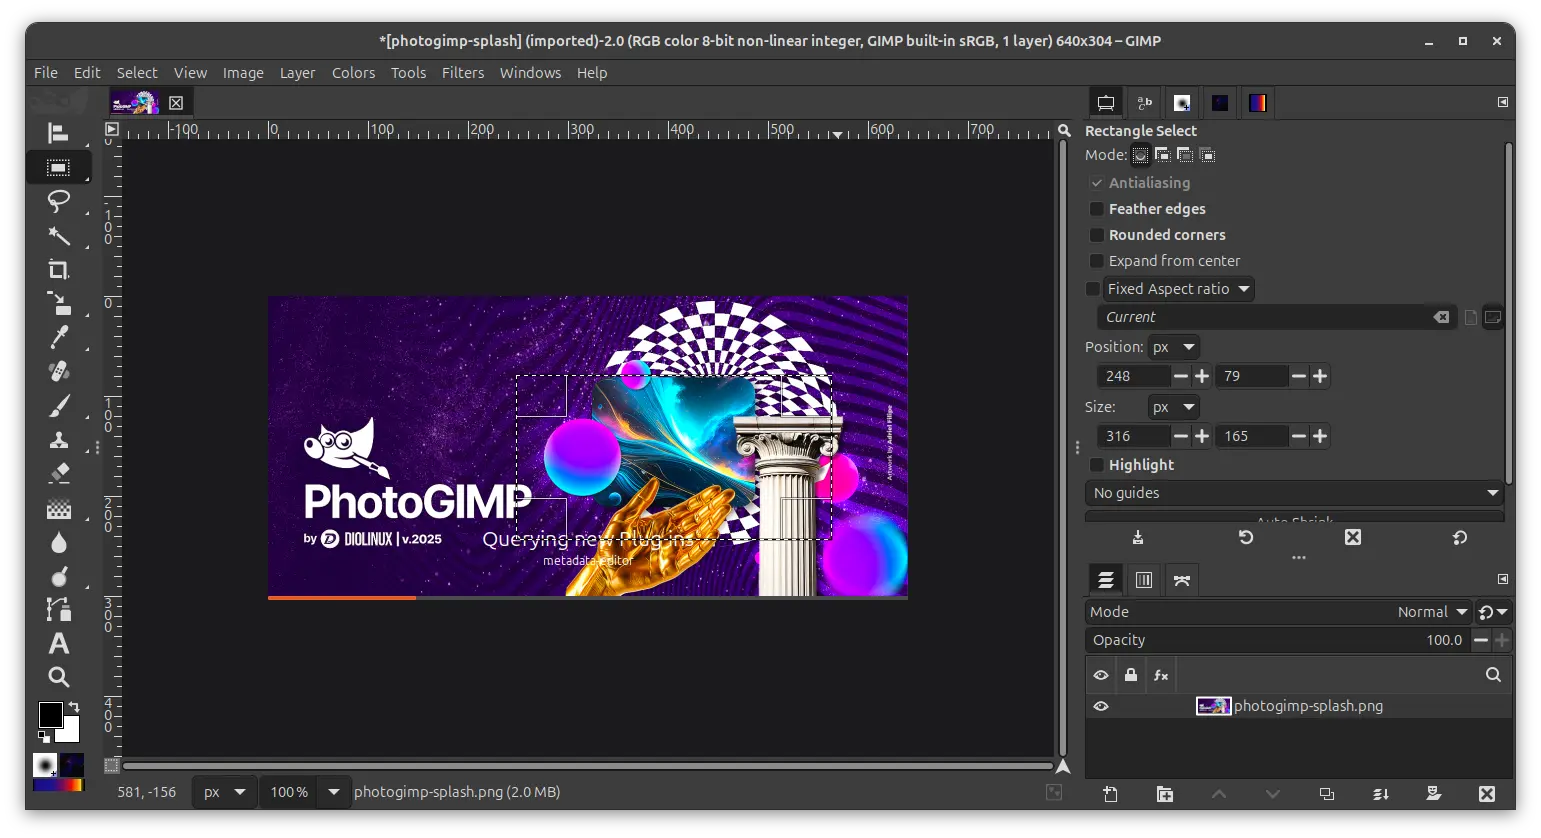
photogimp splash screen
PhotoGIMP was updated today with new GIMP 3.0 support, though it also offers an old version that works for GIMP 2.10.
Download & Install PhotoGIMP
NOTE: The steps below were tested and worked in Flatpak, AppImage, and native .deb versions of GIMP 3.0.
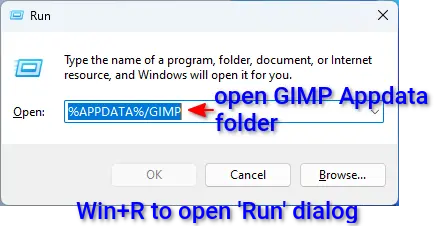
For Windows user, launch GIMP 3.0 for the first time to generate app data, then download PhotoGIMP.zip and decompress. Next, copy and paste the ‘3.0’ sub-folder from the extracted PhotoGIMP folder into GIMP app-data folder.
1. Before getting started, it’s recommended to BACKUP your personal settings, scripts, etc.
To do so, open home folder, press Ctrl+H, then navigate to .local folder and make a copy of the GIMP sub-folder.
NOTE: for new GIMP installation, you need to launch it for the first time to generate personal user data folders.
2. Download PhotoGIMP for GIMP 3.0 from the link below:
For GIMP 2.10, go to the Github releases and select download the old version.
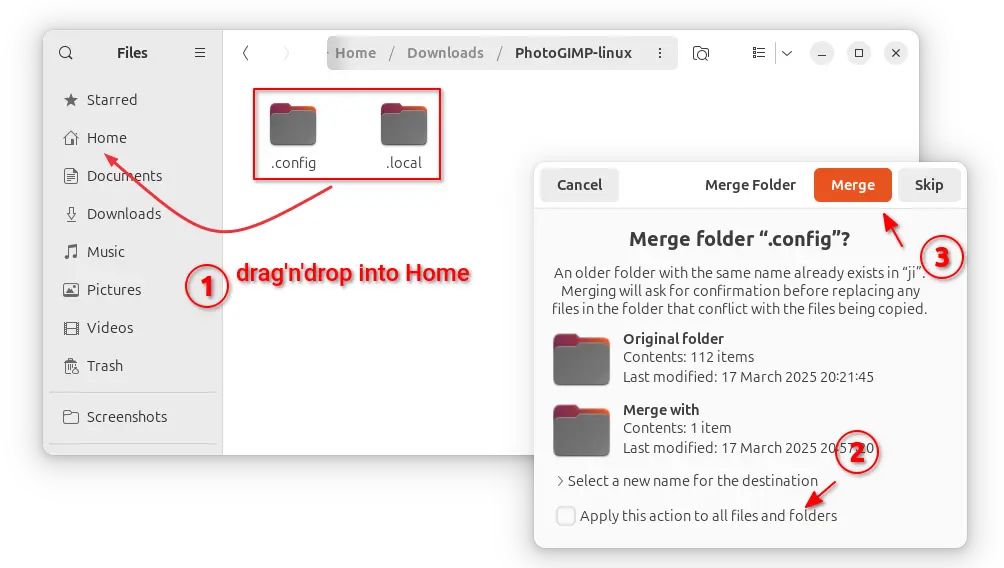
3. After downloaded the package, decompress and go into the extracted folder. Finally, move all the sub-folders into Home directory.
NOTE: You may need to press Ctrl+H to see the content in the extracted folder. And, choose “Merge” action for all the files during the process.
When done, launch/re-launch GIMP to see the changes.
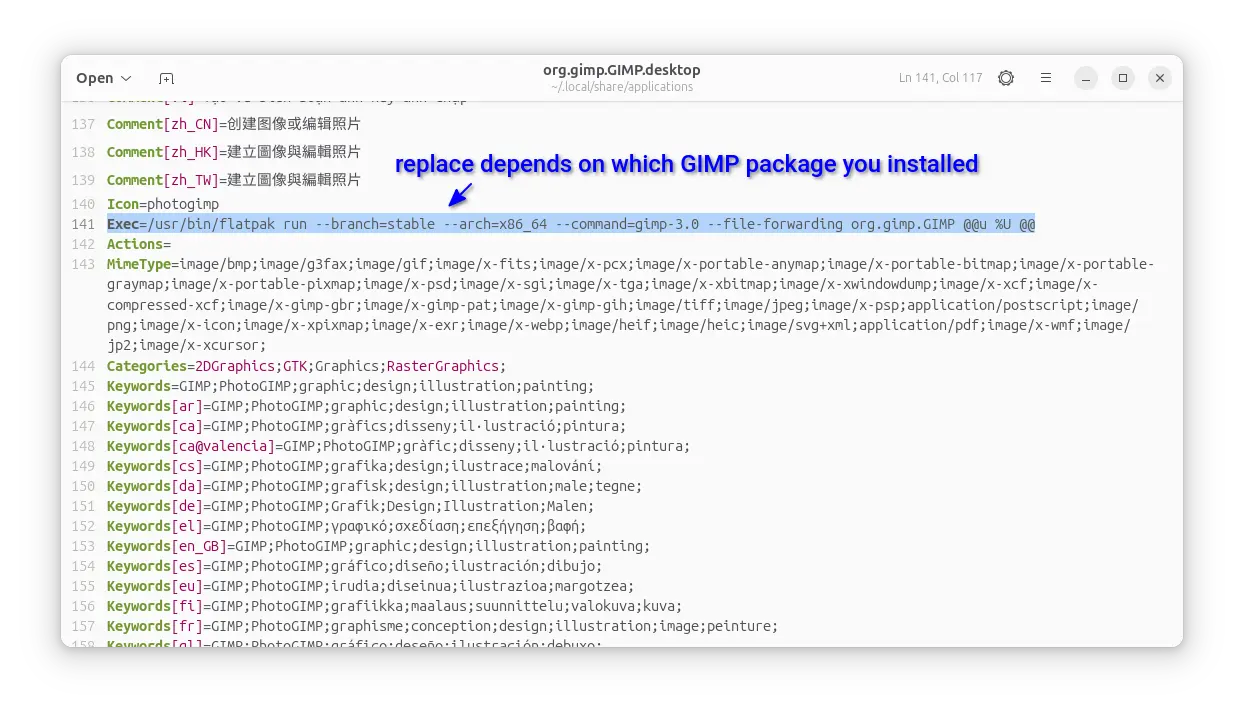
NOTE: The “PhotoGIMP” icon in start menu or GNOME overview search result is by default made for GIMP Flatpak package.
For .deb and AppImage packages, you need to open “text editor” and edit Home -> .local -> share -> applications -> org.gimp.GIMP.desktop file. And, finally change the Exec line to:
Exec=gimp-3.0 %Ufor native .deb package.Exec=/path/to/AppImage– for AppImage.
How to Restore
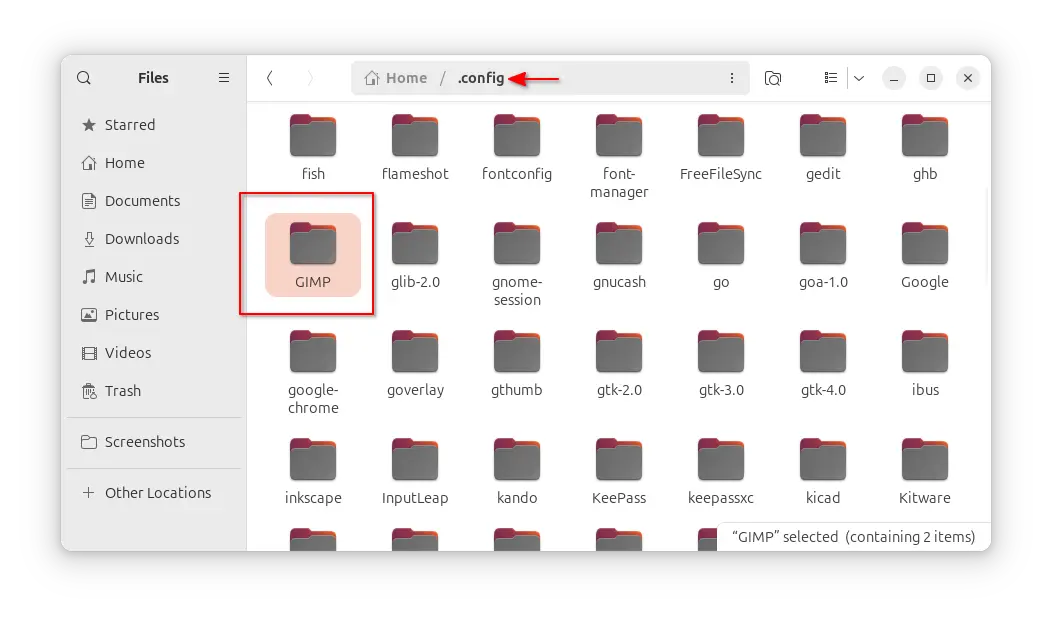
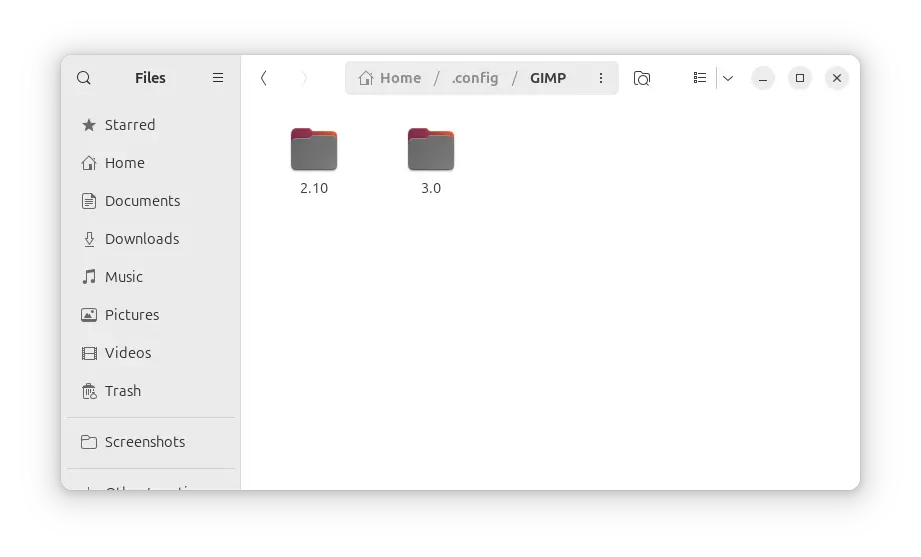
To uninstall PhotoGIMP and revert GIMP image editor to its original state, just open Home folder (press Ctrl+H to view hidden folders) and navigate to .config -> GIMP, then remove the 3.0 sub-folder (or 2.0 if you installed it from GIMP 2.10).
If you have a backup, just move it back to that folder and re-launch GIMP.
For the PhotoGIMP app icon, delete the org.gimp.GIMP.desktop file under .local/share/applications directory to get rid of it.


Would you please please update your PPA with Gimp 3.0 (g. Ubuntu Noble)?
That would be really nice: https://launchpad.net/~ubuntuhandbook1/+archive/ubuntu/gimp
I’ve made GIMP 3.0 into a new PPA:
https://launchpad.net/~ubuntuhandbook1/+archive/ubuntu/gimp-3
While the old one will stick at v2.10.x in case for those who need it.