


![]()
Auto-CPUFreq, the CPU speed & power optimizer and power saving tool for Linux, released new 3.0.0 version yesterday.
The new version of this free open-source application added graphical and command line options to override the CPU turbo boost, and config file option to specify battery device manually.
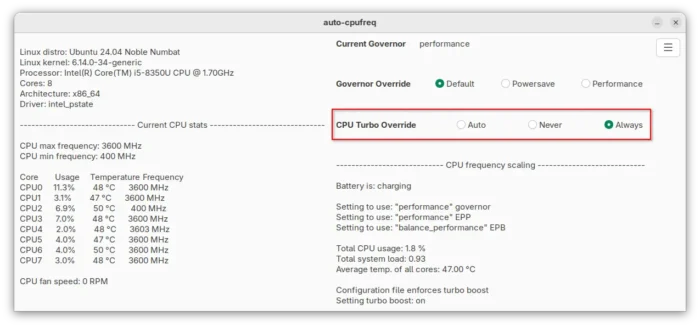
Auto CPUFreq graphical interface
Previously, the tool only allows to configure the CPU turbo boost to always on, auto, or never by editing the configuration file, which is not efficient as it requires a restart of the daemon service.
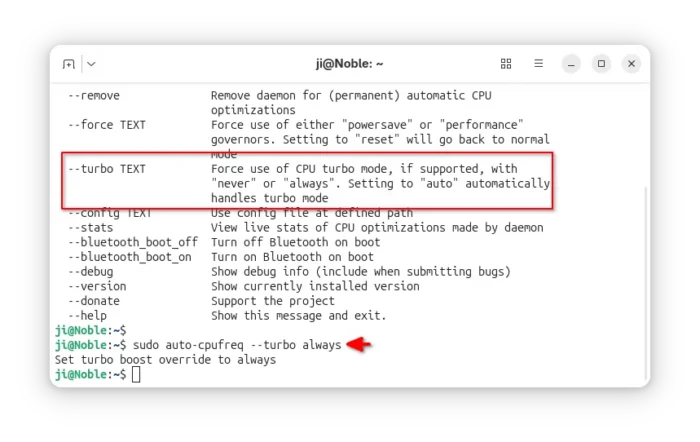
In the new 3.0.0 release, user can now do the job easily by either single mouse click on the GTK UI, or running the command below in terminal, which is useful for binding to a keyboard shortcut.
sudo auto-cpufreq --turbo always
Replace always to never or auto according to what you need. And, the change apply immediately with any restart, though the GUI may not update if you changed it from CLI.
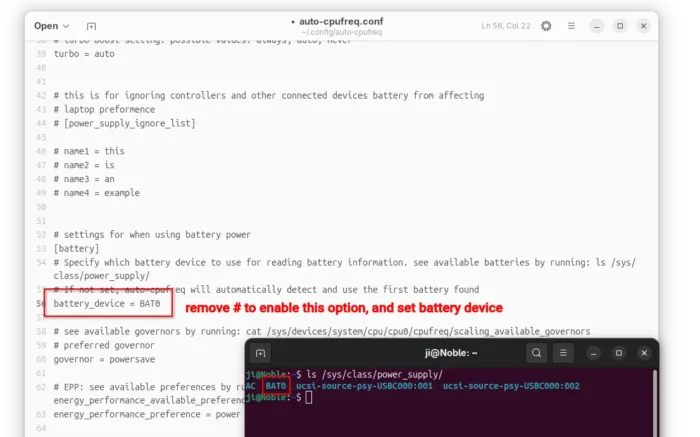
In case for whose laptop battery is not correctly detected, the new version also add an option into the configuration file, allowing to manually specify the battery device.
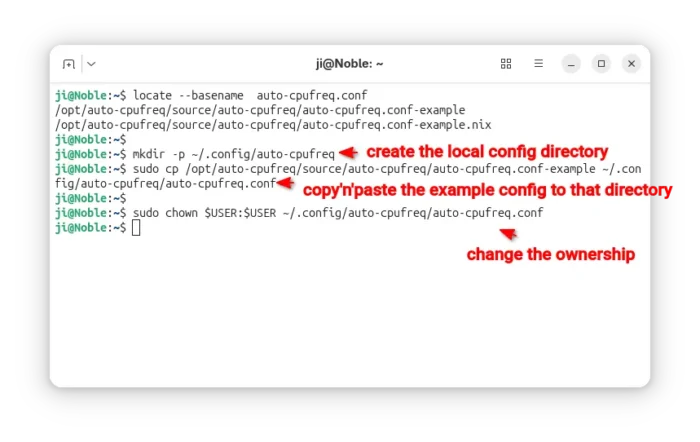
As auto-cpufreq does not use config file by default, you need to create one first by running the command below in terminal (Ctrl+Alt+T), after installed the app in Ubuntu.
mkdir -p ~/.config/auto-cpufreq
sudo cp /opt/auto-cpufreq/source/auto-cpufreq/auto-cpufreq.conf-example ~/.config/auto-cpufreq/auto-cpufreq.conf
sudo chown $USER:$USER ~/.config/auto-cpufreq/auto-cpufreq.conf
The 3 commands above first create the local config directory in case it does not exist, then copy the example file (only tested in Ubuntu) into that directory, finally change the ownership to user itself.
You can finally configure that file either by opening it from file manager (Ctrl+H to show hidden folders), or by running command:
nano ~/.config/auto-cpufreq/auto-cpufreq.conf
When file opens, find out the #battery_device line, remove # to enable it and finally change its value according to your /sys/class/power_supply sub-directories, usually BAT0, BAT1, …
Finally, run systemctl restart auto-cpufreq.service to restart daemon service to apply changes.
How to Install Auto-CPUFreq in Ubuntu
NOTE: Auto-CPUFreq conflicts to TLP and the built-in power profiles settings in GNOME/KDE etc desktop environment, as they do the similar things.
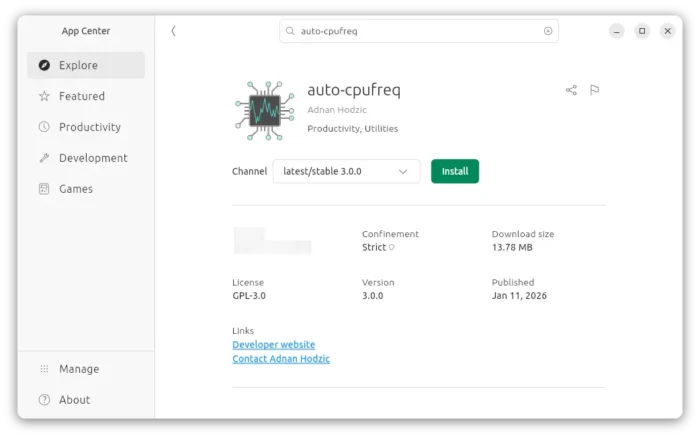
For Ubuntu, the app is available to install as Snap package that runs in sandbox environment. Simply launch App Center (or Ubuntu Software) then search & install it:
If you don’t like Snap package, then select download the source tarball from Github releases page (under “Assets”).
Next, decompress it and open the extracted folder in terminal, and finally run the installer script to install it:
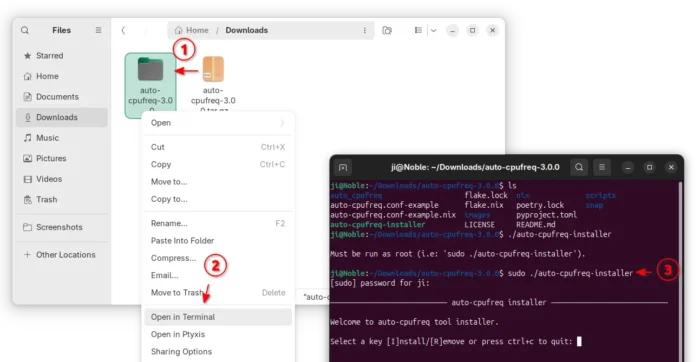
As you see in the screenshot, the installer script also provides an option to “Remove” the tool if you need.


