![]()
Linux Mint, the popular Linux Distribution for desktop PC and laptops, finally rolls out the new 22 major release images.
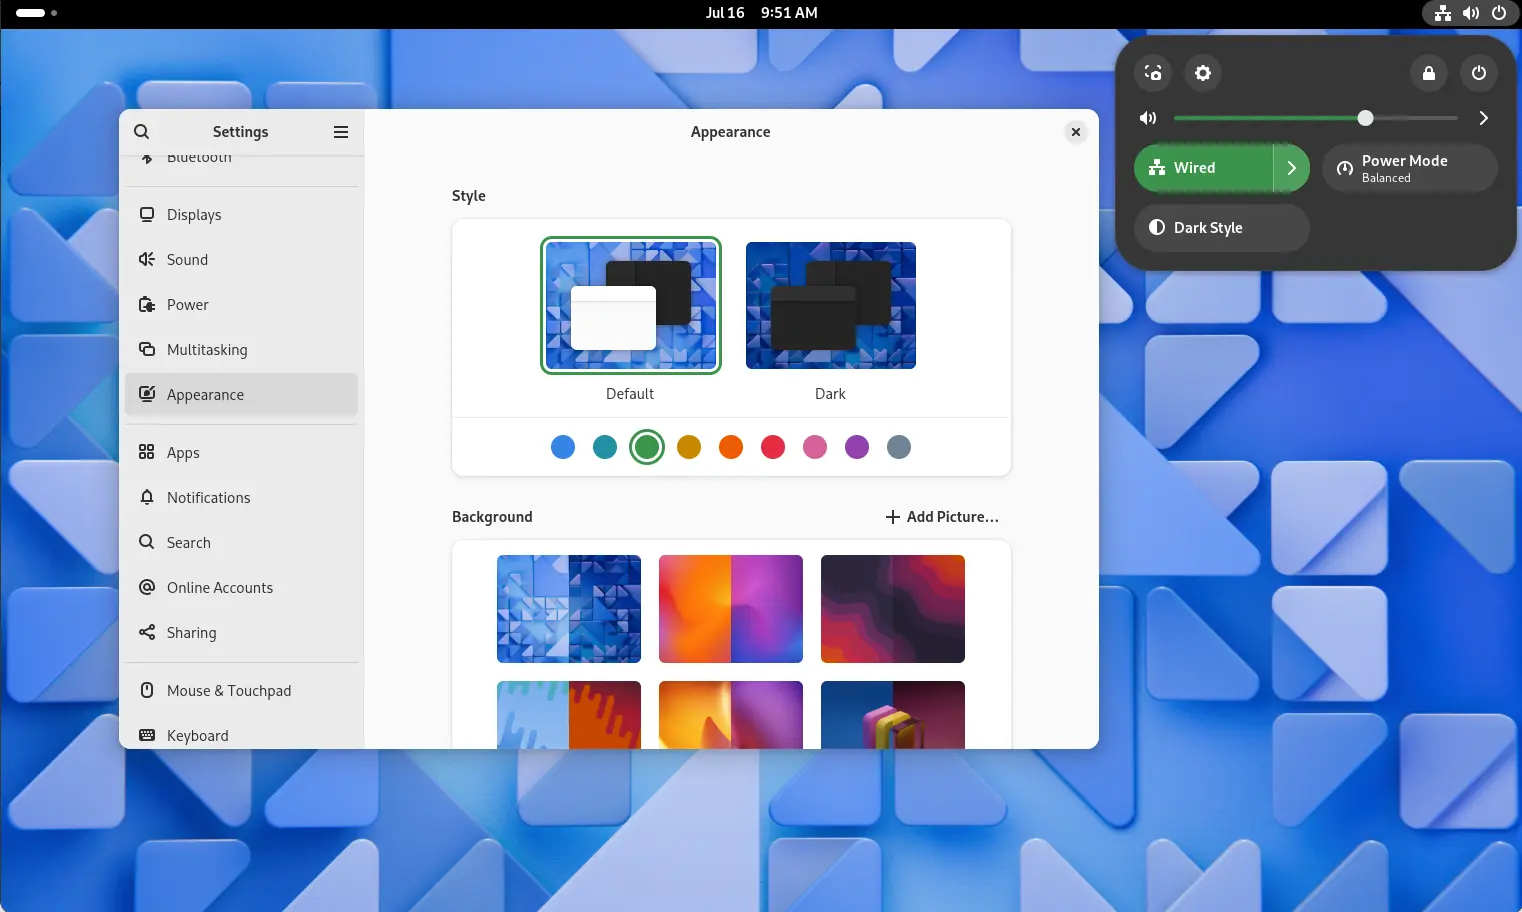
Linux Mint 22, code-name “Wilma”, is based on Ubuntu 24.04 LTS. It features Kernel 6.8, Cinnamon Desktop 6.2, and supports until 2029.
The stable release .iso images were rolled out few days ago on July 21 through the Linux Mint Community page. Most download mirrors have include the new .iso images in their websites.
If everything’s going well, the official website should update the download link and announce the release very soon.