![]()
Want to hear your sound in microphone? Here’s a stupid simple tool to the job in Linux.
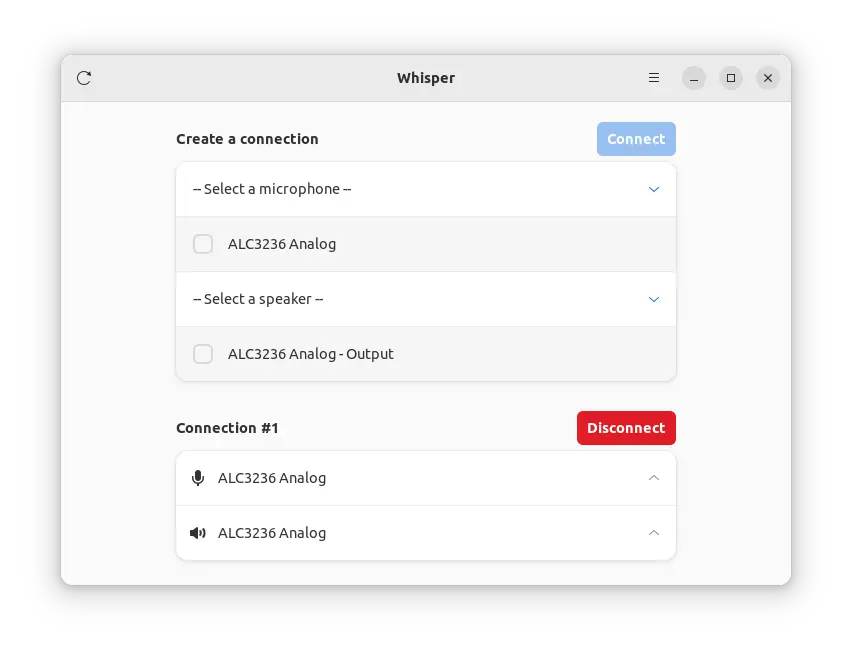
It’s Whisper, a new free and open-source GTK4 application, allowing listen to microphone through your speaker. Which, is useful for testing your microphone or for listening to your voice.
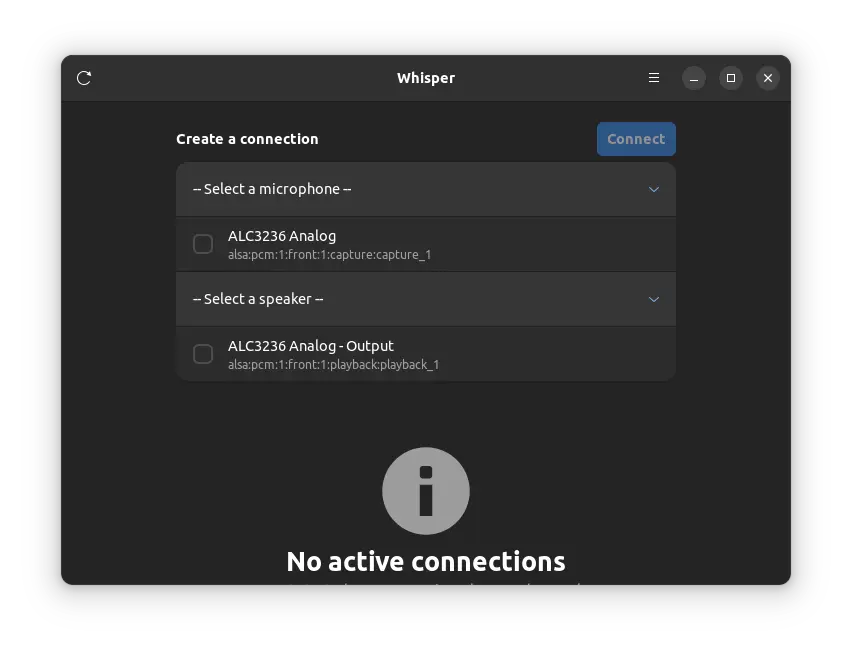
As the screenshot shows, the app is quite easy to use. Just select the microphone and speaker from the list, and click ‘Connect’. Then, you can say something or make some noise through microphone to see the magic.
As a GTK4 application, it follow system color scheme by switching between light and dark automatically. However, it needs both PulseAudio and Pipewire to make things work, which is default in Pop! OS 22.04, Ubuntu 22.10, Ubuntu 23.04, Fedora 35/36/37, etc.
How to Install Whisper in your Linux
As mentioned above, this application requires Pipewire audio server. For current Ubuntu 22.04 LTS, it’s NOT the default, though you can enable it by following this tutorial (NOT recommend for beginners).
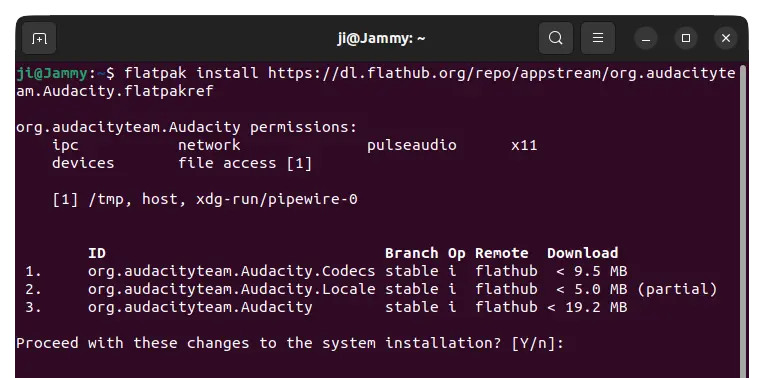
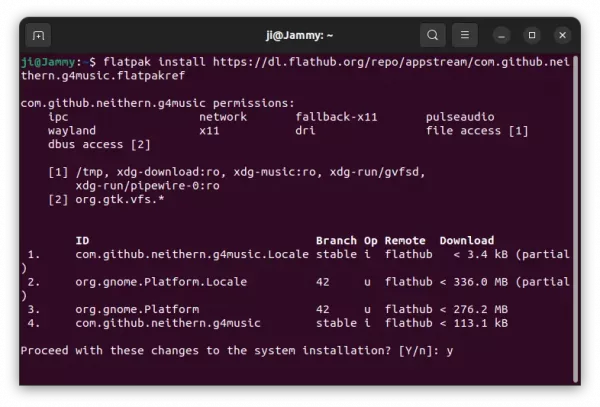
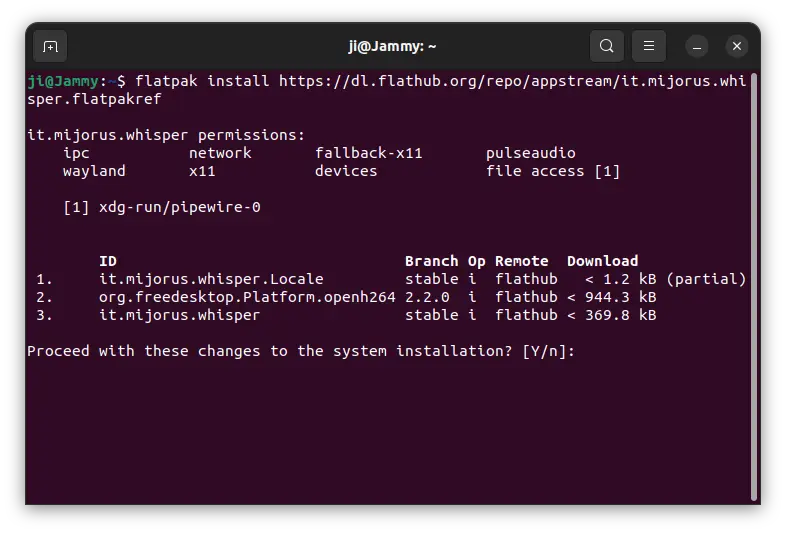
Whisper is available to install as universal Flatpak package. You can install it by following the steps below one by one:
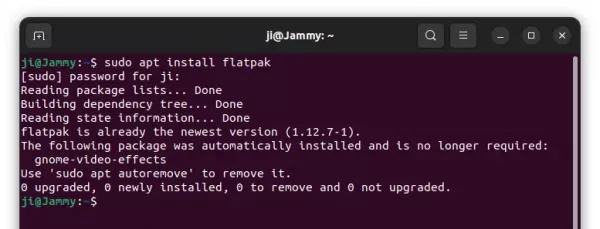
1. First, press Ctrl+Alt+T on keyboard to open terminal. When it opens, run command to install Flatpak daemon:
sudo apt install flatpak
Other Linux can follow this setup guide to enable Flatpak support.

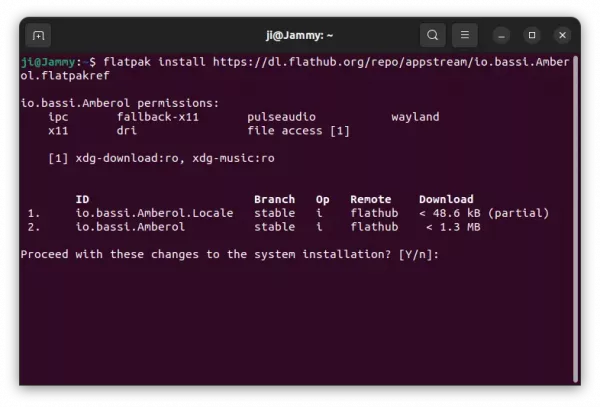
2. Then, run command to install Whisper as Flatpak package:
flatpak install https://dl.flathub.org/repo/appstream/it.mijorus.whisper.flatpakref
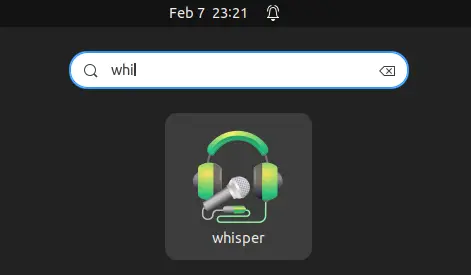
3. After installation, search for and launch it from start menu (Show Applications) like normal app and enjoy!
How to Remove Whisper
To remove the software package, also open a terminal window and run command:
flatpak uninstall --delete-data it.mijorus.whisper
Also run flatpak uninstall --unused to remove useless runtime libraries.