![]()
Kodi media center released version 18.3 a day with DTS-HD audio support and many bug-fixes. Here’s how to install it in Ubuntu 16.04, Ubuntu 18.04, Ubuntu 18.10, Ubuntu 19.04, and derivatives.
Kodi 18.3, codename “Leia”, release highlights:
- Fixed favourites widget not scrolling properly on 16:10 displays
- Fixed API button was not reachable with a mouse on Settings window
- Fixed Skin Settings window scrollbar focus
- Fixed order of TV Show title and Episode title in Video Info dialog
- Added Search button to the side menu in the Video and Music windows
- Fixed Wall and Infowall views scroll to bottom on certain aspect-ratios
- Fixed broken side menu navigation in the Addon Browser window
- Fixed a Group Manager crash when adding a new group
- Fixed EPG UI corruption and/or EPG data not showing with newly added channels
- Fixed PVR guide window channel data being overwritten
- Added support for DTS-HD audio tracks
- Fixed wrong album or artist thumb art being picked from scraper results

How to Install Kodi 18.3 in Ubuntu:
The Kodi stable PPA has made the new release packages for Ubuntu 16.04, Ubuntu 18.04, Ubuntu 18.10, and their derivatives.
1. Open terminal either via Ctrl+Alt+T keyboard shortcut or from application menu. When it opens, paste below command and hit run:
sudo add-apt-repository ppa:team-xbmc/ppa
Type user password (no asterisks feedback) when it prompts and hit Enter to continue.

2. Then refresh system package cache and install Kodi 18.3 via command:
sudo apt update

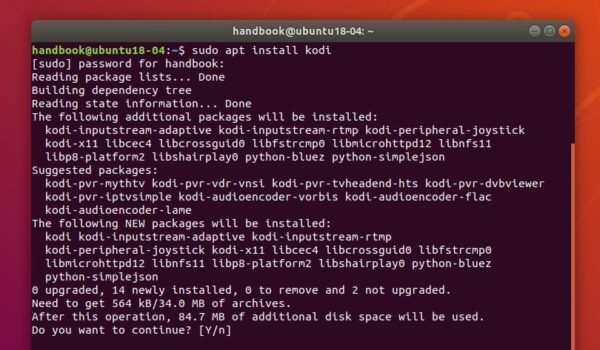
sudo apt install kodi
For Ubuntu 18.04 and higher, you can skip the apt update command.

Uninstall:
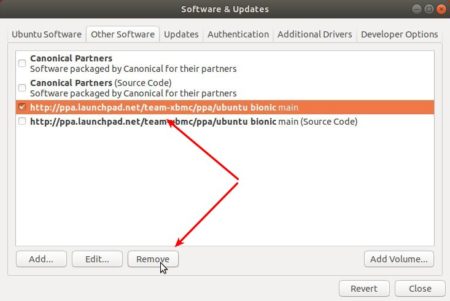
To remove the Kodi PPA repository, simply open Software & Updates -> Other Software.

To remove Kodi, run command:
sudo apt remove --autoremove kodi kodi-data kodi-bin


