This is a step by step guide for Ubuntu beginners how to share a folder over local network in Ubuntu 18.04 Gnome desktop. Also works in Ubuntu 19.04, Ubuntu 19.10 though.
It’s easy to share a folder in Ubuntu as the default file browser offer a context menu option to bring up the setup wizard.
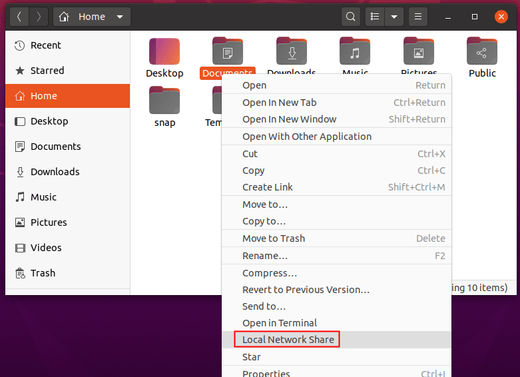
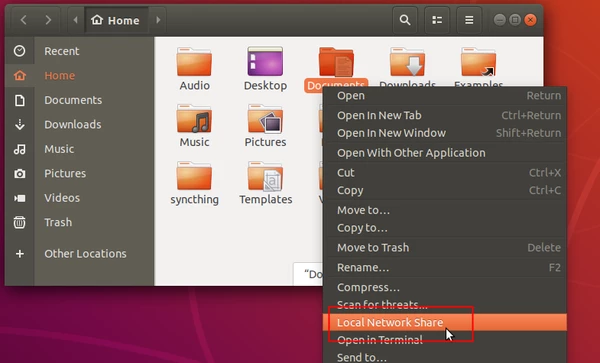
1.) First open the default Nautilus file browser, and right-click on a folder you want to share.
In the context menu, click the ‘Local Network Share‘ option.
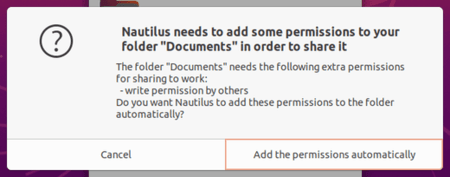
2.) In the pop-up dialog, check the checkbox says ‘Share this folder’ and click the ‘Install service’ button when it prompts.
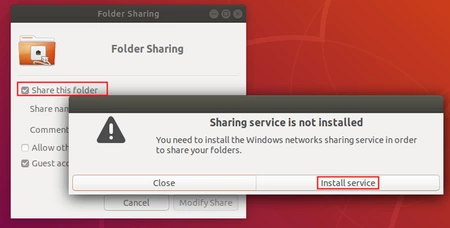
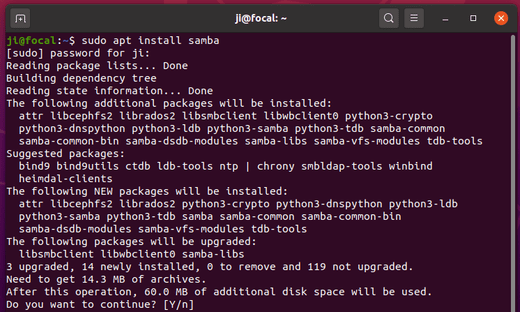
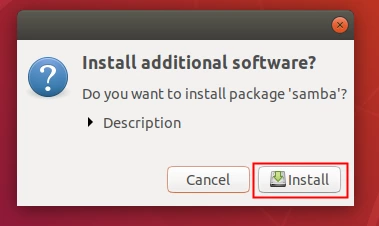
3.) And confirm by clicking on ‘Install’ button to install samba, a free software re-implementation of the SMB networking protocol.
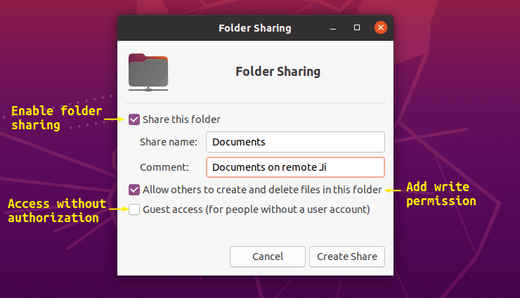
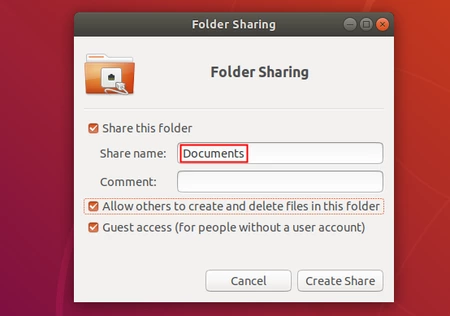
4.) After installed the services, do following in the ‘Folder Sharing’ window:
- Enable ‘Share this folder’
- Input a share name.
- (Optional) enable write permission, guest access.
- Finally click on ‘Create Share’ button.
5.(Optional) If you want remote machine to type username and password before accessing the shared folder, open terminal (Ctrl+Alt+T) and run command:
sudo smbpasswd -a USERNAME
Note:The “USERNAME” must be an existing user in your Ubuntu. It’s handbook in my case. And type a password twice for remote smb access only.

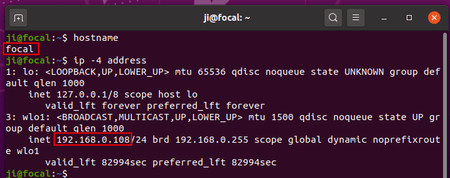
To access the shared folder, you first need to get either IP address or hostname.
- For the hostname (computer name), simply open terminal and run command
hostname
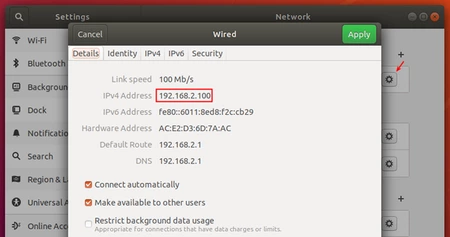
- For IP address, go to Settings -> Network (or Wi-Fi for wireless connection), click on the gear button, and check in the pop-up window.
To get access the shared folder:
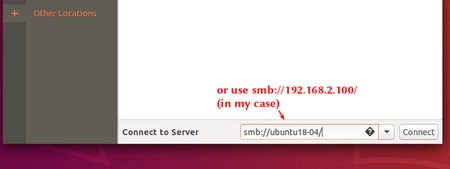
In Ubuntu, go to Files -> Other Locations. In the bottom input box, type smb://IP-Address/ and hit enter.
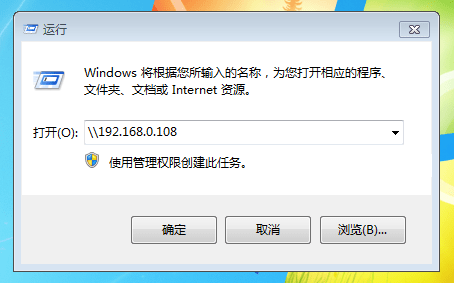
In Windows, open Run box in Start menu, type \\IP-Address\ and hit enter.
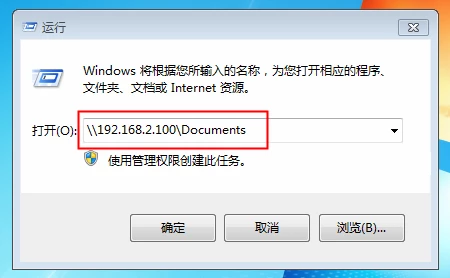
Type username and password you set in step 5 when it prompts, or type guest (if enabled)


