


![]()
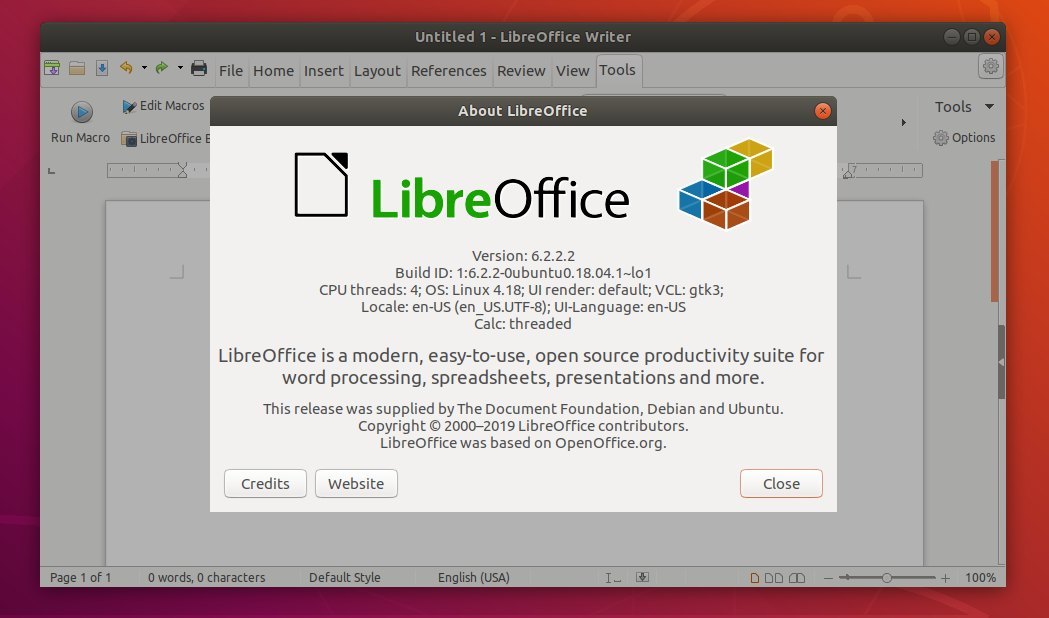
Ubuntu users can finally upgrade the default LibreOffice office suite to version 6.2 (6.2.2) via PPA, though the LibreOffice 6.2 snap package is available to install for many days.
LibreOffice 6.2 was released a months ago. New features include:
- LibreOffice NotebookBar UI in 3 styles: Tabbed, Groups, and Contextual.
- Improved icons for HiDPI displays.
- Context menus of each app has been reworked and tidied up.
- Better file compatibility with Microsoft Office
Install Libreoffice 6.2.2 via PPA in Ubuntu:
For Ubuntu 16.04, Ubuntu 18.04, Ubuntu 18.10, and Ubuntu 19.04, do following steps to install the office suite from Libreoffice Fresh PPA.
1. Open terminal either via Ctrl+Alt+T keyboard shortcuts, or by searching for “terminal” from application launcher. When it opens, run command to add the LibreOffice PPA:
sudo add-apt-repository ppa:libreoffice/ppa
Type user password (no asterisk feedback while typing) when it prompts, and read terminal output for PPA description and hit Enter to continue.

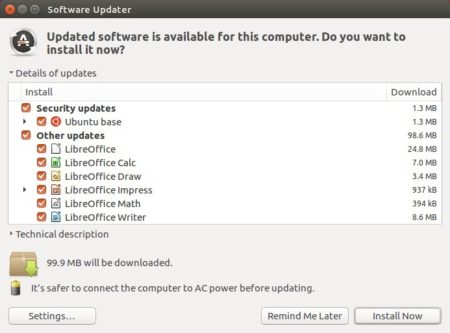
2. Then you’ll see the upgrade available in Software Updater after checking for updates.
Or run commands in terminal to install LibreOffice:
sudo apt update

sudo apt install libreoffice
For Ubuntu 18.04 and higher, you can skip sudo apt update as it’s done while adding PPA.
Uninstall:
You can restore to stock version of LibreOffice in Ubuntu main archive by running command in terminal:
sudo apt-get install ppa-purge && sudo ppa-purge ppa:libreoffice/ppa


LibreOffice exports all settings
All the settings of LibreOffice, all in the LibreOffice folder.
C:\Users\a←When installing the operating system, the name entered.\AppData←File Manager ~ “Hidden project” to open, the AppData folder will be displayed.\Roaming\LibreOffice
Back up the LibreOffice folder, when reinstalling, put the LibreOffice folder in its original place.
Note:
1. If the installation is preview edition, because the name of preview edition is LibreOfficeDev, so the LibreOfficeDev folder will be displayed.
2. Formal edition can be installed together with preview edition, if both formal edition and preview edition are installed, LibreOffice folder and LibreOfficeDev folder will be displayed.
3. To clear all settings, just delete the LibreOffice folder, then open the program, a new LibreOffice folder will be created.
LibreOffice exports a single toolbar I made
Common path
C:\Users\a←When installing the operating system, the name entered.\AppData←File Manager ~ “Hidden project” to open, the AppData folder will be displayed.\Roaming\LibreOffice\4\user\config\soffice.cfg\modules\Please connect the branch path of the individual software below.
Branch path
\modules\StartModule\toolbar\The “Start” toolbar I made is placed here.
\modules\swriter\toolbar\The “writer” toolbar I made is placed here.
\modules\scalc\toolbar\The “calc” toolbar I made is placed here.
\modules\simpress\toolbar\The “impress” toolbar I made is placed here.
\modules\sdraw\toolbar\The “draw” toolbar I made is placed here.
\modules\smath\toolbar\The “math” toolbar I made is placed here.
\modules\dbapp\toolbar\The “base” toolbar I made is placed here.
Backup file, when reinstalling, put the file in the original place.
Note:
1. Because of the toolbar that I made myself, default file name, will automatically use Numbering, so to open the file, can know the name of the toolbar.
2. The front file name “custom_toolbar_” cannot be changed, change will cause error, behind’s file name can be changed.
For example: custom_toolbar_c01611ed.xml→custom_toolbar_AAA.xml.
3. Do well of toolbar, can be copied to other places to use.
For example: In the “writer” Do well of toolbar, can be copied to “calc” places to use.
LibreOffice self-made symbol toolbar
Step 1 Start “Recording Macros function”
Tools\Options\Advanced\Enable macro recording(Tick), in the “Tools\Macros”, the “Record Macro” option will appear.
Step 2 Recording Macros
Tools\Macros\Record Macro→Recording action (click “Ω” to enter symbol→select symbol→Insert)→Stop Recording→The name Macros stored in “Module1” is Main→Modify Main name→Save.
Step 3 Add item new toolbar
Tools\Customize\Toolbar→Add→Enter a name (example: symbol)→OK, the new toolbar will appear in the top left.
Step 4 Will Macros Add item new toolbar
Tools\Customize\Toolbar\Category\Macros\My Macros\Standard\Module1\Main→Click “Main”→Add item→Modify→Rename (can be named with symbol)→OK→OK.
Great news and guide, thanks!
as a note in mint 19.1 i also had to install libreoffice-gtk3 if i wanted libreoffice to match my theme and not look like windows 95
sudo apt-get install libreoffice-gtk3
if you want the extra icon sets you also need to do
sudo apt-get install libreoffice-style*
Thank for sharing, I had to do a to make my new version of libreoffice to work :
sudo apt install –reinstall libreoffice