![]()
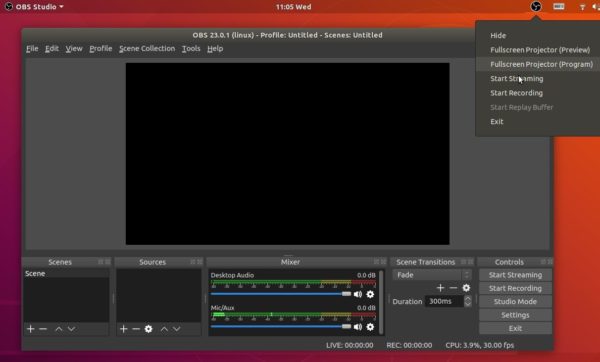
OBS Studio, free live streaming and screen recording software, released version 23.0 recently with many new features. Here’s how to install it in Ubuntu 16.04, Ubuntu 18.04, Ubuntu 18.10.
OBS Studio 23.0 release highlights:
- Add Limiter audio filter, Expander audio filter.
- Add VAAPI video encoder on Linux.
- Add batch remuxing support to the Remux Recordings dialog.
- Option to automatically remux recordings to MP4 in Advanced settings.
- Add Decklink output tool to the tools menu.
- Add an optional Stats dock (disabled by default).
- Add multi-track audio support to FFmpeg output in advanced output settings.
- Add an Invert Polarity audio filter.
- Add VLC source support to the Instant Replay script.
- Some other enhancements, and many bug-fixes.
How to Install OBS Studio 23 in Ubuntu:

For the official PPA packages, all current Ubuntu releases can do following steps to install the latest OBS Studio.
1. Open terminal either via Ctrl+Alt+T keyboard shortcut or by searching for “terminal” from app launcher. When it opens, run command to add the PPA:
sudo add-apt-repository ppa:obsproject/obs-studio
Type user password (no asterisk feedback) when it prompts and hit Enter.

2. For Ubuntu 14.04 you also need to run command to add another PPA for FFmpeg library:
sudo add-apt-repository ppa:kirillshkrogalev/ffmpeg-next
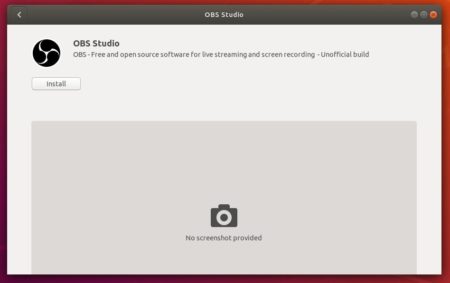
3. Now you can install OBS-Studio via Synaptic package manager, upgrade the software from an existing release via Software Updater, or simply run commands one by one:
sudo apt-get update

sudo apt-get install obs-studio
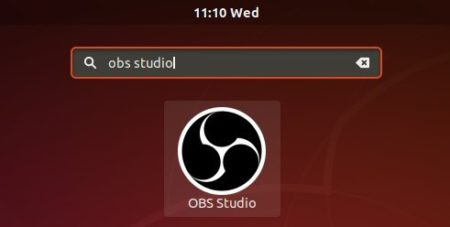
Once installed, launch the software from Unity Launcher, Gnome Launcher, or other app launcher and enjoy!

Uninstall:
To remove the software, either use Synaptic package manager or run command in terminal:
sudo apt-get remove --autoremove obs-studio
To remove PPA repositories, launch Software & Updates and navigate to ‘Other Software’ tab.


