![]()
This simple tutorial shows how to install Atom text editor and receive future software updates via its official apt repository in Ubuntu 18.04 and higher.
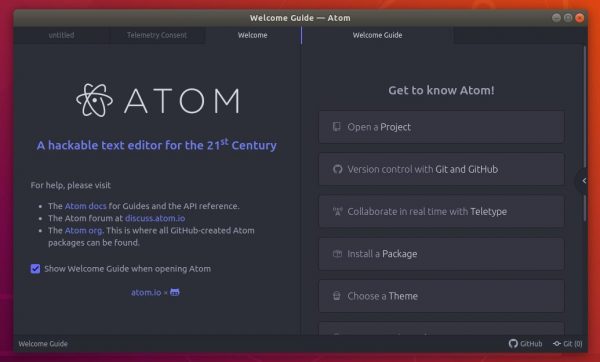
Atom is a hackable text editor for the 21st century. It is available in Ubuntu Software via Snap package, which runs in sandbox and auto-updates itself once a new release is published.
However, for those prefer Ubuntu .deb package atom can be also installed and easily updated via its official apt repository.

1. Open terminal either from application launcher or by pressing Ctrl+Alt+T on keyboard. When it opens, run command to install the repository key:
wget -qO - https://packagecloud.io/AtomEditor/atom/gpgkey | sudo apt-key add -
Type user password (no asterisk feedback) when it asks and hit Enter.

2. Then run command to add the official Atom repository:
sudo sh -c 'echo "deb [arch=amd64] https://packagecloud.io/AtomEditor/atom/any/ any main" > /etc/apt/sources.list.d/atom.list'

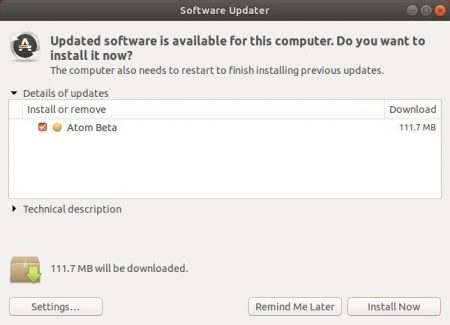
3. Now you can always update an old Atom .deb software installation via Software Updater utility:

or run command in terminal to install (or upgrade) the editor:
sudo apt update && sudo apt install atom
replace atom with atom-beta in the code if you want to install the latest beta package.

Uninstall:
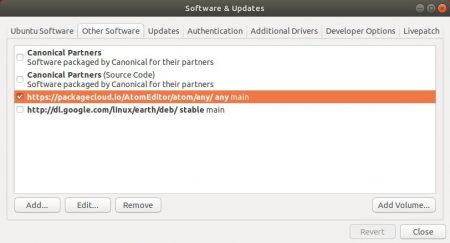
To remove the apt repository, open Software & Updates and navigate to Other Software tab, then remove the line says Atom Editor.

And remove the text editor if you want via command:
sudo apt remove atom atom-beta


