


![]()
This tutorial shows how to install the guest additions for Debian, Ubuntu, Linux Mint based systems that are running as Virtualbox virtual machine.
Guest Additions is an external package designed to be installed inside a VirtualBox guest OS. It enables closer integration between the host and guest OSes, including features such as shared folder, custom video drivers, seamless window mode, and more.
Guest Additions is not installed by default after installed your system as virtual machine. It’s however easy to install through the official CD image.
Ubuntu 24.04 Guest OS in VirtualBox
Step 1: Download & Insert Guest Additions CD Image
If you installed VirtualBox through the official package from its website, then it includes the guest additions image file in the installation directory.
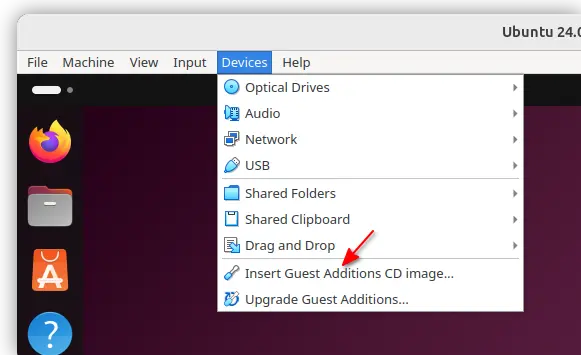
In the case, just boot your guest OS, then go to the virtual machine menu Devices -> Insert Guest Additions CD image…. Finally, you can access the disk content from in the guest OS file manager.
Some packages (such as VBox in Ubuntu system repository) do NOT include that image. When you click the menu option, it pops up a dialog asking you to click download the image, which however may fail for unknown reason!
In the case, you may follow the steps below to manually download and insert the CD image.
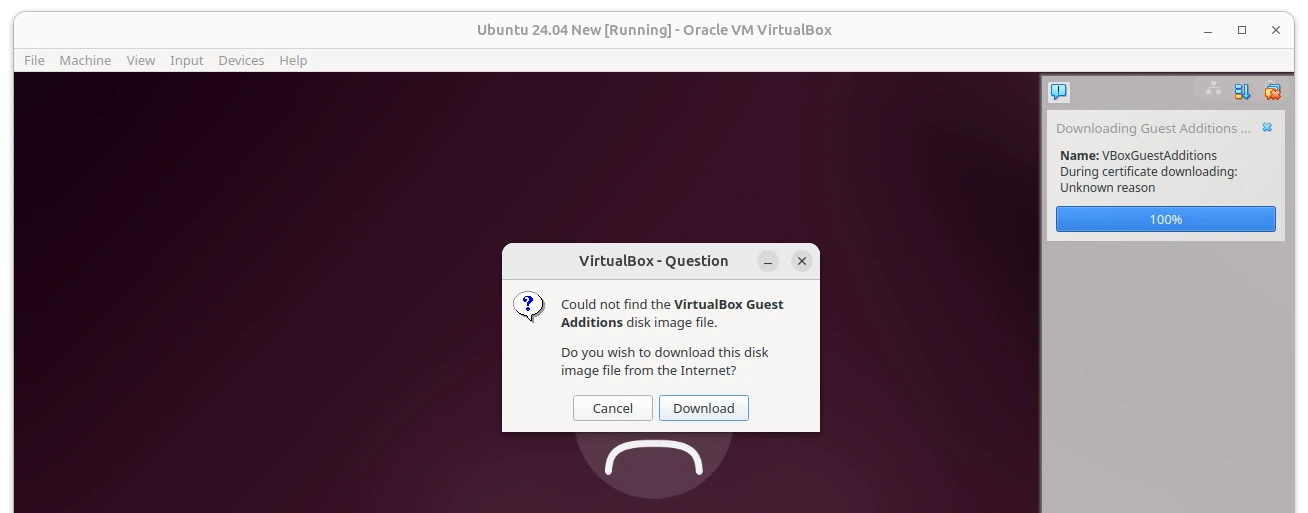
it prompted to click download guest additions disk image, but then failed
1. Download Guest Additions CD Image
As a workaround, you may manually download the CD image by visiting the link below in either host or guest OS:
Choose your VirtualBox version in the web page then select download the ‘VBoxGuestAdditions_x.x.xxx.iso’ file.

2. Insert the CD Image
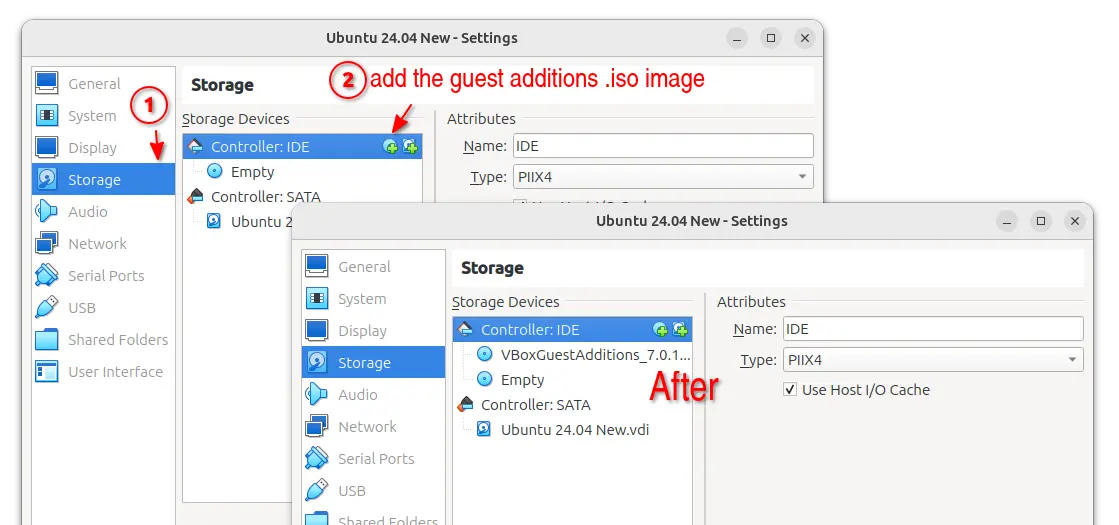
If you downloaded the CD image in the host OS, then close the virtual machine and open its Settings page.
Next, navigate to “Storage” tab. Click ‘Adds optical drive’ icon after Controller: IDE, finally choose to add the downloaded guest additions CD image. Finally, boot the guest OS.
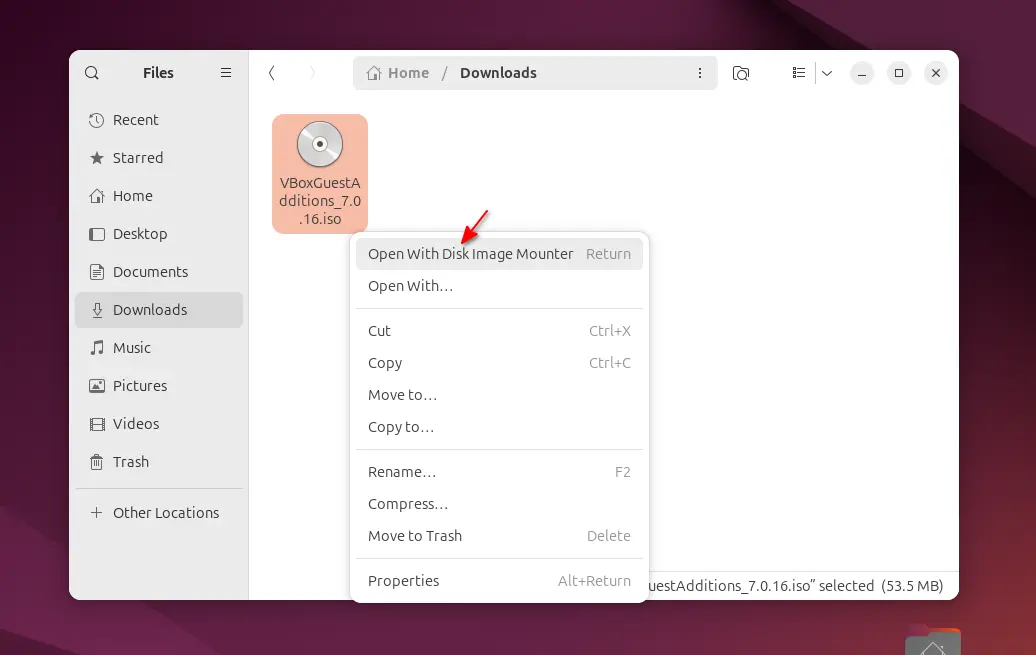
If you downloaded the image inside the guest OS, then, just right-click on the .iso image in your Downloads folder, and click Open with Disk Image Mounter option.
Step 2: Install the Guest Additions
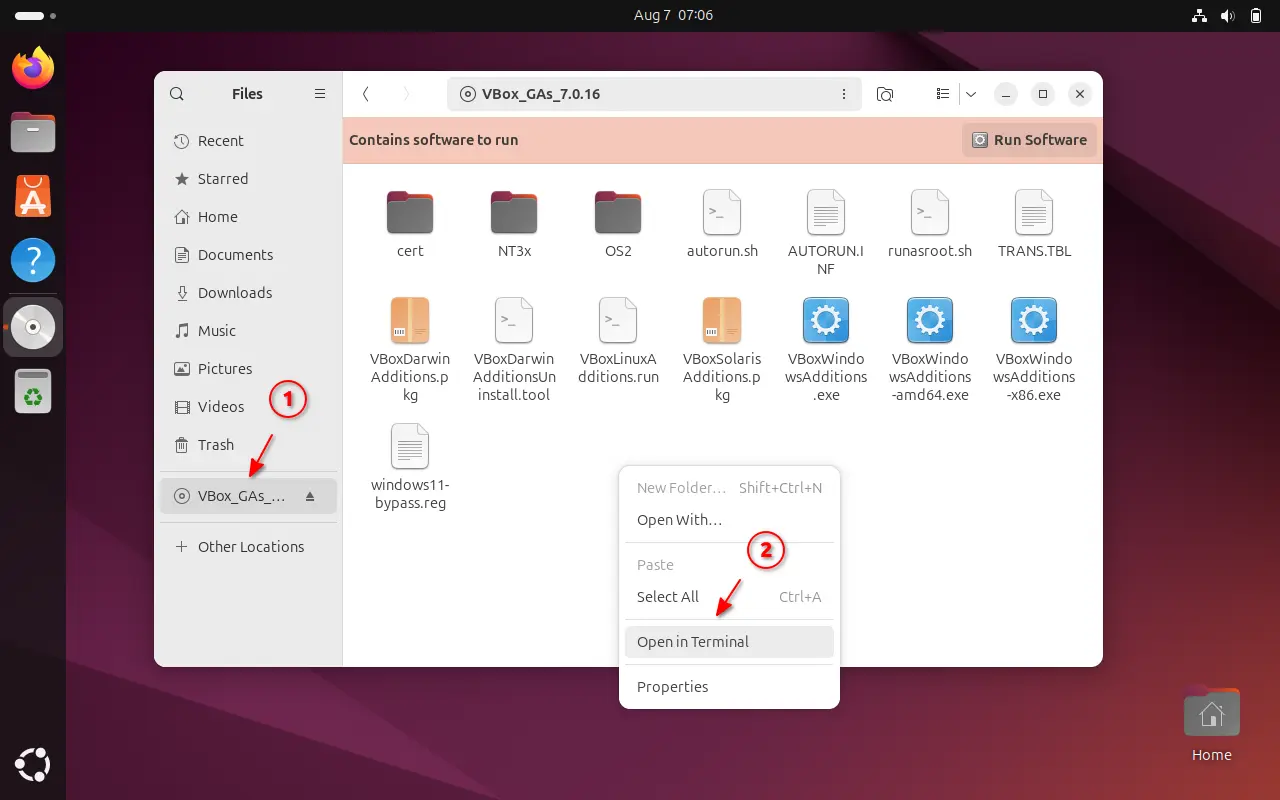
If step 1 is done properly, then you’ll see the “VBox_GAs_x.x.xx” mounted in the left pane in your file manager.
Just click on it to open the disk content page, right-click on blank area then choose “Open in Terminal” to open up a terminal window with that folder as working directory.
In the pop-up terminal window, finally run the 2 commands below one by one to install:
- First, install some dependency libraries via command:
sudo apt install bzip2 build-essential gcc make perl dkms
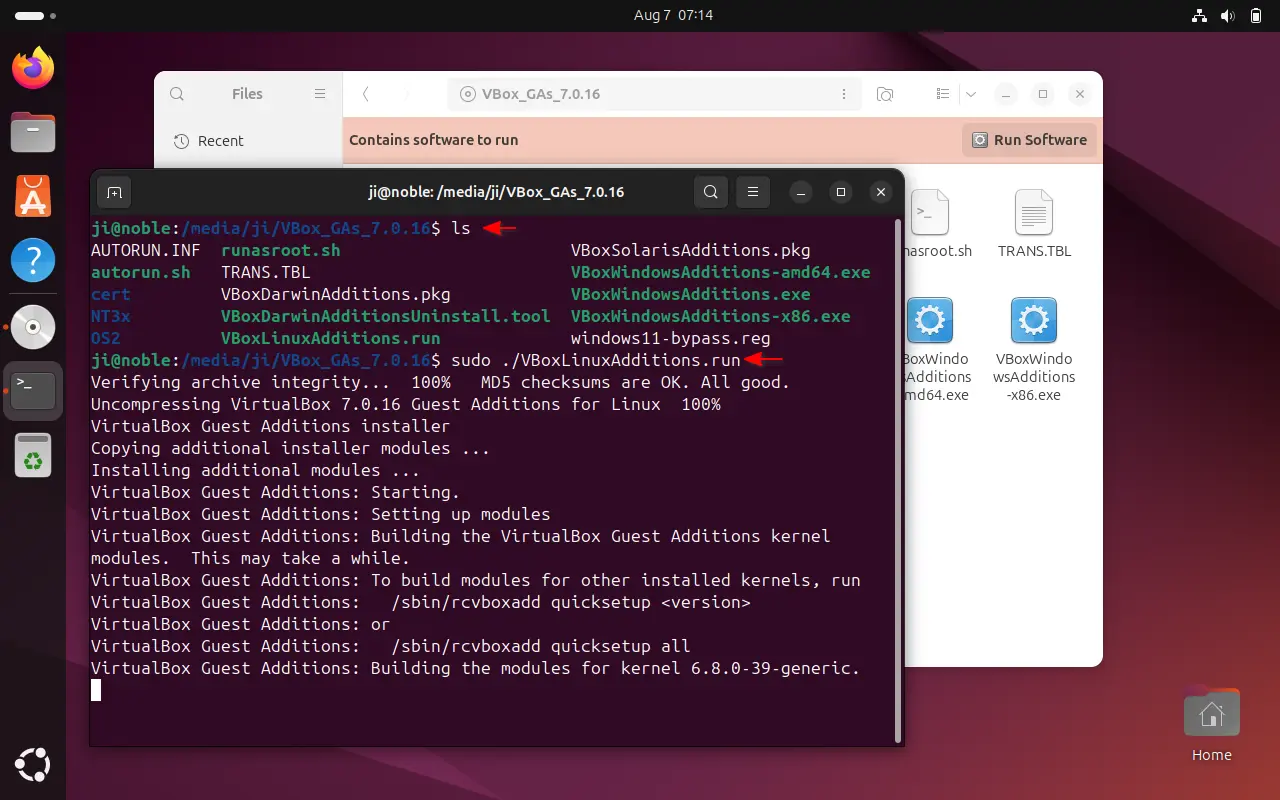
- Next, run the installer in the directory to start installing the Guest Additions:
sudo ./VBoxLinuxAdditions.run
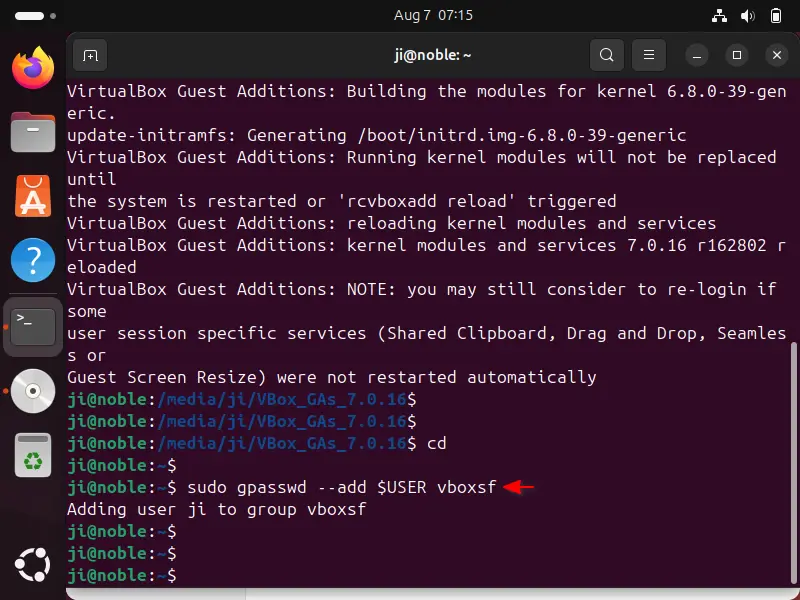
If you’re going to add shared folders for this VM, then you also need to add user to vboxsf group. To do so, run the command below in guest OS terminal window:
sudo gpasswd --add $USER vboxsf
If you want to access USB device inside guest OS, then you need to add user into vboxusers group in the host OS (log out and back in required). For Linux host, use the command below in terminal:
sudo gpasswd --add $USER vboxusers
Finally, reboot your guest OS to apply the changes. And, open either Settings dialog or Devices menu to configure “shared folder”, “Shared Clipboard”, etc as you want!


