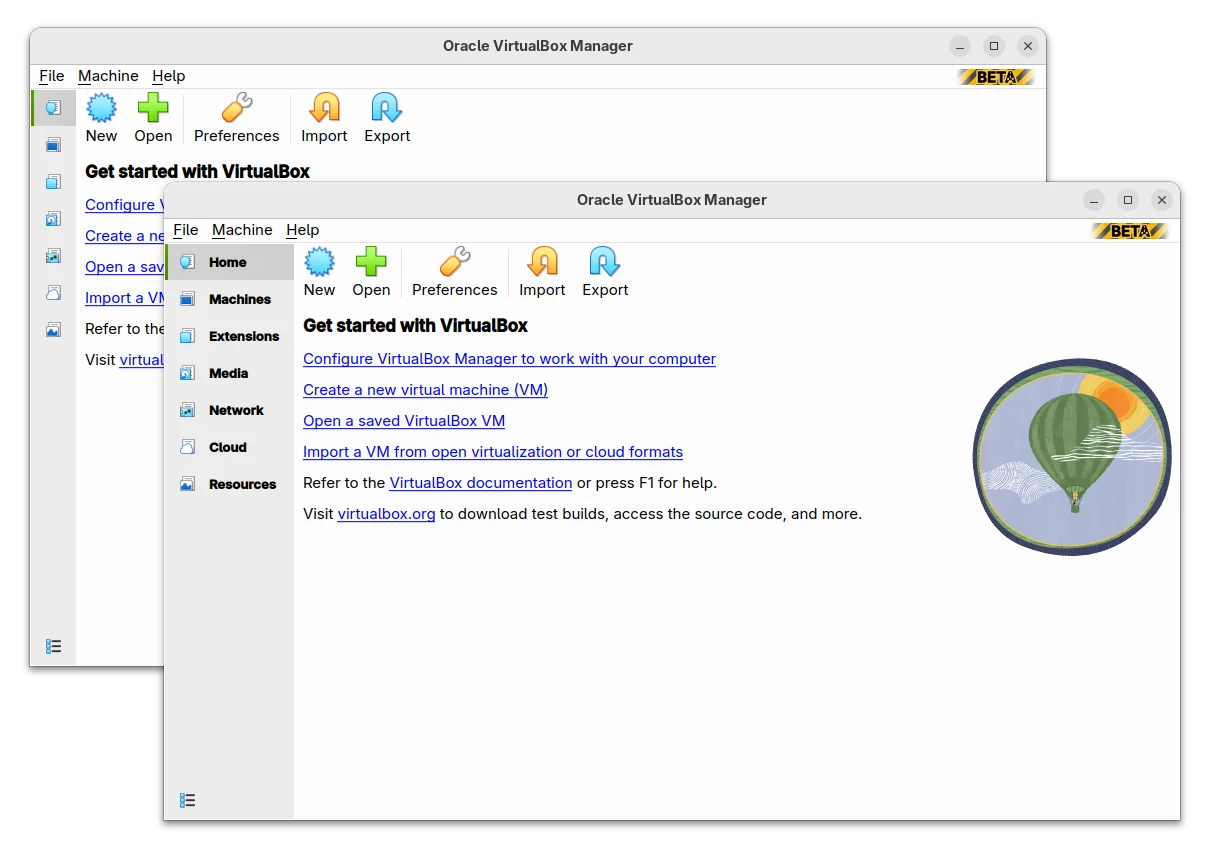
Archives For Virtualbox

This simple tutorial shows how to install Virtualbox Guest Additions in Ubuntu based systems, e.g., Linux Mint, Zorin OS and Elementary OS, with fix or workaround for common issues.

Guest Additions is a set of device drivers and system applications to install in Guest OS. It’s useful when you try to share folder and/or clipboard between guest and host, enable USB support etc. Installing the software suite is easy via a menu option. However, it might not function in some cases.

Install Guest Additions in the Normal Way

Firstly, start and login the Guest OS. Then go to VM menu “Devices -> Insert Guest Additions CD image“.

Usually, a pop-up dialog will open and prompt whether to run autorun script or not. Just click “Run” and it starts to install the guest additions after you typing user password in authentication dialog.

After installation, the additions will function in next boot of the Guest OS.

[Workaround] Unable to insert the virtual optical disk:

Sometimes it outputs an error “Unable to insert the virtual optical disk … into the machine …” when you click on the menu option in VM (VirtualBox Machine).

It happens in my case when trying to install the additions in Elementary OS 6. And it will pop-up an error dialog:

Don’t know why but do following steps will fix the issue in next Guest boot:

1.) Power off the Guest OS, then go to its Settings page. Under the Storage settings, remove the attached iso under Controller:IDE.

2.) Next add new optical drive, and click “Leave Empty” in the select dialog.

After saving the changes, start the Guest OS and try to install the additions again.

Manually Download & Install Guest Additions:

Nothing happens when clicking ‘Insert Guest Additions CD image’ option? You can download the iso, mount it, and install the Guest Additions manually.

1.) Firstly start the VirtualBox Machine, download the iso image for your VirtualBox edition, usually “VBoxGuestAdditions_x.x.xx.iso”, from the link button below:

2.) Next open the Downloads folder, right-click or (double-click) on the file and select to mount the iso image.

The dialog should pop-up allows you to select “Run” to install the additions. If not, go to the mounted folder from the left pane in file manager. Right-click on blank area and select ‘Open in Terminal‘ to open a terminal window and navigate to the directory automatically.

When terminal opens, run the .run installer manually via command:

sudo ./VBoxLinuxAdditions.run

That’s all. Enjoy!

Virtualbox

This tutorial shows how to mount the VirtualBox virtual disk image in Ubuntu, so you can access the Guest OS file system with read and write permission, if it does not boot.

After misconfigured my VirtualBox Guest OS, it does not longer work. I know how to correct the issue to make it boot again, but firstly accessing to the file system is required!

Since the VBox user manual does not work, here’s what I did in Ubuntu 20.04 host with VirtualBox 6.1.x:

Before getting started, make sure Guest OS is shutdown. And the disk image is not in use. Also UN-MOUNT the disk once the job done.

1.) Firstly open terminal from system application launcher. When it opens, run command:

vboximg-mount --list

vboximg-mount is a utility to make VBox disk images available to the host. With --list, it list all Disk Images as well as the UUID.

In the case, I have all Guest OSes on single Disk Image (.vdi). And the uuid is: “3db5fd91-fd56-46af-a2d2-98cd62b05ea3”

2.) Next perform a FUSE mount of the virtual disk image:

  • First create a folder as mount point, vbox_sysdisk for instance:
    mkdir vbox_sysdisk
  • Then mount it via command (remember to change the UUID to yours):
    vboximg-mount -i 3db5fd91-fd56-46af-a2d2-98cd62b05ea3 -o allow_root vbox_sysdisk

NOTE: You may need to edit the “/etc/fuse.conf” to make the -o allow_root flag work. To do so, run command sudo gedit /etc/fuse.conf and enable (remove # at its beginning) “user_allow_other” line.

3.) As the previous picture shows, I have 5 disk partitions: vol0, vol1, …, vol4. Now mount either partition (vol4 for instance) to /mnt via command:

sudo mount vbox_sysdis/vol4 /mnt

Finally go to /mnt directory and there you are.

Unmount:

To un-mount the guest os file system, run command:

sudo umount /mnt

To un-mount the VBox disk image, run command:

umount ~/vbox_sysdisk

And you may finally remove that folder either from file manager or by running command in terminal:

rm -r ~/vbox_sysdisk

Virtualbox

Running Ubuntu as virtual machine via VirtualBox? You may encounter permission issue to access the shared folder between host and guest.

Shared Folders is an useful feature for file sync between Virtualbox host and guest OSes. However, after you created one, the shared folder is marked with cross and lock icons. And it pops up an error dialog when you trying to open it:

Unhandled error message:
GDBus.Error:org.freedesktop.PolicyKit1.Error.Failed: Unix process subject does not have uid set.

Or it prompts permission issue while accessing from the left pane in file manager:

You do not have permissions necessary to view the contents of “xxx”

Fix shared folder permission issue:

The shared folder belongs to vboxsf group in the guest. All you need to do is add your user into this group.

There are a few ways to add an user to a group. Here I’m going to do it via a single command:

  1. Firstly, start the virtual machine and login.
  2. Open a terminal window from system app launcher.
  3. When terminal opens, run command to check your username in case you don’t remember:
    whoami
  4. Finally add user to vboxsf group (replace USER_NAME with what printed in last command.):
    sudo adduser USER_NAME vboxsf

Restart VM to apply change and enjoy!

Oracle Virtualbox 5.1.12

Oracle VirtualBox released version 6.1.20 as the tenth update for the 6.1 release series of the open-source virtualization software.

For Linux host and guest, the release added support for both Kernel 5.11 and Kernel 5.12. And the maximum MTU size has been increased to 16110 for host-only adapters on Linux kernels 4.10+.

There are also bug-fixes for Linux guest additions, including vboxvideo module compilation fix for kernel version 5.10.x, and kernel module build fix for RHEL 8.4 beta and CentOS Stream.

Other changes in VirtualBox 6.1.20 include:

  • Fixed extremely poor VM performance depending on the timing of various actions.
  • Fixed guest OS hanging under certain circumstances when Hyper-V is present.
  • Fixed Guru Meditation error when using a nested hypervisor under certain circumstances.
  • Fixed a SMAP related host panic affecting Solaris 11.4 systems with Intel Haswell CPUs or later.
  • Add cloud-init support for export to OCI and for OCI instance creation.
  • Fixed “Delete all files” leaving behind Logs/VBoxUI.log.
  • Multiple audio fixes and enhancements.
  • Fixed detection of duplex audio devices on macOS.
  • Fixed link status reporting for “not attached” adapters.
  • Fixed connectivity issues with e1000 in OS/2 guests.
  • Fixed VxWorks e1000 driver compatibility issue.
  • Fixed GUI checks for port forwarding rules rejecting IPv6 with “Nat Network”.
  • Fixed possible VM hang when using the a serial port in disconnected mode.
  • Fixed interoperability with v4l2loopback and fixed a webcam crash under certain circumstances.
  • Fixed sporadic Windows VM hang or reboot on high CPU load.
  • Allow changing network adapter attachment of a saved VM with “modifyvm”.
  • Fix for argument processing to honor the ‘–root’ option.

How to Install VirtualBox 6.1.20 in Ubuntu:

The official .deb packages are available for download at the link below:

If you’ve already added the Oracle apt repository for Linux, install the updates simply via Software Updater.

Or add the apt repository by running following commands one by one:

1. Open terminal (Ctrl+Alt+T), paste below command and run to add the repository:

sudo sh -c 'echo "deb [arch=amd64] https://download.virtualbox.org/virtualbox/debian $(lsb_release -sc) contrib" >> /etc/apt/sources.list.d/virtualbox.list'

For Linux Mint, you HAVE to replace $(lsb_release -sc) in the command with bionic for Mint 19.x, or xenial for Mint 18.x, or focal for Linux Mint 20.

2. Then download and install the repository key via command:

wget -q https://www.virtualbox.org/download/oracle_vbox_2016.asc -O- | sudo apt-key add -

3. Refresh system package cache via command:

sudo apt update

4. Finally install Virtualbox 6.1:

sudo apt install virtualbox-6.1

Uninstall:

To remove it, simply run command in terminal:

sudo apt remove --autoremove virtualbox-6.1

And go to Software & Updates -> Other Software to remove apt repositories.

Virtualbox

Oracle VirtualBox 6.1.16 was released as a new maintenance release with Kernel 5.9 support for Linux host and guest.

Virtualbox 6.1.16 changelog:

  • Fixed random memory corruption and XMM register state corruption inside the VM when Hyper-V is used
  • Fixed VMSVGA 3D support with Linux guests when Hyper-V is used
  • Fixed some Qt related crashes on macOS Big Sur
  • Fixed network integration not working behind some proxies
  • Mask out remote wake capability to avoid unresponsive devices
  • Fixed issues with audio playback after host goes to sleep
  • Keep transferring data if the status line monitoring fails
  • Fixed blocking a re-connect when TCP mode is used
  • Fixed inability of guests to use the last timer
  • Fixed detection of system locale when running ‘VBoxManage unattended install’ without –locale
  • macOS host: Installer on Big Sur is now reminding user that system has to be rebooted to load the installed KEXTs
  • Support kernel version 5.9
  • Linux guest: Workaround to improve resizing of 32-bit VMs with VMSVGA graphics controller, and do not try to use RandR version 1.3 due to bugs causing the X server to hang
  • Linux guest: Fixed VBoxService crashing in the CPU hot-plug service under certain circumstances during a CPU hot-unplug event.
  • Fixed Guest additions build for RHEL 8.3 beta

How to Install VirtualBox 6.1.16 in Ubuntu:

The official .deb packages are available for download at the link below:

Download VirtualBox

If you’ve already added the Oracle apt repository for Linux, install the updates simply via Software Updater.

Or add the apt repository by running following commands one by one:

1. Open terminal (Ctrl+Alt+T), paste below command and run to add the repository:

sudo sh -c 'echo "deb [arch=amd64] https://download.virtualbox.org/virtualbox/debian $(lsb_release -sc) contrib" >> /etc/apt/sources.list.d/virtualbox.list'

For Linux Mint, you HAVE to replace $(lsb_release -sc) in the command with bionic for Mint 19.x, or xenial for Mint 18.x, or focal for Linux Mint 20.

2. Then download and install the repository key via command:

wget -q https://www.virtualbox.org/download/oracle_vbox_2016.asc -O- | sudo apt-key add -

3. Refresh system package cache via command:

sudo apt update

4. Finally install Virtualbox 6.1:

sudo apt install virtualbox-6.1

Uninstall:

To remove it, simply run command in terminal:

sudo apt remove --autoremove virtualbox-6.1

And go to Software & Updates -> Other Software to remove apt repositories.