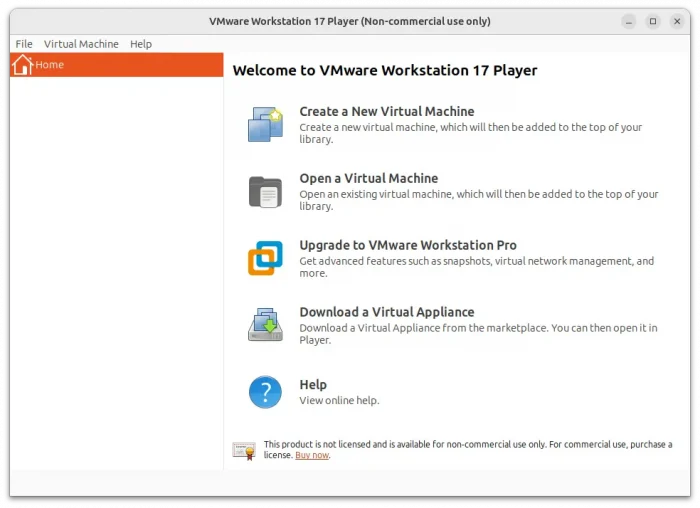
This tutorial shows you how to completely remove the old VMWare Workstation player in Ubuntu 24.04 and Linux Mint 22.
I was trying to install the new VMWare Workstation Pro 17.6.1 today in my Ubuntu laptop. The official installer however told me to uninstall the old VMWare Player 17.5.0.0 first.
The problem was that wmware-installer somehow refused to uninstall the previous package, so I can’t get the new one installed! If you ran into similar issue, then this tutorial may help.
Option 1: Using the official vmware-installer command to uninstall:
The software has an official tool vmware-installer, allowing to list and uninstall vmware products and components.
It’s installed along with vmware hypervisor software. And, you’d better to try it first to uninstall the software from your system.
1. Uninstall products:
- First, open terminal (Ctrl+Alt+T) and list all installed products by running command:
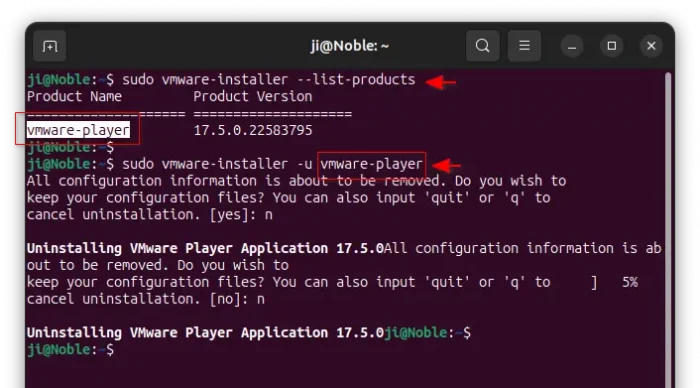
vmware-installer --list-products
- Then, run command to uninstall, but replace
vmware-playeraccording to the product name you got in last command:sudo vmware-installer -u vmware-player
It will ask to either keep configuration files or not twice. And, I answered no.
The command above may fail! It output text below and refused to uninstall, though I didn’t have any running VM at that time.
The VMware Installer cannot continue if there are running virtual machines. Shut down or suspend running virtual machines before continuing.
If you got the similar issue, try removing the startup scripts (see Option 2) then reboot which worked for me.
2. Uninstall components
To completely get rid of the software, you may also remove the network editor, installer itself, and other vmware tools.
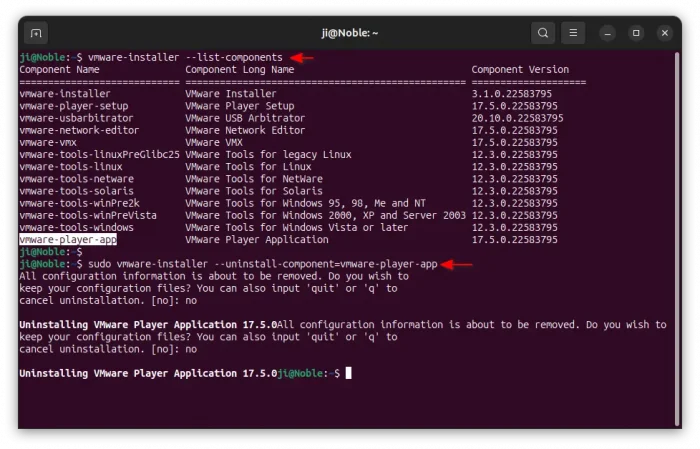
To list them, use command:
vmware-installer --list-components
Then, you may run the command below to uninstall a component:
sudo vmware-installer --uninstall-component=vmware-player-app
And, run the last command, but replace the component name, again and again to uninstall all the components.
Option 2: Manually delete all VMWare related files
If the last option does NOT work for you, try deleting all the installed files! And, here’s an official guide for Fedora/RHEL.
1. First, press Ctrl+Alt+T to open up a terminal window.
Then, run command to auto-navigate to /etc/rc{0~6}.d (e.g., /etc/rc0.d, /etc/rc1.d, … /etc/rc6.d) directories one by one and delete vmware scripts:
for dir in /etc/rc*.d; do cd $dir && sudo rm *vmware*; done
NOTE: this command will output several “No such file or directory” if file not found.
And, delete vmware scripts under /etc/init.d directory.
sudo rm /etc/init.d/vmware*
After deleted all vmware scripts under /etc/init.d/ and /etc/rc*.d directories and reboot, it allows me to use wmware-installer command to remove the product.
2. Then, also remove the config file under /etc/modprobe.d for loading kernel module at startup.
sudo rm /etc/modprobe.d/vmware-fuse.conf
3. Next, remove all vmware related executable files by running commands:
sudo rm /usr/bin/vmware*
sudo rm /usr/sbin/vmware*
sudo rm /usr/bin/vmnet*
4. And, remove all the library files and /etc configurations via commands:
sudo rm -R /etc/vmware*
sudo rm -R /usr/lib/vmware*
5. For personal user data and cache, remove them via command:
rm -R ~/.vmware ~/.cache/vmware
6. And, remove vmware logs:
sudo rm -R /var/log/vmware*
7. There are as well app shortcut file and other XML files can be removed by commands:
sudo rm /usr/local/share/applications/vmware-player.desktop
sudo rm /usr/share/mime/application/*vmware*.xml
sudo rm /usr/local/share/appdata/vmware-player.appdata.xml
sudo rm /usr/share/mime/packages/vmware-player.xml
There may be other small files, such as vmware icons, left on your system. If you want to remove them all, try installing plocate:
sudo apt install plocate
Then update database via command sudo updatedb, and finally search any vmware files on your system and use rm command to remove.
locate vmware
That’s all. Enjoy!


