![]()
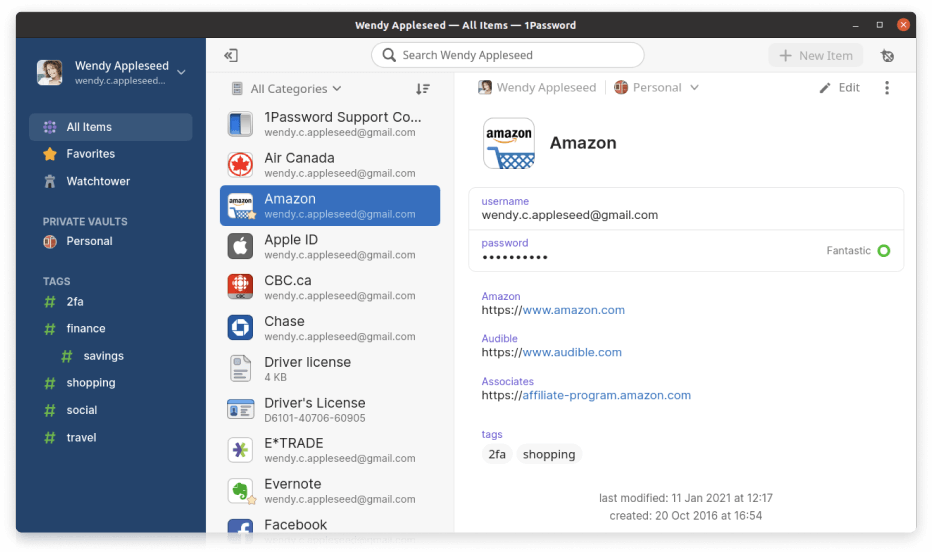
The 1Password password manager now adds officially Linux support. Here’s how to install it in Ubuntu 20.04 via its apt repository.
1Password is a password manager developed by AgileBits Inc. It provides a place for users to store various passwords, software licenses, and other sensitive information in a virtual vault that is locked with a PBKDF2-guarded master password. By default, this encrypted vault is stored on the company’s servers for a monthly fee.
Download & install DEB package:
1Password for Linux was available for test last year. Now it’s finally goes stable. The .deb binary is available to download at the link below:
Just grab the .deb for Ubuntu based systems, and double-click to install it.
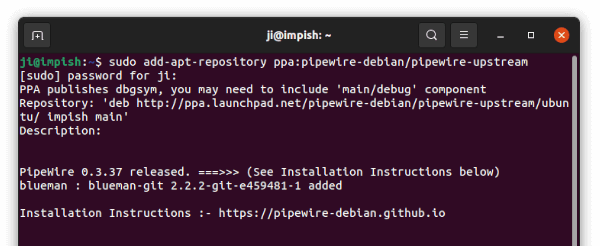
Manually add 1password apt repository:
Installing the .deb package should add its apt repository automatically. If not, you can run following commands one by one to add it manually.
1.) Firstly open terminal from system app launcher:

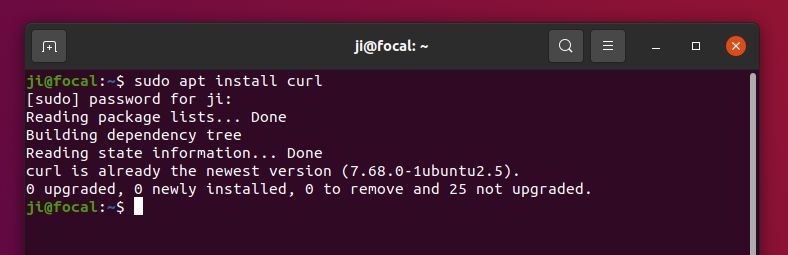
2.) When terminal opens, run command to install curl tool:
sudo apt install curl
3.) Then run curl command to install the key for the apt repository:
curl -sS https://downloads.1password.com/linux/keys/1password.asc | sudo gpg --dearmor --output /usr/share/keyrings/1password-archive-keyring.gpg
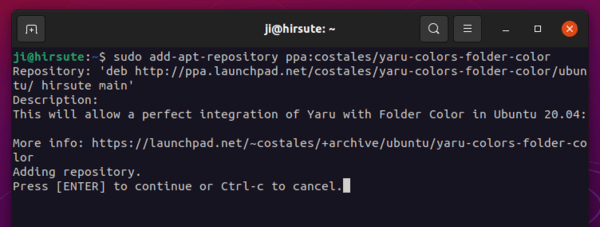
4.) And add the apt repository via command:
echo 'deb [arch=amd64 signed-by=/usr/share/keyrings/1password-archive-keyring.gpg] https://downloads.1password.com/linux/debian/amd64 stable main' | sudo tee /etc/apt/sources.list.d/1password.list

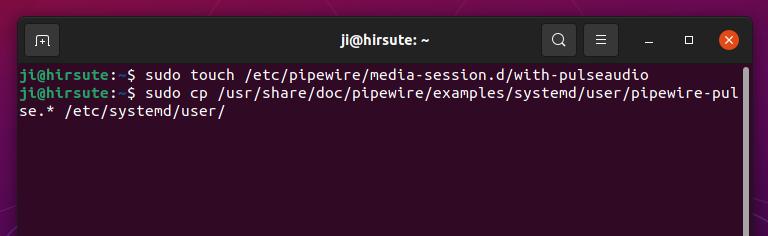
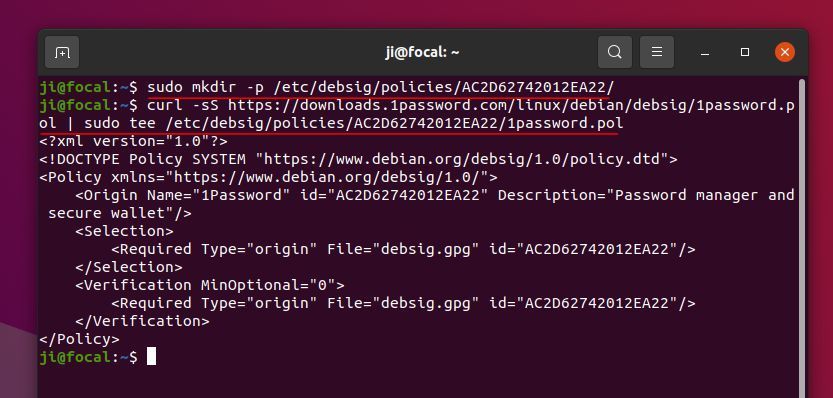
5.) Add the debsig-verify policy to verify signatures for the deb package:
sudo mkdir -p /etc/debsig/policies/AC2D62742012EA22/
curl -sS https://downloads.1password.com/linux/debian/debsig/1password.pol | sudo tee /etc/debsig/policies/AC2D62742012EA22/1password.pol
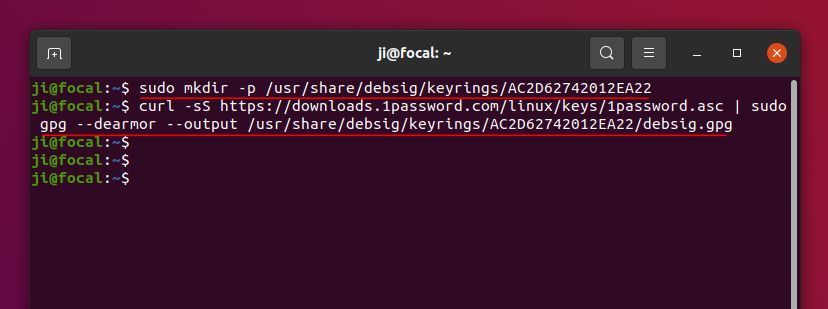
sudo mkdir -p /usr/share/debsig/keyrings/AC2D62742012EA22
curl -sS https://downloads.1password.com/linux/keys/1password.asc | sudo gpg --dearmor --output /usr/share/debsig/keyrings/AC2D62742012EA22/debsig.gpg
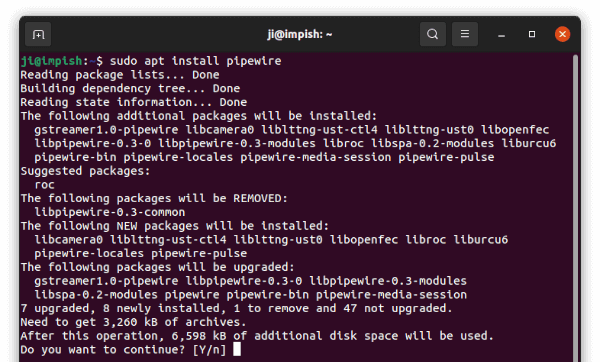
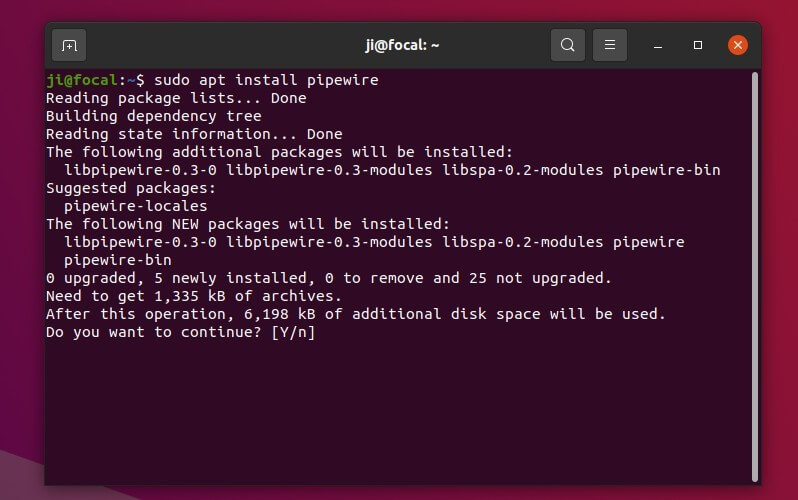
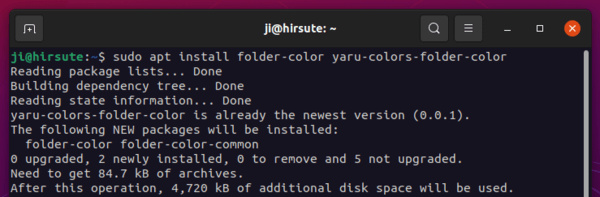
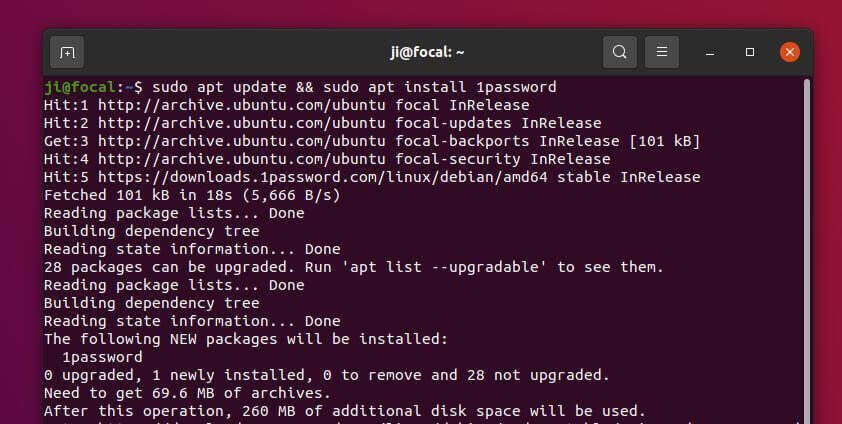
6.) Finally refresh package cache and install 1password:
sudo apt update && sudo apt install 1password
Uninstall 1password:
To remove 1password password manager, run command:
sudo apt remove --autoremove 1password
To remove the apt repository, simply remove the config file via command:
sudo rm /etc/apt/sources.list.d/1password.list