Archives For November 30, 1999

FFmpeg announced new major 7.0 release yesterday! Here’s how to install it in Ubuntu 22.04, Ubuntu 24.04, Linux Mint 21.

The new version of this popular multi-media library came with name “Dijkstra”. It features native decoding support for VVC (aka H.266) through the libavcodec library, though it’s so far experimental.

The libavformat library can now read and write IAMF (Immersive Audio) files. And, a new -stream_group option is added into CLI tool to configure the IAMF structure.

As announced at the end of last year, the CLI (command-line) tool now is multi-threaded. Meaning, the transcoding process now runs in parallel that can be much faster than before.

FFmpeg 7.0 in Ubuntu MATE 22.04

Continue Reading…

FFmpeg multi-media library updated to version 6.1, code-name “Heaviside”, few days ago!

According to the FFmpeg release page, the new 6.1 release features new libaribcaption decoder, RivaTuner video decoder, Playdate video decoder and demuxer, vMix video decoder, OSQ demuxer and decoder, as well as Microsoft RLE video encoder and VAAPI AV1 encoder.

The release also includes some new filters, including arls filter, afireqsrc audio source filter, color_vulkan filter, bwdif_vulkan filter, nlmeans_vulkan filter, zoneplate video source filter, xfade_vulkan filter, apsnr and asisdr audio filters, bwdif_cuda filter.

Other changes include:

  • CRI USM demuxer
  • Raw AC-4 muxer and demuxer
  • Raw VVC bitstream parser, muxer and demuxer
  • Extend VAAPI support for libva-win32 on Windows
  • ffmpeg CLI new option: -readrate_initial_burst
  • command support in the setpts and asetpts filters
  • Vulkan decode hwaccel, supporting H264, HEVC and AV1
  • Essential Video Coding parser, muxer and demuxer
  • Essential Video Coding frame merge bsf
  • Bitstream filter for editing metadata in VVC streams
  • Bitstream filter for converting VVC from MP4 to Annex B
  • scale_vt filter for videotoolbox
  • transpose_vt filter for videotoolbox
  • support for the P_SKIP hinting to speed up libx264 encoding
  • Support HEVC,VP9,AV1 codec in enhanced flv format
  • Support HEVC,VP9,AV1 codec fourcclist in enhanced rtmp protocol
  • ffmpeg CLI ‘-top’ option deprecated in favor of the setfield filter
  • ffprobe XML output schema changed to account for multiple variable-fields elements within the same parent element
  • ffprobe -output_format option added as an alias of -of

Install FFmpeg 6.1 in Ubuntu 22.04

NOTE: FFmpeg is an important media library that many apps depend on it. Install newer FFmpeg in Ubuntu may cause dependency issues (or even break your system). Use it at your own risk!!

I’ve made the new release package into this unofficial PPA for Ubuntu 22.04 LTS only, with x86_64, and 32/64-bit Arm architectures support.

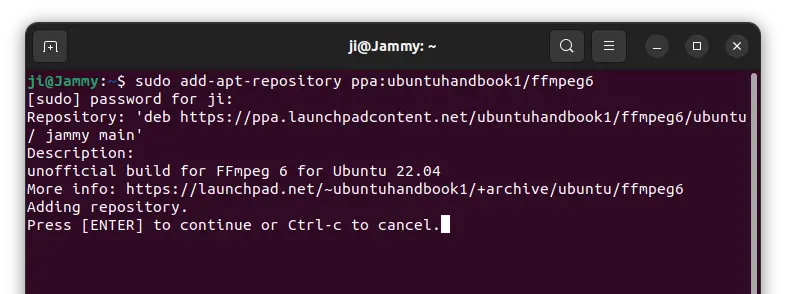
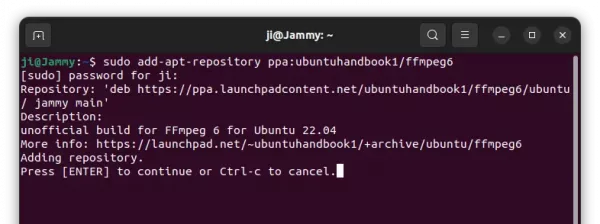
1. First, press Ctrl+Alt+T on keyboard to open a terminal window. When it opens, run command to add the PPA:

sudo add-apt-repository ppa:ubuntuhandbook1/ffmpeg6

Type user password (no asterisk feedback) when it asks and hit Enter to continue.

2. For Linux Mint 21, you need to manually refresh package cache after adding PPA. To do so, run command:

sudo apt update

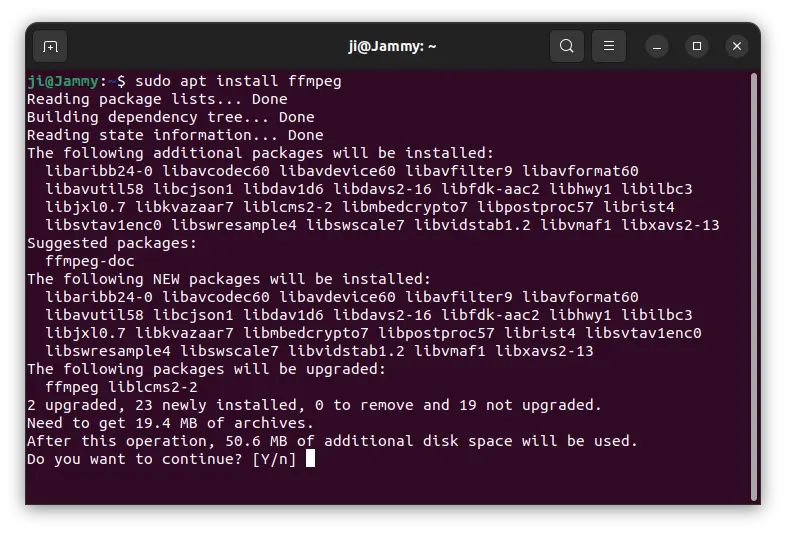
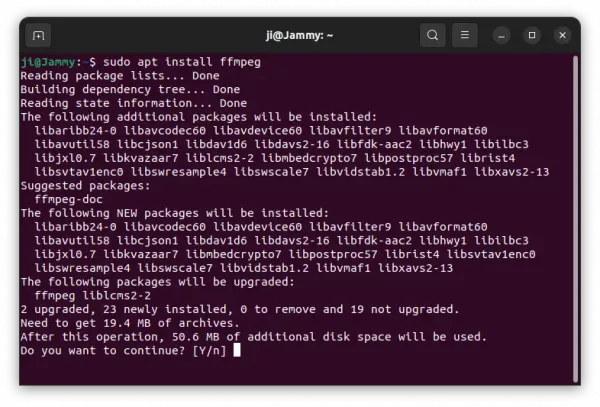
3. Finally, run the command below to either install or upgrade to FFmpeg 6.1:

sudo apt install ffmpeg

In case of in-complete installation, it’s HIGHLY recommend to run sudo apt upgrade to update all the packages to the latest versions.

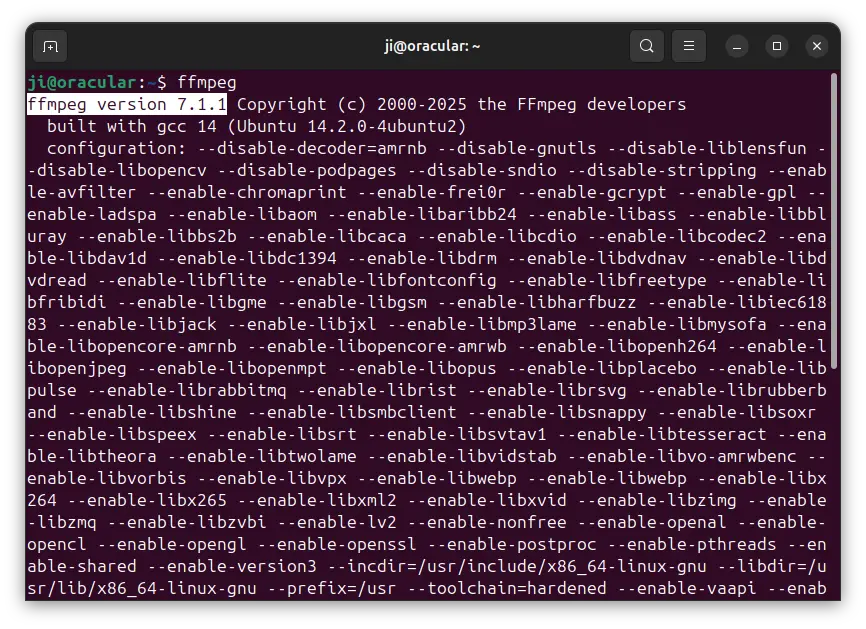
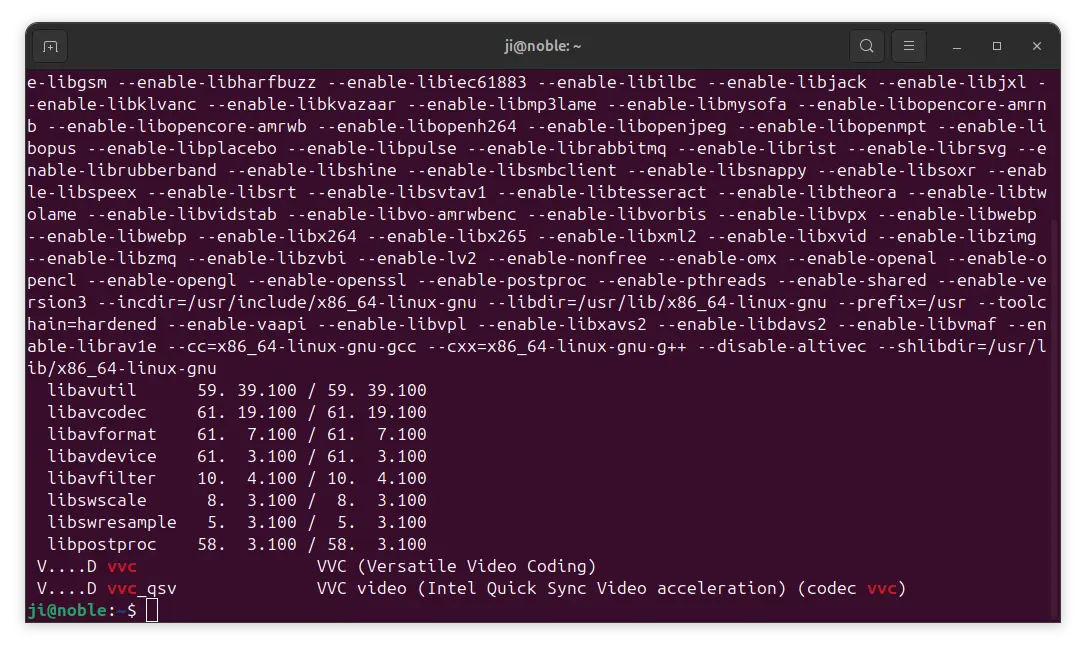
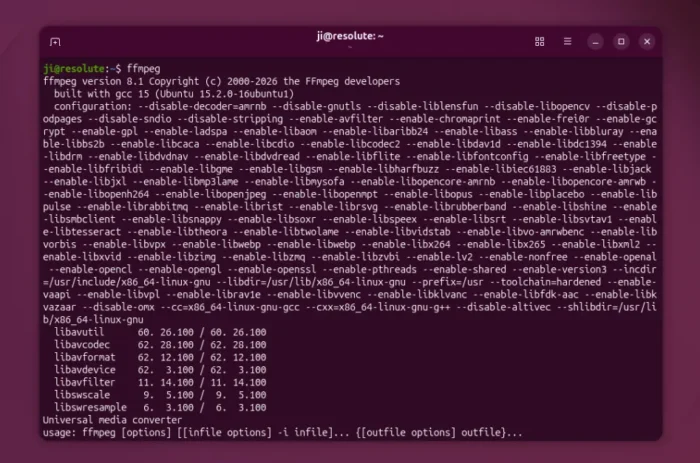
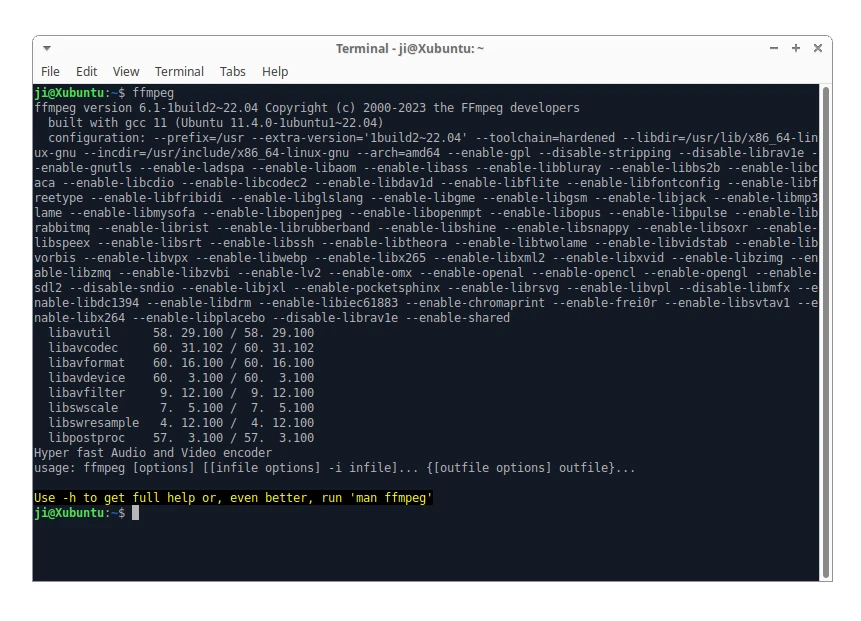
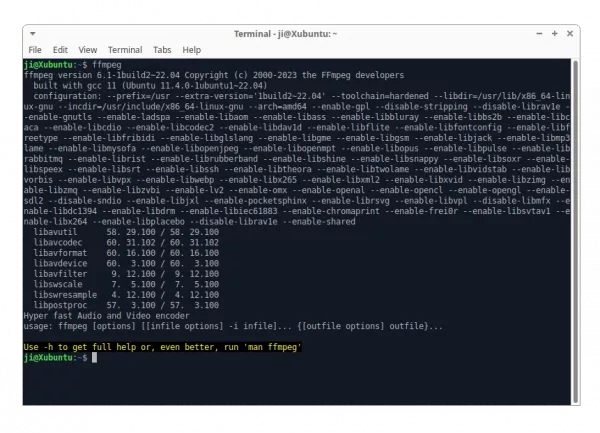
4. After installation, run the command below in terminal to verify:

ffmpeg --version

How to Downgrade FFmpeg library:

In case you want to downgrade the FFmpeg library to the stock version available in system repository. Open terminal and run command:

sudo apt install ppa-purge && sudo ppa-purge ppa:ubuntuhandbook1/ffmpeg6

NOTE: Keep an eye in terminal output before answering yes to confirm! It MAY remove some other useful app packages, though it should be able to install them back later.

FFMPEG

FFmpeg 4.4 “Rao” now can be installed in all current Ubuntu releases easily via an Ubuntu PPA.

FFmpeg is a free and open-source solution to record, convert and stream audio and video. The major 4.4 version was released almost a months ago with PGX decoder, AV1 encoding support SVT-AV1, AV1 decoder with hardware acceleration used only, AV1 VAAPI decoder, and so many other new features.

Thanks to Rob Savoury, an Ubuntu PPA is available contains the packages for all current Ubuntu releases.

Upgrading FFmpeg is not recommended for beginners unless you know what you’re going to do.

It may remove your applications or cause dependency issue for some multi-media apps that depends on specified version of a media library.

1.) Add the PPA:

Firstly open terminal either from system app launcher or by pressing Ctrl+Alt+T on keyboard. When it opens, run the command below to add the PPA:

sudo add-apt-repository ppa:savoury1/ffmpeg4

Type user password (no asterisk feedback) when it asks and hit Enter to continue.

2.) (Optional) Add optional PPAs:

For newest versions of graphics and multimedia dependencies, you can also add the following PPAs by running commands one by one:

sudo add-apt-repository ppa:savoury1/graphics
sudo add-apt-repository ppa:savoury1/multimedia

3.) Finally install / update FFmpeg:

As a widely used media library, it’s mostly installed on your system. So you can run command to upgrade it in terminal:

sudo apt full-upgrade

NOTE: using Software Updater is not recommended in the case. It may keep back FFmpeg since old libraries may be required for some apps, Pitivi in the case.

4.) Check FFmpeg version:

Once installed, run command to check software version:

ffmpeg -version

How to Restore Stock FFmpeg version:

You can purge the Ubuntu PPA which will also downgrade FFmpeg libraries to the stock version in Ubuntu. Also purging the FFmpeg PPA may also remove some apps for unknown reasons :(.

Firstly install ppa-purge tool via command:

sudo apt install ppa-purge

Then purge the PPAs one by one:

sudo ppa-purge ppa:savoury1/graphics
sudo ppa-purge ppa:savoury1/multimedia
sudo ppa-purge ppa:savoury1/ffmpeg4

Got a video playing upside down? Here’s an easy way to rotate it via a single command in Ubuntu.

There are a few video players, e.g., SMPlayer, support for rotating by 90 degrees clockwise or counter-clockwise during video playback.

If you want to make it permanent by exporting video rotated, besides using a heavy video editing tool, e.g., Pitivi and Openshot, the single command in this tutorial may help.

upside down video

An upside down video

1. Install FFmpeg:

Firstly install FFmpeg if you don’t have it. FFmpeg is a large suite of libraries and programs for handling multi-media files and streams.

It is very popular and most likely already installed on your system, if you have any audio, video, and other multimedia relevant applications installed.

To make sure, open terminal (Ctrl+Alt+T) and run command:

2. Command to rotate video:

Now you can run the single command to rotate a video:

ffmpeg -i input-video.mp4 -vf "transpose=1" -acodec copy output-video.mp4

Before this command, you may first navigate to the video folder either via cd command (e.g., cd ~/Videos), or in file browser go to the folder and right-click blank area and select “Open in Terminal”.

In the command, the number in “transpose=1” can also be:

  • 0 – means rotate by 90 degrees counterclockwise and flip
  • 1 – means rotate by 90 degrees clockwise
  • 2 – means rotate by 90 degrees counterclockwise
  • 3 – means rotate by 90 degrees clockwise and flip

(Thanks to Roman Sheydvasser) Add -c copy (or -codec copy) will copy all the frames instead of doing decode -> filter -> encode process. It will speed up the command quite a lot!

In my case, the command is:

ffmpeg -i ~/Videos/aisha.mp4 -vf "transpose=1" -acodec copy ~/Videos/aisha-rotated.mp4

This command however will re-encode the video. Depends on the video size and your CPU, the process may take a few minutes.

Optional

The last command can take quite a few minutes since it needs to re-encode the video. As a workaround, user can use this command instead to do the rotation in the metadata.

fmpeg -i input-video.mp4 -map_metadata 0 -metadata:s:v rotate="90" -codec copy output-video.mp4

The command is fast and will work for video players (such as VLC and MPV) that support can handle rotation metadata.

FFMPEG

FFmpeg 4.0 “Wu” was released months ago as a new major release. Here’s how to install it in Ubuntu 14.04, Ubuntu 16.04, and/or Ubuntu 18.04.

FFmpeg 4.0 release highlights:

  • Intel QSV accelerated overlay filter
  • NVIDIA NVDEC GPU-based decoding for H264 / MJPEG / HEVC / MPEG-1/2/4, VC1, VP8, and VP9 formats.
  • OpenCL overlay filter
  • VA-API MJPEG and VP8 decoding support
  • AV1 Support through libaom
  • AMD AMF H.264 and HEVC encoders
  • And many other new filters, and accelerated code path improvements.

How to Install FFmpeg 4.0 in Ubuntu:

FFmpeg 4.0.2 is available in Ubuntu Software via SNAP package (Runs in sandbox).

To upgrade from the Ubuntu build FFmpeg 3.x, the unofficial PPA contains the latest packages for Ubuntu 18.04, Ubuntu 16.04, and Ubunu 14.04.

1. Open terminal either via Ctrl+Alt+T keyboard shortcut, or by searching for ‘terminal’ from software launcher. When it opens, run command to add the PPA:

sudo add-apt-repository ppa:jonathonf/ffmpeg-4

Type user password (no asterisks feedback) when it prompts and hit Enter.

2. You can then upgrade FFmpeg libraries via Software Updater:

Or run commands in terminal:

sudo apt-get update

sudo apt-get install ffmpeg

How to Restore:

For any reason, you can downgrade FFmpeg to the stock version in Ubuntu universe repositories by purging the PPA via command:

sudo apt-get install ppa-purge && sudo ppa-purge ppa:jonathonf/ffmpeg-4

FFMPEG

The FFmpeg multimedia library 3.4 “Cantor” was released earlier today. Here’s how to install it in Ubuntu 14.04, Ubuntu 16.04 via PPA.

Click to see what’s new in FFmpeg 3.4:
  • deflicker video filter
  • doubleweave video filter
  • lumakey video filter
  • pixscope video filter
  • oscilloscope video filter
  • config.log and other configuration files moved into ffbuild/ directory
  • update cuvid/nvenc headers to Video Codec SDK 8.0.14
  • afir audio filter
  • scale_cuda CUDA based video scale filter
  • librsvg support for svg rasterization
  • crossfeed audio filter
  • spec compliant VP9 muxing support in MP4
  • remove the libnut muxer/demuxer wrappers
  • remove the libschroedinger encoder/decoder wrappers
  • surround audio filter
  • sofalizer filter switched to libmysofa
  • Gremlin Digital Video demuxer and decoder
  • headphone audio filter
  • superequalizer audio filter
  • roberts video filter
  • The x86 assembler default switched from yasm to nasm, pass --x86asmexe=yasm to configure to restore the old behavior.
  • additional frame format support for Interplay MVE movies
  • support for decoding through D3D11VA in ffmpeg
  • limiter video filter
  • libvmaf video filter
  • Dolby E decoder and SMPTE 337M demuxer
  • unpremultiply video filter
  • tlut2 video filter
  • floodfill video filter
  • pseudocolor video filter
  • raw G.726 muxer and demuxer, left- and right-justified
  • NewTek NDI input/output device
  • Some video filters with several inputs now use a common set of options: blend, libvmaf, lut3d, overlay, psnr, ssim. They must always be used by name.
  • FITS demuxer and decoder
  • FITS muxer and encoder
  • add --disable-autodetect build switch
  • drop deprecated qtkit input device (use avfoundation instead)
  • despill video filter
  • haas audio filter
  • SUP/PGS subtitle muxer
  • convolve video filter
  • VP9 tile threading support
  • KMS screen grabber
  • CUDA thumbnail filter
  • V4L2 mem2mem HW assisted codecs
  • Rockchip MPP hardware decoding
  • vmafmotion video filter
  • use MIME type “G726” for little-endian G.726, “AAL2-G726” for big-endian G.726

How to Install FFmpeg 3.4 via PPA in Ubuntu:

Not recommended to upgrade from distribution build of FFmpeg, unless you need the latest version for special reasons. And some FFmpeg based applications may need to be re-built after following steps.

1. Open terminal via Ctrl+Alt+T or by searching for “Terminal” from the dash. When it opens, run command to add the PPA repository (unofficial):

sudo add-apt-repository ppa:jonathonf/ffmpeg-3

Type in password (no visual feedback due to security reason) and hit Enter.

2. (For Ubuntu 14.04 only), you also need to add another PPA for the dependencies:

sudo add-apt-repository ppa:jonathonf/tesseract

3. Then upgrade FFmpeg using Software Updater:

upgrade ffmpeg

Or simply run command:

sudo apt update && sudo apt upgrade

How to Restore:

To undo the changes and restore to the stock version of FFmpeg in main Ubuntu repositories, purge the PPA via command:

sudo apt install ppa-purge && ppa-purge ppa:jonathonf/ffmpeg-3

FFMPEG

This quick tutorial is going to show you how to install the latest FFmpeg multimedia library 3.3 “Hilbert” in Ubuntu 16.04, Ubuntu 14.04 via PPA.

FFmpeg 3.3 “Hilbert” is a new major release that features:

  • Apple Pixlet decoder
  • NewTek SpeedHQ decoder
  • QDMC audio decoder
  • PSD (Photoshop Document) decoder
  • FM Screen Capture decoder
  • ScreenPressor decoder
  • XPM decoder
  • DNxHR decoder fixes for HQX and high resolution videos
  • ClearVideo decoder (partial)
  • 16.8 and 24.0 floating point PCM decoder
  • Intel QSV-accelerated VP8 video decoding
  • native Opus encoder
  • DNxHR 444 and HQX encoding
  • Quality improvements for the (M)JPEG encoder
  • VAAPI-accelerated MPEG-2 and VP8 encoding
  • MPEG-7 Video Signature filter
  • Intel QSV video scaling and deinterlacing filters
  • Support MOV with multiple sample description tables
  • Pro-MPEG CoP #3-R2 FEC protocol
  • Support for spherical videos
  • CrystalHD decoder moved to new decode API
  • and many more, see release note.

How to Install FFmpeg 3.3 via PPA in Ubuntu:

1. Open terminal via Ctrl+Alt+T or by searching for “Terminal” from the dash. When it opens, run command to add the PPA repository (unofficial):

sudo add-apt-repository ppa:jonathonf/ffmpeg-3

Type in password (no visual feedback due to security reason) and hit Enter.

2. (For Ubuntu 14.04 only), you also need to add another PPA for the dependencies:

sudo add-apt-repository ppa:jonathonf/tesseract

3. Then upgrade FFmpeg using Software Updater:

upgrade ffmpeg

Or simply run command:

sudo apt update && sudo apt upgrade

How to Restore:

To undo the changes and restore to the stock version of FFmpeg in main Ubuntu repositories, purge the PPA via command:

sudo apt install ppa-purge && ppa-purge ppa:jonathonf/ffmpeg-3

How to Install FFMPEG 3.1.3 in Ubuntu 16.04 via PPA

Last updated: September 16, 2016

FFMPEG

The popular FFmpeg multimedia library has reached the 3.1.3 release. Here’s how to install it in Ubuntu 16.04 / 14.04 via PPA.

FFmpeg 3.1 features:

  • DXVA2-accelerated HEVC Main10 decoding for Windows
  • a variety of new filters
  • MediaCodec H.264 decoding
  • new muxers/demuxers
  • VA-API accelerated H.264/HEVC/MJPEG encoding
  • an OpenMAX IL encoder with support for the Raspberry Pi
  • OpenEXR other improvements.

Install FFmpeg 3.1.3 via PPA:

Some applications, e.g., DVDStyler and LiVEs, in your system may still use the old FFmpeg libraries. You need to rebuild them yourself to make the new FFmpeg libraries take place

J Fernyhough is maintaining a PPA with FFmpeg 3.1.3 packages for Ubuntu 14.04 and Ubuntu 16.04.

1. Open terminal and run command to add PPA:

sudo add-apt-repository ppa:jonathonf/ffmpeg-3

ffmpeg-3-ppa

2. To upgrade from a previous release, just launch Software Updater and upgrade the software libraries after checking for updates.

upgrade ffmpeg

Or run the commands below in terminal:

sudo apt update && sudo apt install ffmpeg libav-tools x264 x265

After installation, run ffmpeg in terminal to get the version info and build details.

How to restore:

To restore and downgrade FFmpeg to the stock version in Ubuntu 16.04, purge the ppa via ppa-purge:

sudo apt install ppa-purge && sudo ppa-purge ppa:jonathonf/ffmpeg-3

Install Latest FFmpeg Ubuntu

This tutorial is going to show you how to install the latest version of FFmpeg, so far it’s FFmpeg 2.1.2, in Ubuntu, Linux Mint and their derivatives via PPA.

FFmpeg is a complete, cross-platform solution to record, convert and stream audio and video. 2.1.2 was released on 2014-01-13. It is the latest stable FFmpeg release from the 2.1 release branch, which was cut from master on 2013-10-28. Amongst lots of other changes, it includes all changes from ffmpeg-mt, libav master of 2013-10-27, libav 9 as of 2013-10-27.

Sam Rog has been maintaining the most recent FFmpeg packages in his PPA for Ubuntu, Linux Mint and their derivatives. The PPA is trustable and so far it supports Ubuntu 14.04, Ubuntu 13.10, Ubuntu 13.04, Ubuntu 12.10.

The PPA changes so much, now it only provides FFmpeg 2.2.3 for Ubuntu 14.04 and FFmpeg 2.1.4 for Ubuntu 13.10. Please check out the packages from the PPA launchpad page first.

To add the PPA, press Ctrl+Alt+T on keyboard to open terminal. When it open, run below command:

sudo add-apt-repository ppa:djcj/vlc-stable

Then you can check for updates via Synaptic Package Manager. Or just run below commands instead:

sudo apt-get update

sudo apt-get upgrade

sudo apt-get install ffmpeg

install latest ffmpeg ubuntu

The FFmpeg 2.0 has been released for months. If you don’t want to build it from source, now you can install in Ubuntu 13.10 Saucy, Ubuntu 13.04 Raring, and Ubuntu 12.10 Quantal via a PPA repository.

ffmpeg logo

As you may know, FFmpeg is a complete, cross-platform solution to record, convert and stream audio and video. It includes libavcodec – the leading audio/video codec library. Version 2.0 is a major release which brings FTP Protocol support and filter graph description readable from file just to name two. Read more at www.ffmpeg.org

Install FFmpeg 2.0 via PPA:

Press Ctrl+Alt+T on your keyboard to open terminal. When it opens, run below command to add the ppa:

sudo add-apt-repository ppa:samrog131/ppa

Then update package lists and install ffmpeg:

sudo apt-get update; sudo apt-get install ffmpeg

The PPA also contains other packages that you may not want. Remove the ppa after installation by:

sudo apt-add-repository --remove ppa:samrog131/ppa; sudo apt-get update

Enjoy!