This simple tutorial shows how to install PPSSPP for playing PSP games on Ubuntu 18.04, Ubuntu 20.04, Ubuntu 22.04, and their based systems, e.g, Linux Mint 20/21 and Zorin OS 17.
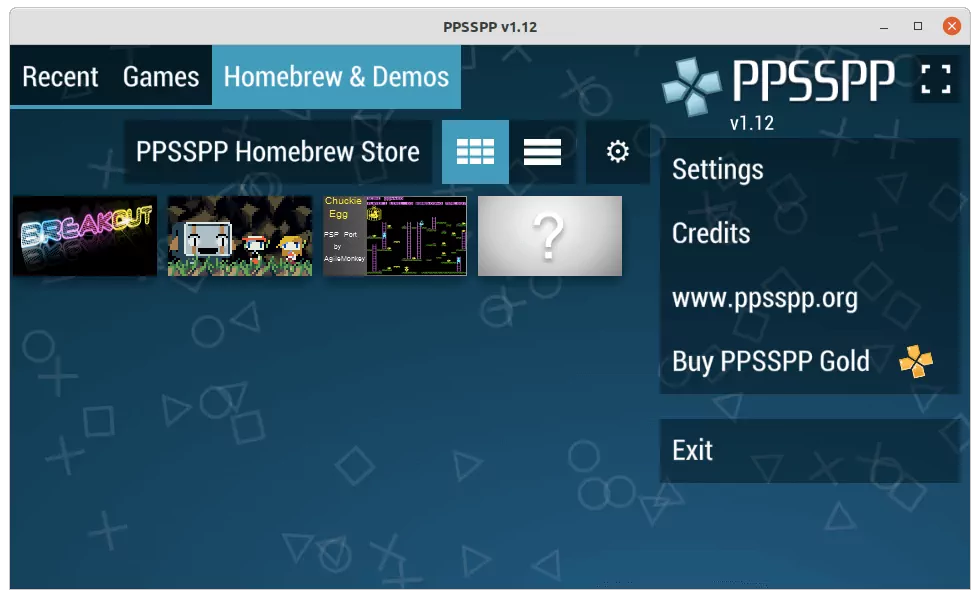
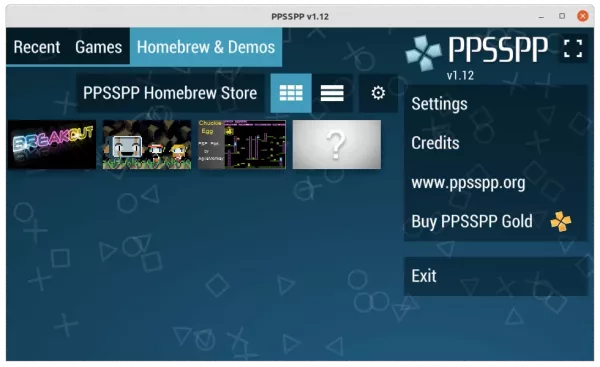
PPSSPP is a free open-source PSP emulator for Windows, macOS, Linux, and mobile devices including iPhone, Android, Nintendo WiiU, Nintendo Switch, BlackBerry 10, MeeGo, Pandora, Xbox and more.
The software keeps updating with new features and bug-fixes. And, now the latest is v1.16.x, that features:
- RetroAchievements support
- New JIT backends: RISC-V, based on IR, and x86 JIT based on IR.
- And many other changes. See the News page for details.
How to Install PPSSPP Emulator in Ubuntu:
The game emulator offers official binary packages at the links below:
For Ubuntu Linux, only third-party Flatpak and Ubuntu PPA packages are available at the moment. And here you may choose one method that you prefer.
Option 1: Install PPSSPP via Flatpak:
Flatpak is an universal Linux package format runs in sandbox. It comes with most dependency libraries bundled, and takes a few hundred MB more disk space than native .deb package from Ubuntu PPA.
The PPSSPP Flatpak supports both modern 64-bit AMD/Intel PC and AArch64 processor, such as Raspberry Pi and Apple Silicon. And the package is maintained and updated timely by the community, consists of Linux developers.
1.) Install Flatpak daemon in Ubuntu:
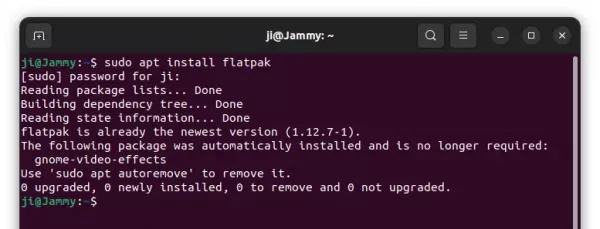
If you’re first time installing a Flatpak package in Ubuntu, open “terminal” from start menu and run command to install the daemon:
sudo apt install flatpak
NOTE Ubuntu 18.04 users have to add this PPA before installing the daemon.
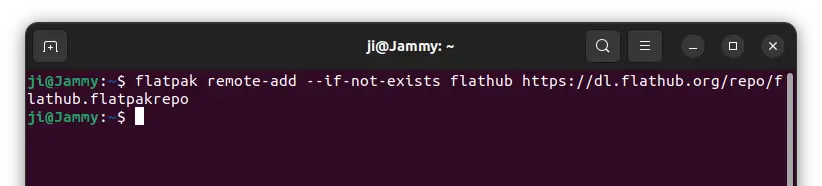
2.) Add the Flathub repository:
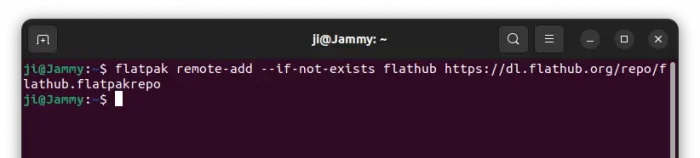
Flathub is the de facto standard for getting Flatpak packages. To add the repository, simply run command:
flatpak remote-add --if-not-exists flathub https://dl.flathub.org/repo/flathub.flatpakrepo
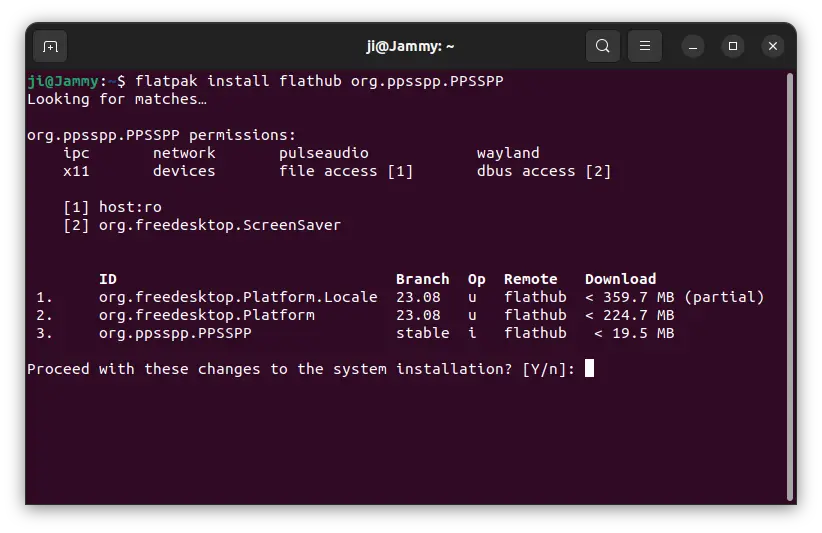
3.) Install PPSSPP Flatpak
After installed the daemon and added the repository, run command to install PPSSPP:
flatpak install flathub org.ppsspp.PPSSPP

Like normal apps, you can finally open PPSSPP by searching from the overview screen. Though, you may need to log out and back in if app icon not visible.
And, to update the Flatpak package, just run command:
flatpak update org.ppsspp.PPSSPP
4.) How to Remove PPSSPP Flatpak package (Optional)
For any reason, you can easily remove the package by running command in terminal:
flatpak uninstall --delete-data org.ppsspp.PPSSPP
And remove unused runtime to free up space via flatpak uninstall --unused.
Option 2: How to Install PPSSPP via Ubuntu PPA
There’s an unofficial PPA that so far contains the latest deb packages for Ubuntu 22.04, Ubuntu 20.04, Ubuntu 18.04 (dropped), and Linux Mint 21/20.
The PPA package now also supports for 64-bit PC/laptop, and arm64/armhf devices, such as Raspberry Pi.
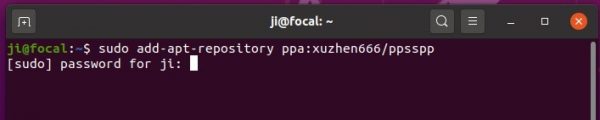
1.) Open terminal either by searching from activities overview or by pressing Ctrl+Alt+T on keyboard. When terminal opens, run command to add the PPA:
sudo add-apt-repository ppa:xuzhen666/ppsspp
Type user password (no asterisk feedback) when it prompts and hit Enter to continue.
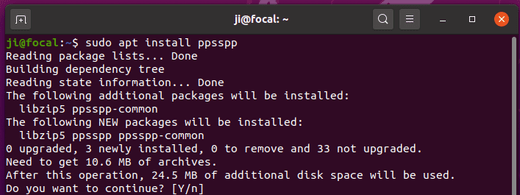
2.) Then refresh system package cache and install PPSSPP via command:
sudo apt update

sudo apt install ppsspp
You may also install the SDL version via sudo apt install ppsspp-sdl.
Uninstall PPSSPP PPA package:
To remove the PPA, either go to Software & Updates > Other Software, or run command:
sudo add-apt-repository --remove ppa:xuzhen666/ppsspp
To remove the Sony PSP emulator, run command:
sudo apt remove ppsspp ppsspp-sdl