


![]()
This simple tutorial shows how to install (and uninstall) FreeFileSync, open-source file synchronization software, and create application shortcut in Ubuntu 20.04, Ubuntu 22.04, and Ubuntu 24.04 LTS.
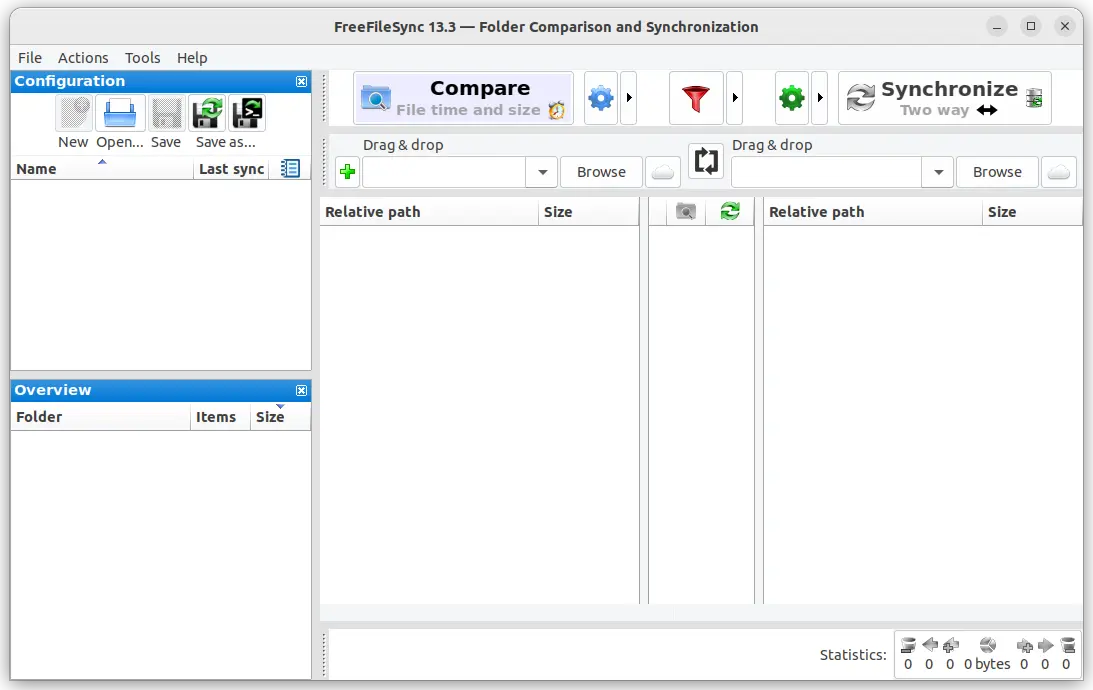
FreeFileSync is a free and open-source software to create and manage backup copies of all your important files. Instead of copying every file every time, it determines the differences between a source and a target folder and transfers only the minimum amount of data needed.
How to Install FreeFileSync in Ubuntu:
1.) The software now provides an official .run installer, available to download at its website:
Scroll down a little and select download the Linux package.

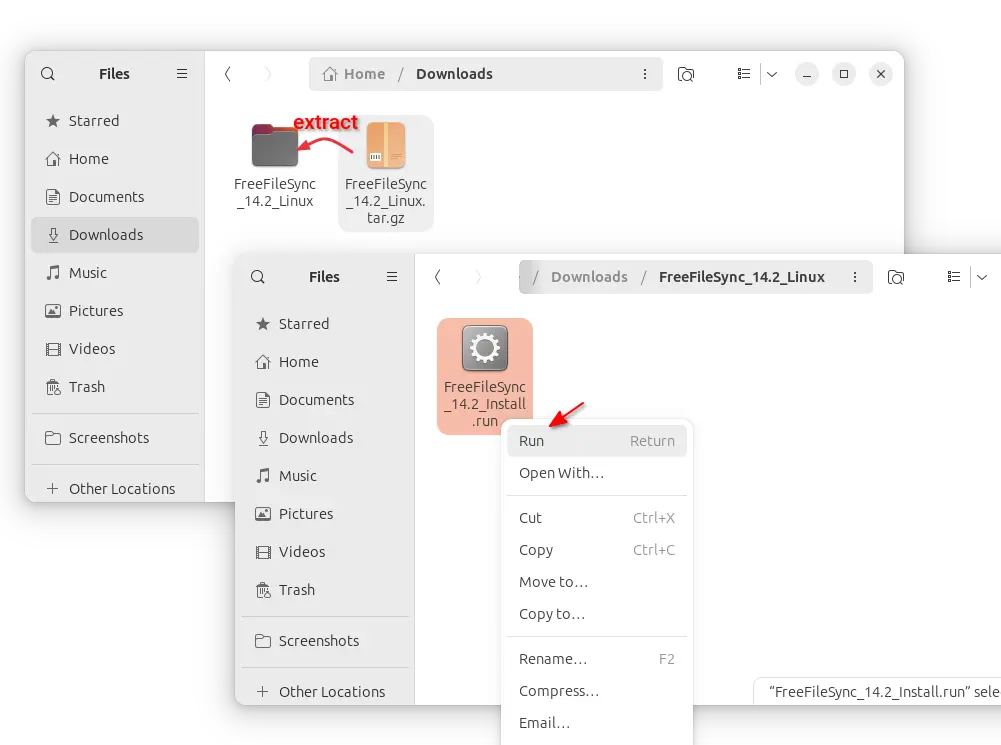
2.) Extract the source tarball in file manager, then you can navigate to the extracted folder and click Run the installer to get start installing FreeFileSync.
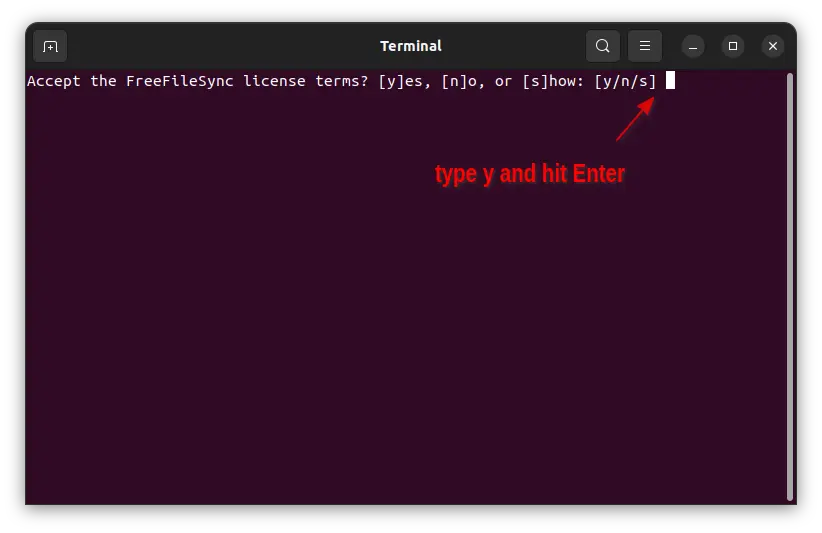
3.) The installer starts a terminal window. And, you have to answer ‘y’ to access license terms. Or, press ‘s’ to show details then ‘y’ to accept, or ‘n’ to refuse.
4.) The installer by default to install the software for system wide into /opt/ directory. Meaning, all users in this Ubuntu system can run it.
For choice, you can type 1 to switch to current user only. If you want, also type 2 to change installation directory, and type 3 to choose whether to add the app icon to the desktop.

When done selecting installation type, directory, and whether to create desktop shortcuts, hit Enter to start the process. If everything goes well, it will show you something as the screenshot below, indicates that all done.
5.) Enable desktop icons.
The desktop icons by default are not usable due to permission issue. Just right click on them one by one and select “Allow Launching” will make them work.

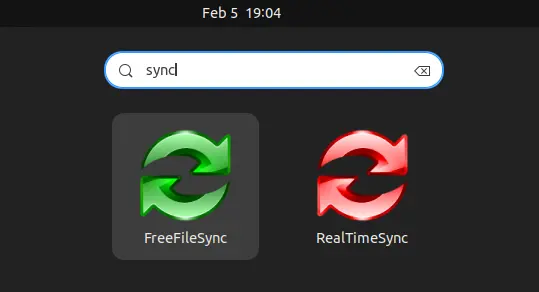
Or, simply delete the desktop icons (move to trash) since you can launch FreeFileSync from start menu or Gnome overview (depends on your desktop environment).
How to Uninstall FreeFileSync:
The installation folder contains a uninstall script to remove FreeFileSync from your system.
Press Ctrl+Alt+T on keyboard to open terminal, then run either command below to uninstall:
- If installed for current user only, then run command:
$HOME/FreeFileSync/uninstall.sh
- For all users (if installed system wide), use command:
/opt/FreeFileSync/uninstall.sh
If you selected non-default installation directory, then replace $HOME/FreeFileSync or /opt/FreeFileSync in the command above according where you installed the software.
In case you forgot where it was installed, use either command below to tell:
cat /usr/share/applications/FreeFileSync.desktop |grep Exec
cat $HOME/.local/share/applications/FreeFileSync.desktop |grep Exec


Hey Ji,
I’m a linux user for a few years now, but still have quite a hard time with very basic stuff. I’ve read some other directions on installing this app, but could only understand it with your post: all I need to do is to copy/create the desktop file in the /.local/share/applications directory for the system to recognize it and show it on the menu. Such a basic info, but so hard to find.
Thanks a lot.
Hi Ji,
Thank you very much!
It helps me a lot.
Perfect!
Regards,
Luiz
Thanks for sharing, you save my time.
Very very good explanation. Thanks!
Hi Ji
First command :
“sudo tar -zxvf ~/Downloads/FreeFileSync_11.3_Linux.tar.gz -C /opt”
returns :
No such file exist / Error is not recoverable: existing now / child returned status 2
What do you think it is ?
Tanks, pphil
Dear Ji,
such a fluence tutorial … thank you very – very – much!
Greetings from Germany.
Marc :)
@ pphilippe: just use command, as shown in this tutorial … for me, it works with version 11.5 … you just have to use
sudo tar -zxvf ~/Downloads/FreeFileSync_*_Linux.tar.gz -C /opt
Marc
Thank you very much for this, it works perfectly and is very simple!