The NetBeans is an integrated development environment (IDE) written in Java and can run on Windows, OS X, Linux, Solaris and other platforms supporting a compatible JVM.
NetBeans IDE lets you quickly and easily develop Java desktop, mobile, and web applications, as well as HTML5 applications with HTML, JavaScript, and CSS. The IDE also provides a great set of tools for PHP and C/C++ developers. It is free and open source and has a large community of users and developers around the world.
See What’s new in latest NetBeans IDE 7.4:
- HTML5 development for Android and iOS devices
- HTML5 development in Java EE and PHP applications
- Editing support for Knockout and AngularJS frameworks
- Java SE 8 Support
- Redesigned JavaFX support according to JDK 8 architecture
- Additional enhancements are listed on the NetBeans IDE 7.4 New and Noteworthy page.
For more about this release, see the NetBeans IDE 7.4 Release Information page.
This tutorial shows you how to install NetBeans IDE 7.4 in Ubuntu 13.10 & Linux Mint 16 using oracle’s own JDK + NetBeans Co-bundled distribution package. It also works on Ubuntu 14.04, Ubuntu 13.04, Ubuntu 12.04 and other derivatives.
Install Netbean IDE 7.4 on Ubuntu & Linux Mint
NetBeans IDE 7.4 works better and faster with JDK distribution, so first download the oracle’s Co-bundled package JDK 7u45 with NetBeans 7.4 Go and download:
jdk-7u45-nb-7_4-linux-i586.sh for the 32-bit Linux System.
jdk-7u45-nb-7_4-linux-x64.sh for the 64-bit Linux System.
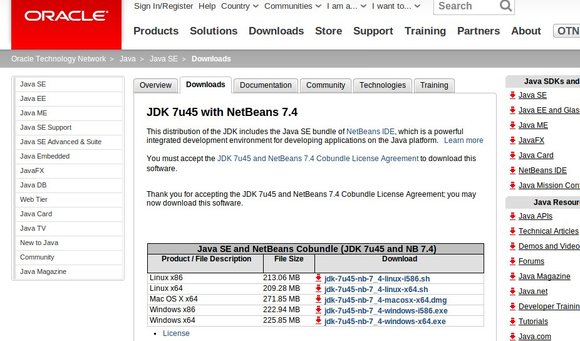
Download NetBean IDE
Go to the Downloads folder, set the permission by right-click on the installer -> Properties -> Permissions tab -> check ‘Allow executing file as program’. Or just run command below in terminal (Ctrl+Alt+T):
chmod +x ~/Downloads/jdk-7u45-nb-7_4-linux*.sh
Now run the installer:
cd ~/Downloads && ./jdk-7u45-nb-7_4-linux*.sh
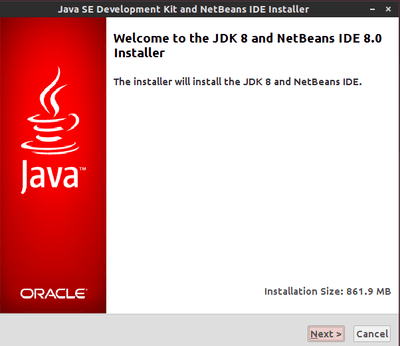
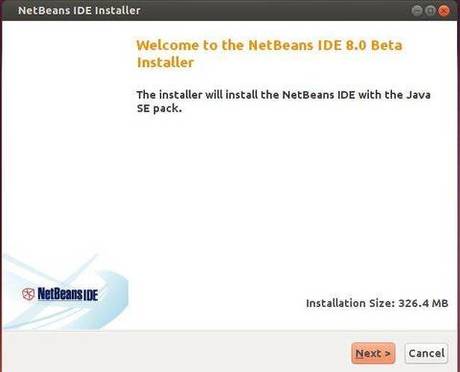
It brings up the install wizard:
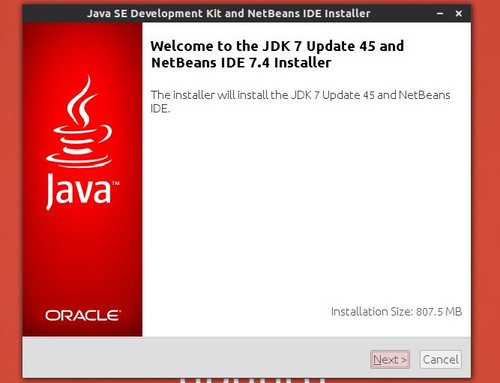
Netbean IDE install wizard
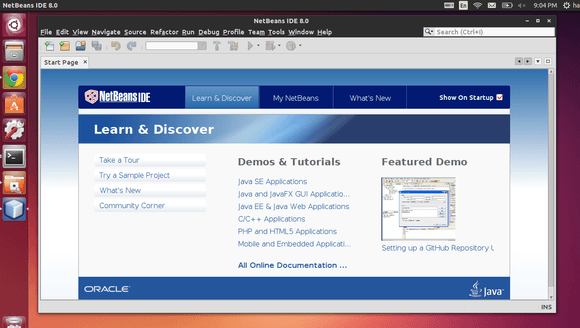
Follow it. Finally you’ll get the NetBeans IDE 7 installed on your system:
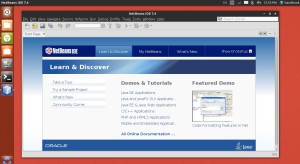
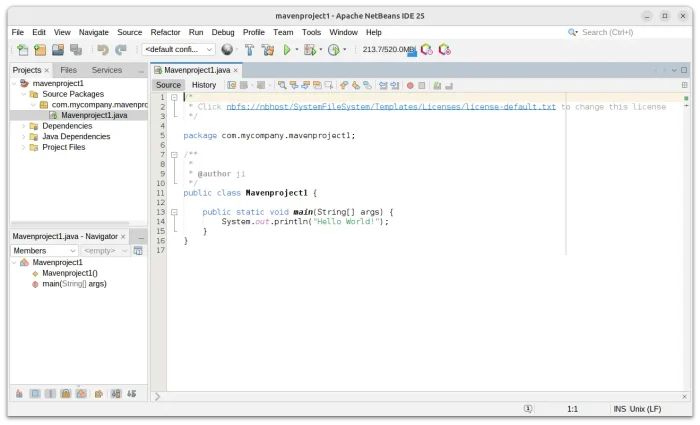
NetBeans IDE 7.4 on Ubuntu 13.10
(Optional) To uninstall Netbeans IDE 7.4, run the uninstall.sh from the installation directory


