Archives For November 30, 1999

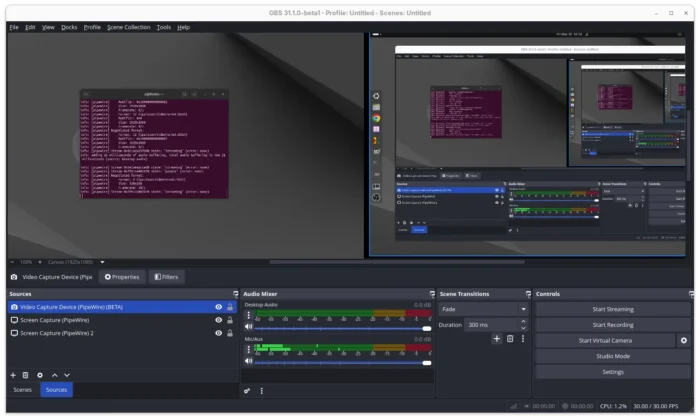
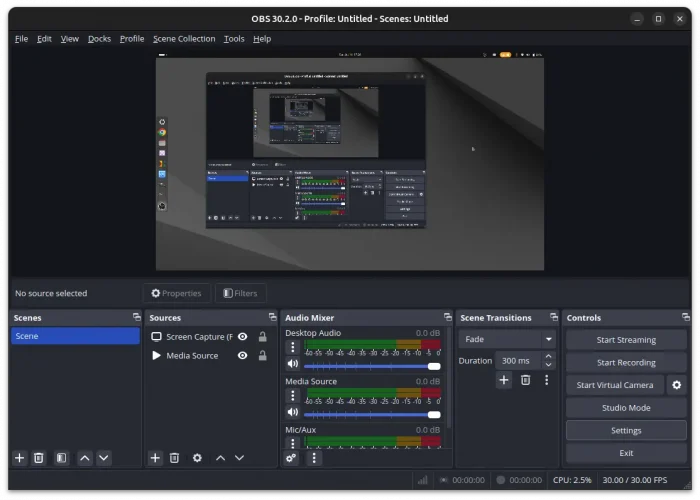
OBS Studio, the popular free open-source live streaming software, announced new major 30.2.0 release a day ago.

The new release has some improvements for Linux support. They include native NVENC encoder interface for NVIDIA GPU hardware accelerated encoding, and NVENC AV1 support. And, Linux shared texture support to the NVENC encoder, QuickSync encoder, as well as VA-API encoder.

OBS Studio 30.2.0 also added multi-track video streaming support, aka Enhanced Broadcasting on Twitch.

To improve the experience for viewers with poor network conditions or those watching on older devices, the streaming service usually creates multiple video qualities of original high-quality source content.

Now, OBS Studio itself can produce multiple video qualities, though, it so far supports only Windows and requires NVIDIA GTX 900, GTX 10, or RTX 20 series GPU or newer or an AMD RX 6000 series GPU or newer. And, it will collect info, such as OBS version and audio/video settings, CPU, GPU, Memory, and OS info and set to the streaming service.

Continue Reading…

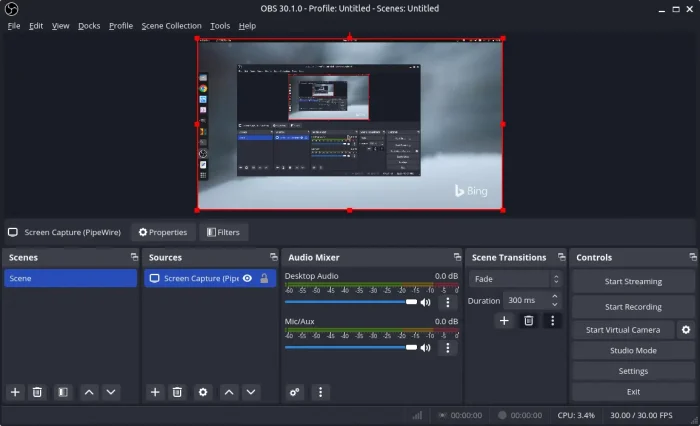
OBS Studio, the popular free open-source live streaming app, announced new major 30.1 release this Wednesday!

The new release enabled HDR for HEVC over the RTMP protocol, AV1 HDR is not currently supported by YouTube.

OBS Studio 30.1 reworked Image Slideshow source to load files asynchronously, and fixed an issue where the slideshow would loop before showing all images. Existing Image Slideshow sources will continue functioning as before. To change them to the new version, you have to re-create them.

The release also added AV1 support for VA-API video hardware acceleration, and AV1 support for WebRTC/WHIP output.

Continue Reading…

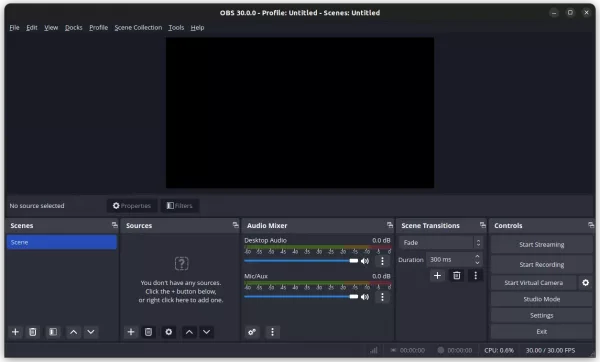
OBS Studio, the popular live streaming software, announced new 30.0 release yesterday. Here are the new features and how to install guide for Ubuntu 22.04, Ubuntu 23.04/23.10, and Linux Mint 21.

OBS-Studio 30.0 is a big release with many new features. They include WHIP/WebRTC output, support for Intel QSV H264, HEVC, AV1 on Linux, “Safe Mode” that runs without scripting, and websockets, 10-bit capture and HDR playback support for Decklink devices.

Other changes include:

  • Redesigned the status bar
  • Full-Height docks option in the “Docks” menu
  • Add shader cache to improve startup time on Windows
  • Add application audio capture on macOS
  • Rework the virtual camera on macOS
  • Add YouTube Live Control Room Panel when streaming to YouTube
  • Option to hide OBS windows from macOS Screen Capture’s “Display Capture”
  • Arrange filters via drag & drop
  • Ability to set FFmpeg Options for VAAPI

And, there are tons of other changes and bug-fixes, see the release page for details.

How to Install OBS Studio 30.0 in Ubuntu

The release page (see the link above) provides Windows .exe, Mac OS .dmg, and Ubuntu .deb packages for downloading under ‘Assets’ section.

For Ubuntu and Linux Mint, there’s also an official PPA available to make it easy to keep the software up-to-date.

The PPA supports the new release for Ubuntu 22.04, Ubuntu 23.04, Ubuntu 23.10, and their based systems. While, Ubuntu 20.04 does not longer supported due to FFmpeg version mis-match.

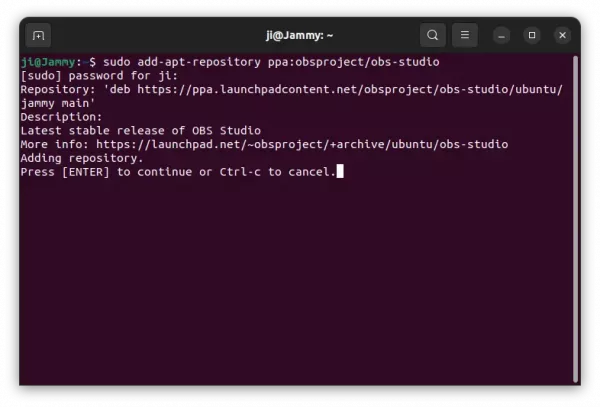
1. Firstly, press Ctrl+Alt+T on keyboard to open a terminal window. When it opens, run command to add the PPA:

sudo add-apt-repository ppa:obsproject/obs-studio

Type user password (no asterisk feedback) when it asks and hit Enter to continue.

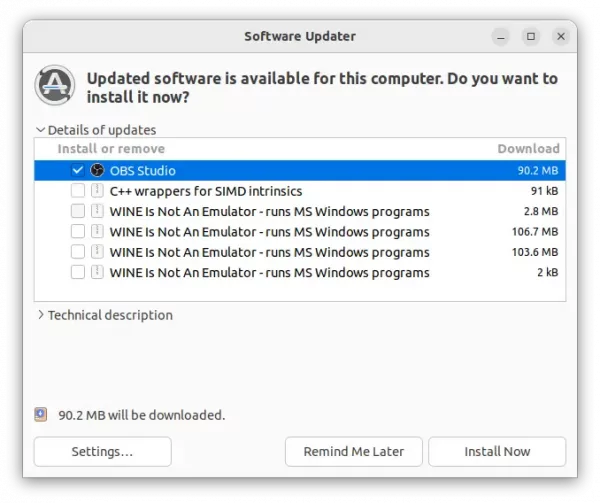
2. Then, either use Software Updater to update the software package (if an old version was installed).

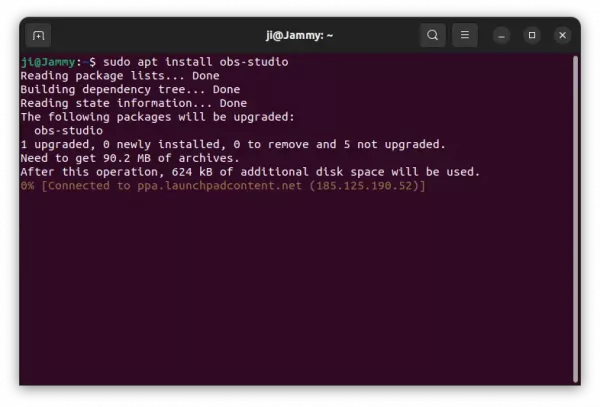
Or, use apt command to install/upgrade the software package:

sudo apt install obs-studio

NOTE: Linux Mint may need to run sudo apt update first to update package cache.

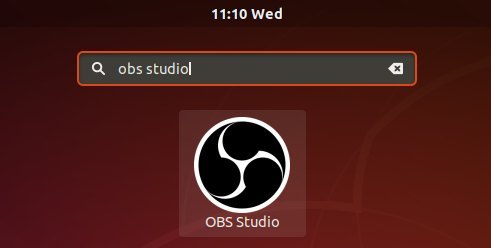
Once installed, search for and launch OBS Studio from ‘Activities’ overview or start menu depends on your desktop environment and enjoy!

NOTE: OBS Studio in Ubuntu 22.04 and higher with Wayland, looks kinda borderless, due to Qt theming issue. If you prefer the classic header-bar and window border, see this tutorial to enable xcb plugin

Uninstall OBS Studio

To downgrade the software to the stock version that your system repository provides, run command:

sudo apt install ppa-purge && sudo ppa-purge ppa:obsproject/obs-studio

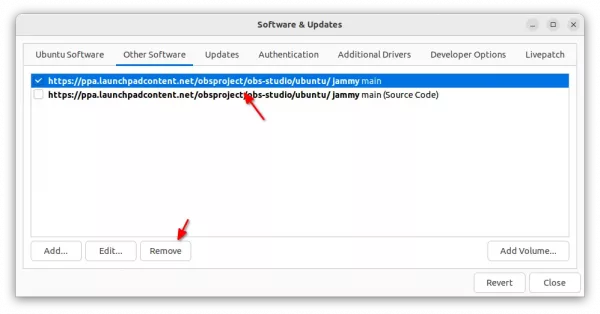
Or, either open Software & Updates and remove the PPA source line under ‘Other Software’ tab:

or run command in terminal to remove the PPA repository:

sudo add-apt-repository --remove ppa:obsproject/obs-studio

Also, remove the OBS Studio if you want by running command in terminal:

sudo apt remove --autoremove obs-studio

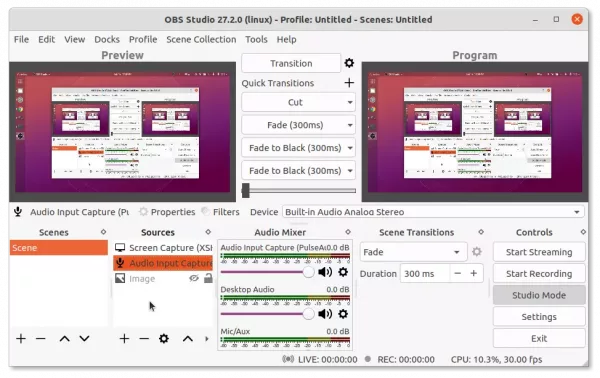
The popular open-source live streaming app OBS Studio released v27.2 with exciting new features! Here’s how to install it in Ubuntu via different ways.

What’s New in OBS Studio 27.2:

Release highlights in OBS Studio 27.2 include:

  • Add AJA source for AJA devices
  • Add AJA output to tools menu for AJA devices
  • AOM AV1 and SVT-AV1 encoding support.
  • Hotkey filter search
  • Hotkey duplicate detection
  • Support for the RIST protocol
  • Official Flatpak support for Linux
  • Many other changes and bug-fixes.

Install OBS Studio 27.2 in Ubuntu:

The software package is available in Ubuntu default repositories, but old. For the most recent version, there are official Ubuntu PPA, Official Flatpak package, and community maintained Snap package.

Option 1: Install OBS Studio via Ubuntu PPA:

The official PPA may be the most favorite method, since it installs the app as the classic .deb. So far, the PPA contains 64-bit package for Ubuntu 18.04, Ubuntu 20.04, and Ubuntu 21.10.

1.) Press Ctrl+Alt+T on keyboard to open terminal. Next, paste the command below and hit Enter to add the PPA:

sudo add-apt-repository ppa:obsproject/obs-studio

Type user password (no asterisk feedback) when it asks and hit Enter to continue.

2.) After adding the PPA, Ubuntu 18.04 user need to manually refresh system package cache via command:

sudo apt update

3.) Finally, either install the app via command:

sudo apt install obs-studio

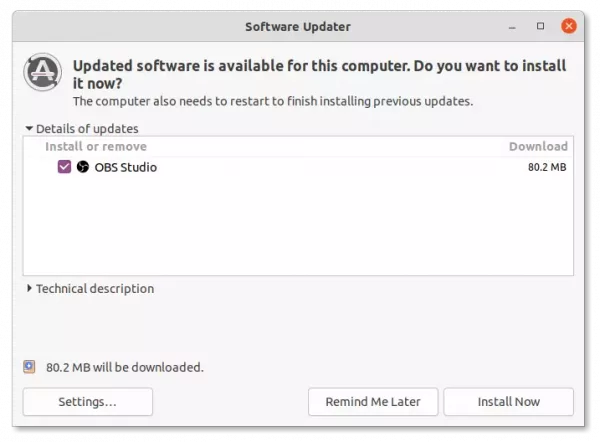
Or update the software package using ‘Software Updater’ utility:
Option 2: Install OBS Studio via Flatpak:

The Fluthub repository offers the official 64-bit and 32-bit packages available to install in most Linux systems.

The Flatpak package updates automatically and use the latest dependency libraries for best performance. However, it takes hundreds more megabytes disk space!

1.) Firstly, press Ctrl+Alt+T on keyboard to open terminal and run command to install Flatpak daemon:

sudo apt install flatpak

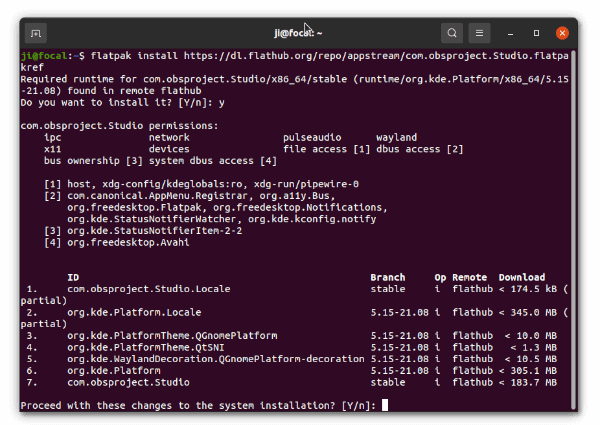
2.) Next, install OBS Studio as Flatpak using command:

flatpak install https://dl.flathub.org/repo/appstream/com.obsproject.Studio.flatpakref
Option 3: Install OBS Studio via Snap:

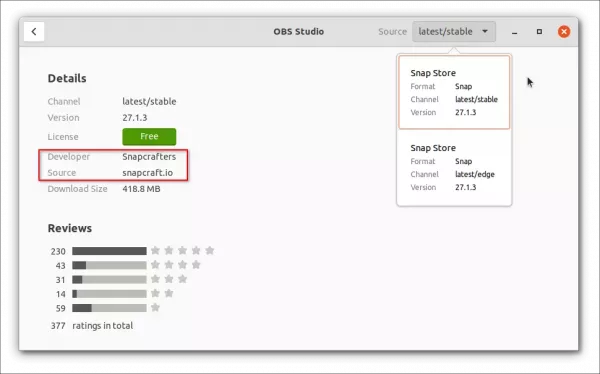
Snap is another universal package format runs in most Linux. It’s developed by Canonical, the company behind Ubuntu. It updates automatically and takes more disk space too. However, OBS Studio as Snap is NOT official package so far.

Ubuntu user may install the Snap package easily from Ubuntu Software. Though, it’s v27.1.3 at the moment.
NOTE: Snap, Flatpak, and Deb packages can be installed alongside with each other. So you may have duplicated app icons if more than one installed.

Uninstall OBS Studio:

To remove the Ubuntu PPA, open terminal and run command:

sudo add-apt-repository --remove ppa:obsproject/obs-studio

And remove the live streaming app .deb package using command:

sudo apt remove --autoremove obs-studio

To remove the Flatpak package, run command in terminal:

flatpak uninstall --delete-data com.obsproject.Studio

And clean up disk space via flatpak uninstall --unused.

For the Snap package, simply use Ubuntu Software.

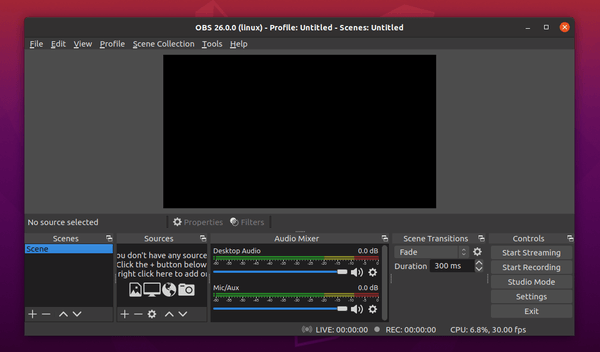
OBS Studio 26.0, free open-source streaming and recording program, was released with many new features, improvements, and numerous bug-fixes.

The new released added Virtual Camera feature, allowing you to use the OBS output as a camera in other apps. So far, it’s only for Windows.

Other changes include:

  • Add a Source Toolbar to access to relevant controls for selected source.
  • Add media controls on the source toolbar.
  • Ability to take screenshots of the previews, sources, or scenes with hotkeys
  • Add percentage toggle to the volume controls in advanced audio properties
  • Add more audio capture support for BSD operating systems
  • Add option to disable antialiasing for text sources
  • Add a right-click context menu option to projectors.
  • See here for more details.

How to Install OBS Studio 26.0 in Ubuntu 20.04, 18.04:

The official PPA offers the latest release packages for Ubuntu 18.04 and Ubuntu 20.04:

1. Open terminal either by pressing Ctrl+Alt+T on keyboard or by searching for “terminal” from app launcher. When it opens, run command to add the PPA:

sudo add-apt-repository ppa:obsproject/obs-studio

Type user password (no asterisk feedback) when it prompts and hit Enter.

2. Then either upgrade OBS Studio from an existing version via Software Updater, or run command in terminal to install the software:

sudo apt-get update

sudo apt-get install obs-studio

Once installed, launch the software from your system application launcher and enjoy!

Uninstall:

To remove the software, either use Synaptic package manager or run command in terminal:

sudo apt-get remove --autoremove obs-studio

To remove PPA repositories, launch Software & Updates and navigate to ‘Other Software’ tab.

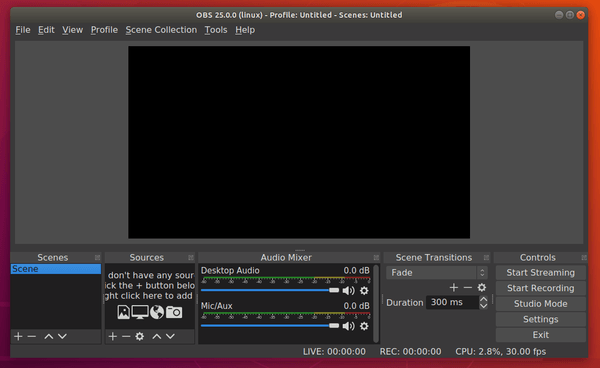
OBS Studio 25.0 was finally released today after 6 release candidates. Here’s how to install it in Ubuntu 18.04, Ubuntu 19.10, via PPA.

Changes in OBS Studio 25.0 include:

  • Ability to capture Vulkan-based games
  • Add new window capture mode to capture browser-based windows, Microsoft Store (UWP) programs.
  • Add advanced scene collection importing
  • Media source hotkeys to allow control of playback
  • Add T-bar to studio mode
  • Add support for the SRT protocol
  • Ability to copy/paste multiple selected sources

There are also many other new features, enhancements, and various bug-fixes. See MORE.

How to Install OBS Studio 25.0 in Ubuntu 18.04:

The containerized Snap package has been updated and available to install via Ubuntu Software.
The official PPA offers the latest release packages for Ubuntu 18.04 and Ubuntu 19.10:

1. Open terminal either by pressing Ctrl+Alt+T on keyboard or by searching for “terminal” from app launcher. When it opens, run command to add the PPA:

sudo add-apt-repository ppa:obsproject/obs-studio

Type user password (no asterisk feedback) when it prompts and hit Enter.

2. Then either upgrade OBS Studio from an existing version via Software Updater, or run command in terminal to install the software:

sudo apt-get update

sudo apt-get install obs-studio

Once installed, launch the software from your system application launcher and enjoy!

Uninstall:

To remove the software, either use Synaptic package manager or run command in terminal:

sudo apt-get remove --autoremove obs-studio

To remove PPA repositories, launch Software & Updates and navigate to ‘Other Software’ tab.

OBS Studio, free live streaming and screen recording software, released version 23.0 recently with many new features. Here’s how to install it in Ubuntu 16.04, Ubuntu 18.04, Ubuntu 18.10.

OBS Studio 23.0 release highlights:

  • Add Limiter audio filter, Expander audio filter.
  • Add VAAPI video encoder on Linux.
  • Add batch remuxing support to the Remux Recordings dialog.
  • Option to automatically remux recordings to MP4 in Advanced settings.
  • Add Decklink output tool to the tools menu.
  • Add an optional Stats dock (disabled by default).
  • Add multi-track audio support to FFmpeg output in advanced output settings.
  • Add an Invert Polarity audio filter.
  • Add VLC source support to the Instant Replay script.
  • Some other enhancements, and many bug-fixes.

How to Install OBS Studio 23 in Ubuntu:

The easiest way is to install the community maintained Snap package which runs in sandbox. For Ubuntu 18.04 and higher, simply install it from Ubuntu Software.

For the official PPA packages, all current Ubuntu releases can do following steps to install the latest OBS Studio.

1. Open terminal either via Ctrl+Alt+T keyboard shortcut or by searching for “terminal” from app launcher. When it opens, run command to add the PPA:

sudo add-apt-repository ppa:obsproject/obs-studio

Type user password (no asterisk feedback) when it prompts and hit Enter.

2. For Ubuntu 14.04 you also need to run command to add another PPA for FFmpeg library:

sudo add-apt-repository ppa:kirillshkrogalev/ffmpeg-next

3. Now you can install OBS-Studio via Synaptic package manager, upgrade the software from an existing release via Software Updater, or simply run commands one by one:

sudo apt-get update

sudo apt-get install obs-studio

Once installed, launch the software from Unity Launcher, Gnome Launcher, or other app launcher and enjoy!

Uninstall:

To remove the software, either use Synaptic package manager or run command in terminal:

sudo apt-get remove --autoremove obs-studio

To remove PPA repositories, launch Software & Updates and navigate to ‘Other Software’ tab.

Install OBS Studio Easily via Snap in Ubuntu

Last updated: June 25, 2018

For those who don’t want to add third-party repositories, the free and open-source streaming and recording program OBS Studio now can be easily installed in Ubuntu via Snap package.

Snap is an universal Linux package format. Snap application runs in sandbox and it auto-updates itself once a new release is out and snapped by the maintainer.

The latest OBS Studio 21.1.2 is now available as snap package. You can easily install it from Ubuntu Software:

For Ubuntu 16.04 users who never installed a snap package, run command sudo apt install snapd first to install the daemon.

Or run command in terminal (Ctrl+Alt+T) to install the OSB Studio snap package:

snap install obs-studio

You may found that the snap package is kinda large in file size that because it bundles almost all its dependencies.

NOTE: To access webcam and content on external storage, you need to run 2 two commands:

sudo snap connect obs-studio:camera

sudo snap connect obs-studio:removable-media

Finally launch the software from Gnome launcher or Unity launcher (may need to log out and log in back) and enjoy!

OBS Studio, free and open-source live streaming and screen recording software, reached 21.1 release a day ago. Here’s how to install it in Ubuntu 18.04, Ubuntu 17.10, Ubuntu 16.04, and/or Ubuntu 14.04.

Changes OBS Studio 21.1 include:

  • Updated the Browser source to Chromium 63 with a few fixes and APNG (animated PNG) image files support.
  • Dockable windows can now be nested.
  • Updated the program to use the latest Microsoft development toolchain (Visual Studio 2017) for the Windows version.
  • Changed log file uploading to hastebin (for now) instead of anonymous github gists due to github removing anonymous gist support.
  • Fixed an issue where the AMD encoder wouldn’t show up for some people since 21.0.
  • And various other fixes. See the release page.

How to Install OBS Studio 21.1 in Ubuntu:

The software has a Ubuntu PPA contains the latest packages for all current Ubuntu releases.

1. Open terminal either via Ctrl+Alt+T or by searching for “terminal” from app launcher. When it opens, run command to add the PPA:

sudo add-apt-repository ppa:obsproject/obs-studio

Input your password (no visual feedback while typing) when it prompts and hit Enter.

2. For Ubuntu 14.04 you also need to run command to another PPA for FFmpeg library:

sudo add-apt-repository ppa:kirillshkrogalev/ffmpeg-next

3. Now you can install OBS-Studio via Synaptic package manager, upgrade the software from an existing release via Software Updater, or simply run commands one by one:

sudo apt-get update

sudo apt-get install obs-studio

Once installed, launch the software from Unity Launcher, Gnome Launcher, or other app launcher and enjoy!

Uninstall:

To remove the software, either use Synaptic package manager or run command in terminal:

sudo apt-get remove --autoremove obs-studio

To remove PPA repositories, launch Software & Updates and navigate to ‘Other Software’ tab.