![]()
This quick tutorial shows you how to easily install Oracle Java JDK 8 and/or 10 in Ubuntu 18.04 LTS via PPA.
There’s no PPA package for Oracle Java 6 and 7 since they are now only available for those with an Oracle Support account (which is not free). And Java 9 has reached end of life.
Install Oracle Java JDK 10 in Ubuntu 18.04:
The “Linux Uprising” team maintains a PPA repository that contains Oracle Java 10 installer for all current Ubuntu releases.
1. Open terminal either via Ctrl+Alt+T or by searching for ‘terminal‘ from app launcher. When it opens, run command to add the PPA:
sudo add-apt-repository ppa:linuxuprising/java
Type your password (no asterisks while typing) when it prompts and hit Enter to continue.

2. Then run command to install the package, and accept the license before it automatically downloading and installing JDK 10:
sudo apt-get install oracle-java10-installer
Once installed, Oracle Java 10 should be automatically set as default. If not, run command:
sudo apt-get install oracle-java10-set-default
3. Finally check your java version via java -version and javac -version:

Install Oracle Java JDK 8 in Ubuntu 18.04:
Webupd8 Team maintains a PPA repository that contains Oracle Java 8 installer scripts for all current Ubuntu releases.
1. Open terminal and run command to add the PPA:
sudo add-apt-repository ppa:webupd8team/java
Type your password (no asterisks while typing) when it prompts and hit Enter to continue.

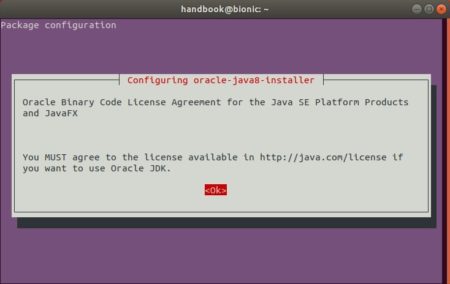
2. Then run command to install Java 8 installer and accept license when it prompts:
sudo apt-get install oracle-java8-installer

Once installed, Oracle Java 8 should be automatically set as default. If not, run command:
sudo apt-get install oracle-java8-set-default
Uninstall:
It’s always easy to remove the PPA packages, simply open terminal and run command:
sudo apt-get remove --autoremove oracle-java8-installer oracle-java10-installer
And launch Software & Updates -> Other Software tab to remove the PPA repositories.


