![]()
This is a step by step guide for beginners how to create bootable Ubuntu 13.10 Server USB and install it on your computer.
Requirements:
- A Windows, Linux or Mac OS PC for burning the iso into USB
- 1GB+ USB stick
- Ubuntu 13.10 Server ISO downloaded from releases.ubuntu.com/13.10
How to Create Bootable Ubuntu Server USB
First download Unetbootin executable, a simple tool to install Linux/BSD distributions to a partition or USB drive. It works on Windows, Linux and Mac.
Insert USB stick to computer and format (don’t use’Quick format’) to FAT. Open Unetbootin, in the picture below choose the Ubuntu 13.10 Server iso and your usb device and finally click OK to start the burning process.
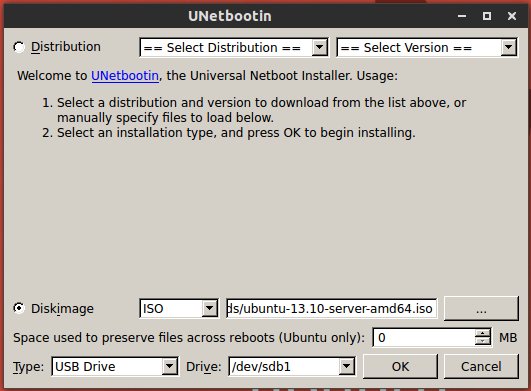
create bootable ubuntu server usb
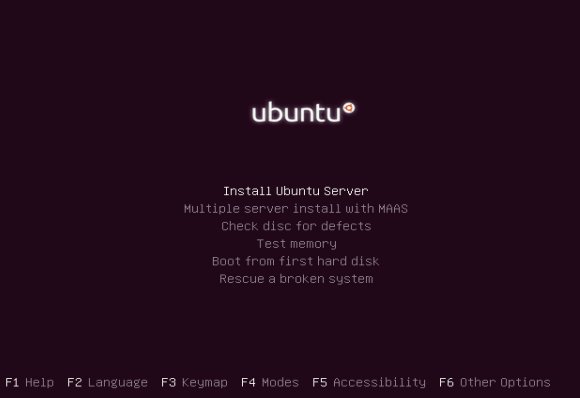
Once finished, connect the USB to the machine which you want to install Ubuntu Server on. Boot from the USB and you’ll see a screen with list of options include ‘Install Ubuntu Server’
Install Ubuntu 13.10 Server
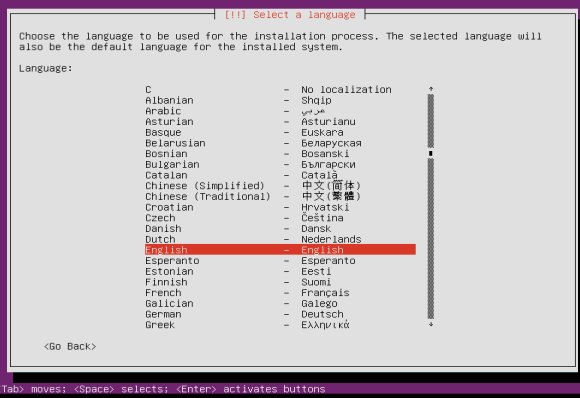
Select ‘Install Ubuntu Server’ from the Unetbootin boot screen, then select your desired language in the screen below:
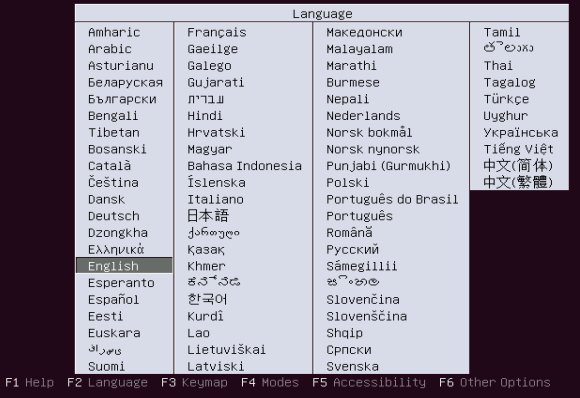
Ubuntu 13.10 Server select language
Click Install Ubuntu Server
install ubuntu 13.10 server
Choose the language for installation process and installed system:
Ubuntu 13.10 server installation language
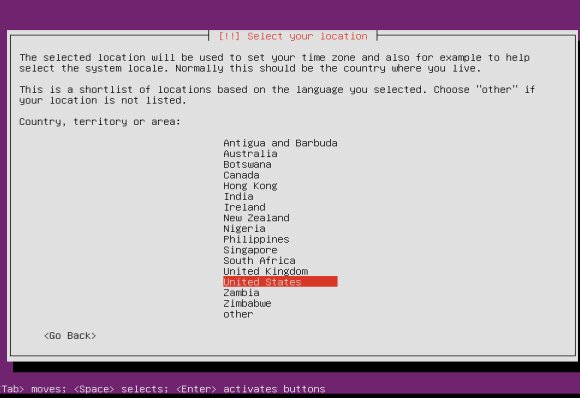
Select your Country which will used to set your time zone:
Ubuntu 13.10 Server select location
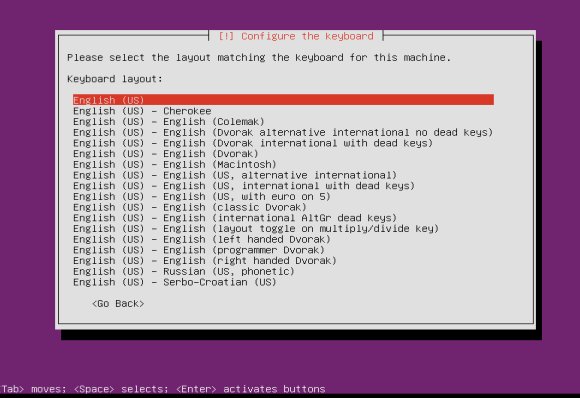
Choose your locale settings. Then select YES to detect keyboard layout or NO to select from list.
Setup the hostname (Computer name).
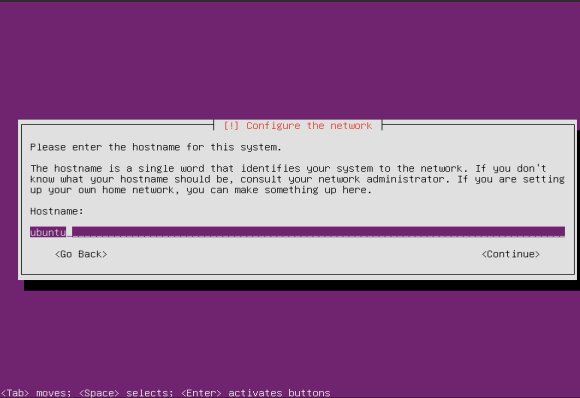
Ubuntu 13.10 Server hostname
Enter your username and password to create an Administrator account. You can login with this user after installation:
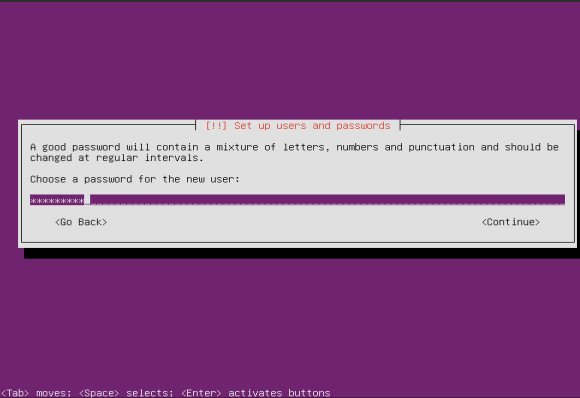
Ubuntu 13.10 Server create user
Encrypt previous created user’s home directory or not:
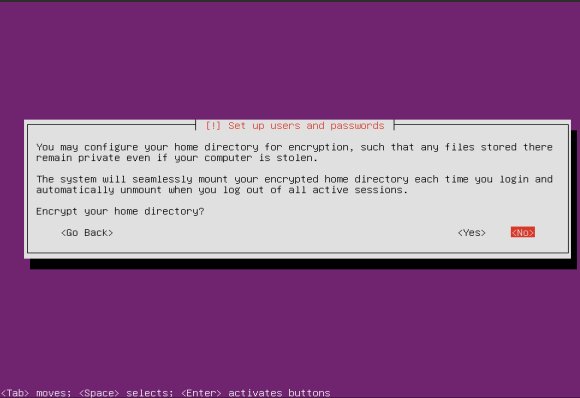
Ubuntu 13.10 Server encrypt home directory
Select the partitioning method:
- Guided – use the entire disk: it will automatically create the main EXT4 partition and swap area for Ubuntu using all disk storage.
- Guided – use the entire disk and setup (encrypted) LVM: it will use the whole disk storage and you need to manually create EXT partition and Swap for Ubuntu Server.
- Manual: If you have a dual-boot system or you want to keep a non-system partition on the disk, do it manually.
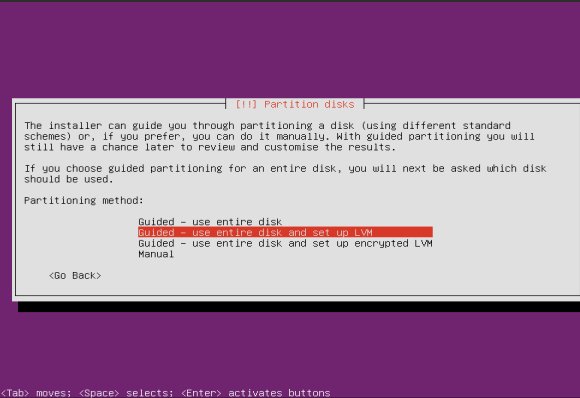
Ubuntu 13.10 Server partition
Confirm the partition and the installation will begin:
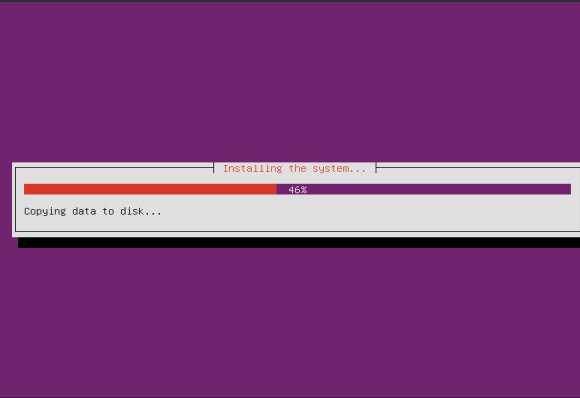
Ubuntu 13.10 Server installing process
Input HTTP proxy server IP. Leave it empty if you don’t have one.
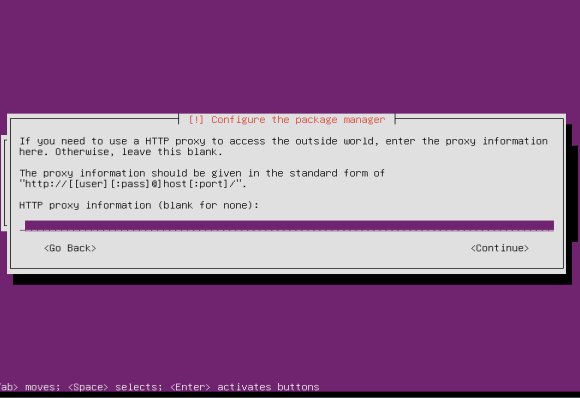
Ubuntu 13.10 Server HTTP setup
It’ll take a few minutes configuring apt. If want, cancel it and do it afterwards.
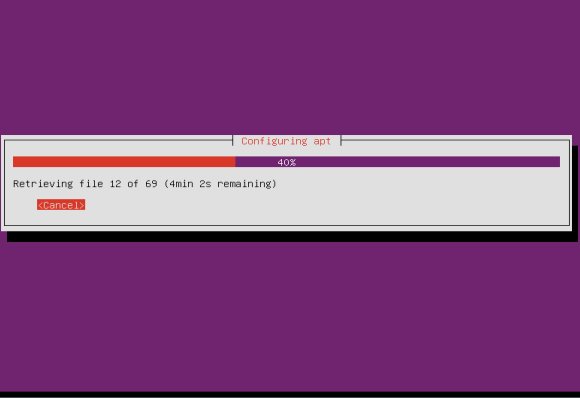
Ubuntu 13.10 Server configure apt
In order to keep your system security, select ‘Install security updates Automatically’ in next screen:
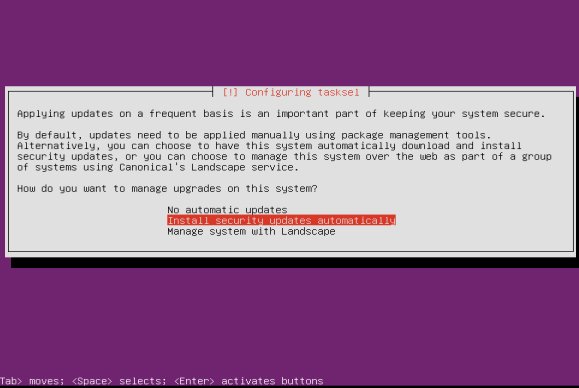
Ubuntu 13.10 Server security updates
Now you can select to install OpenSSH server, DNS, LAMP, MAIL, PostgreSQL, Print, Samba, Tomcat, Virtual Machine Host from the list. Use arrow keys to highlight and Space to select, finally press Enter to go on.
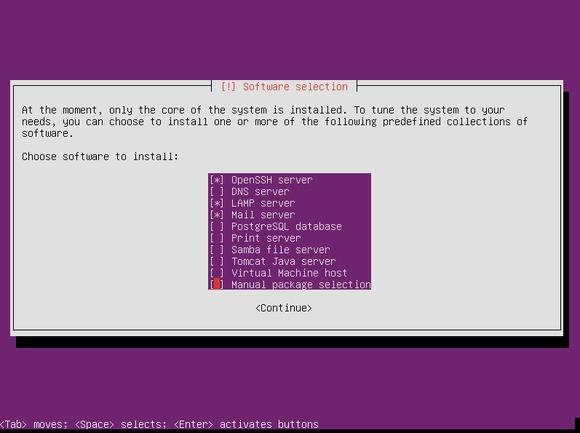
Ubuntu 13.10 Server install software
Select to install Grub boot loader and finish the installation. Restart and login with the username and password you created:
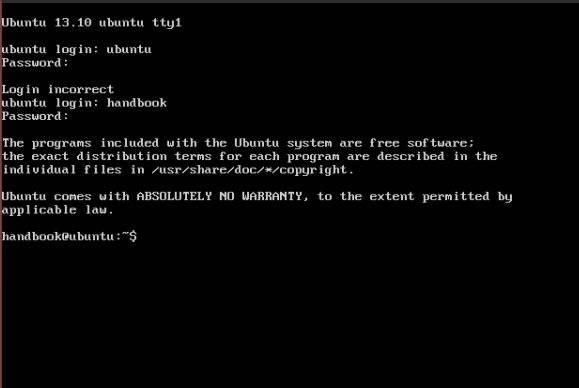
Ubuntu 13.10 server login
Your Ubuntu 13.10 server is running now!