Archives For November 30, 1999

Peek, the popular animated GIF screen recorder application, has been discontinued!

It was one of my most favorite applications, that provides an easy to use interface for recording rectangle screen area into animated GIF.

The software developer announced that “With this announcement I officially declare the Peek project deprecated. This is something I should have done for a while now, but I always told myself that I will eventually do a last release, fixing some issues. As you know this never happened.

The big reason is because of Wayland. Peek is working good in Ubuntu 20.04, though it cannot record the top-bar. But Ubuntu 22.04+, Fedora Workstation and other Linux with recent GNOME have switched to Wayland that cause problems.

Wayland session does not provide the classic way that Peek uses to determine the recording area. It’s even not working properly when running as X11 app in Wayland via XWayland. The issue can’t be resolved unless completely rewritten the app in different UI in different way, but the developer is not interested in it.

However, Peek is still working in classic Xorg session that is default so far in most other desktop environments, and optional in GNOME. Though, it may have bugs and won’t receive fixes!

Alternative apps for recording animated GIF

As far as I know, Kooha is a good alternative that can record screen as GIF and supports Wayland session. And it’s available to install as Flatpak in Flathub repository.

Want to record your screen or app window with sounds? Here’s how to do this in Ubuntu 22.04 LTS.

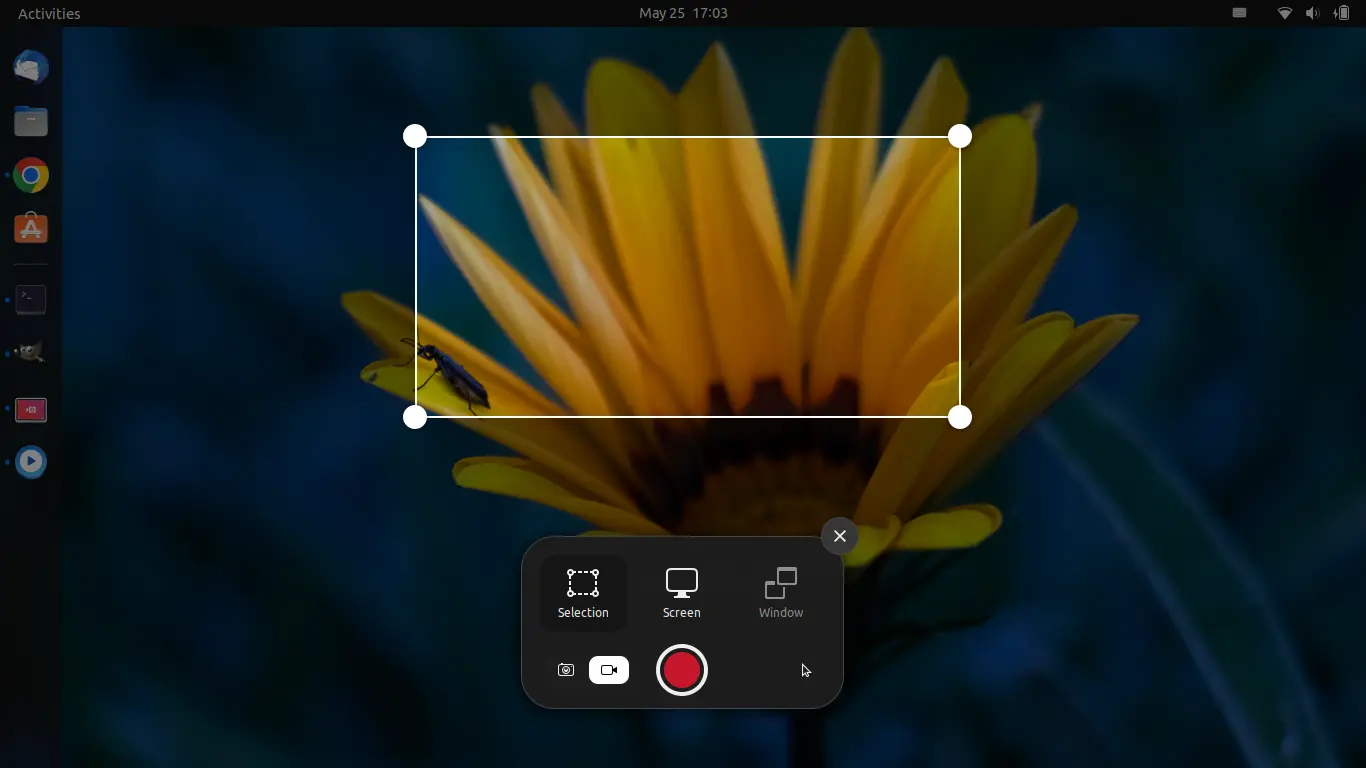
Ubuntu 22.04 comes with built-in screen recording UI. By pressing Ctrl+Shift+Alt+R key combination on keyboard, you can open it and select recording full-screen or a selection area. However, it does not record audio!

System built-in screen recorder

Method 1: Switch to Xorg session:

There are a few other tools available in system repository that record desktop with audio support. However, most of them do not work in the default Wayland session. As a workaround, you may switch back to the classic Xorg session to get your apps work.

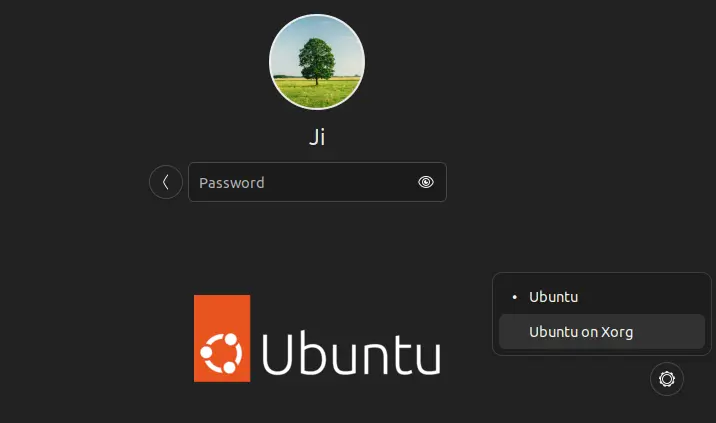
1. Firstly, save your work and log out the current session.

2. In the login screen, click your username, then select “Ubuntu on Xorg” using the bottom right gear button menu.

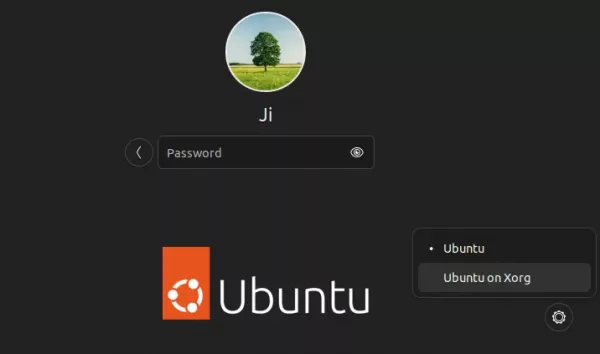
3. Finally, type password to login and start recording via your applications.

In case you don’t know about any screen recording app, here are some that work in Xorg session with audio support.

  • Kazam
  • SimpleScreenRecorder (ssr)
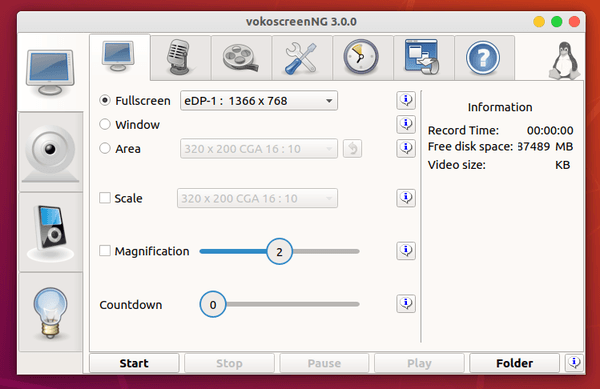
  • vokoscreen-ng

All the 3 are available to install in Ubuntu Software. You can alternatively press Ctrl+Alt+T to open terminal, run one of the commands below to install the package in case you hate Ubuntu Software (aka Snap store):

sudo apt install kazam
sudo apt install simplescreenrecorder
sudo apt install vokoscreen-ng
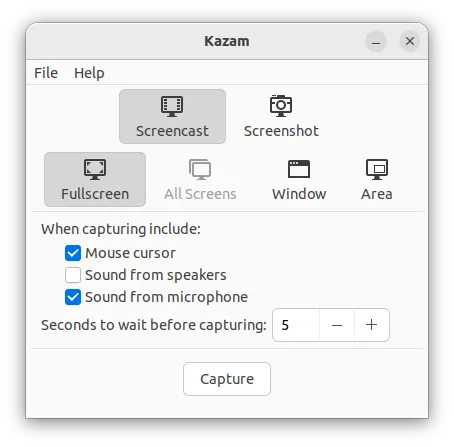
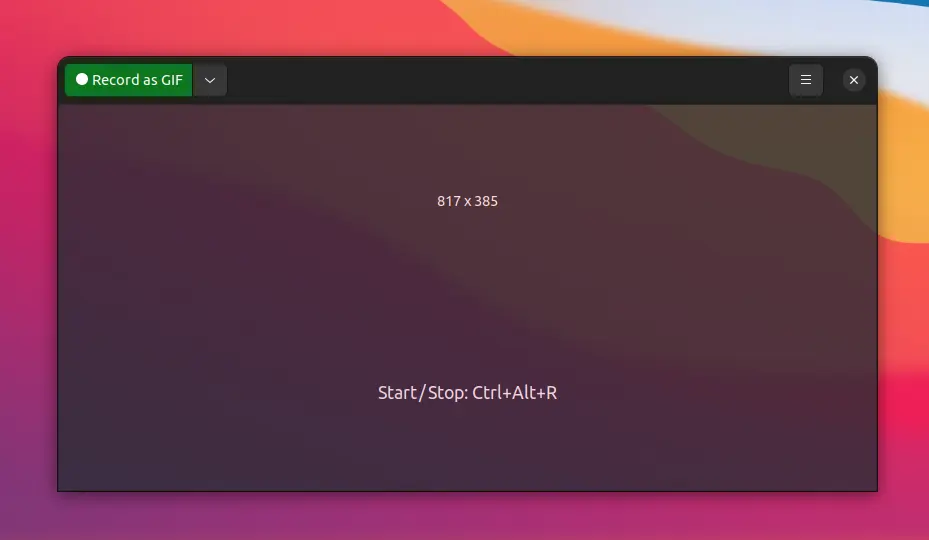
Kazam

Method 2: Use Kooha

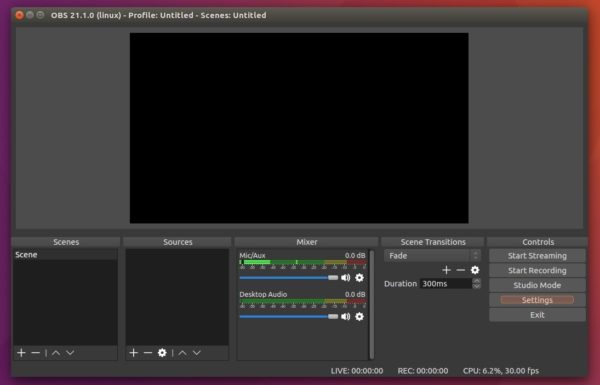
Except OBS Studio, Kooha is the only screen recorder that works great in the Wayland session as far as I know.

It supports recording your selected app window, full-screen, and selection area along with computer sound and/or microphone.

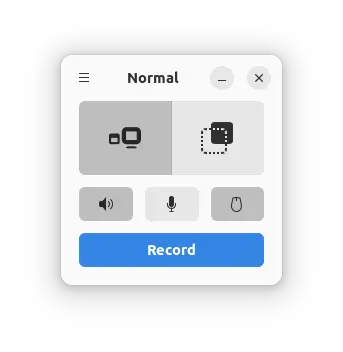
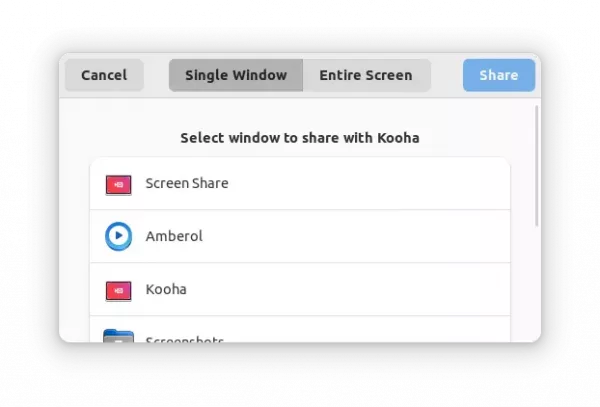
Just select the recording mode, enable audio and/or mouse cursor, and click on “Record” button. It will pop-up a new dialog allows to choose either app window or screen display, and start recording after clicking on “Share” button.

And, it can records video into WebM, MKV, MP4, and GIF file formats via the 3 lines icon menu.

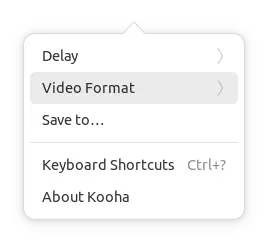
Tip: You may minimize the Kooha counting window during recording process, by clicking the app icon on the dock. Though, you need to first enable ‘click minimize’ function by running command in terminal:

gsettings set org.gnome.shell.extensions.dash-to-dock click-action 'minimize'

How to Install Kooha in Ubuntu & Other Linux

The software so far only provides Linux packages via Flatpak package. If you’re first time installing a Flatpak package, it’ll take a few hundred MB more disk space for run-time libraries.

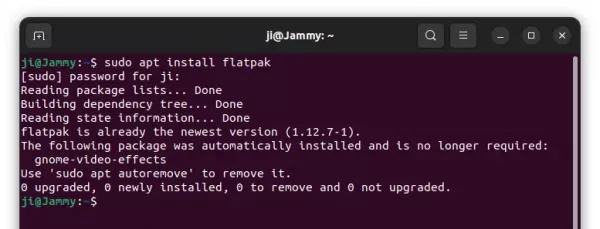
1.) Firstly, press Ctrl+Alt+T on keyboard to open terminal. When it opens, run the command below to install the flatpak daemon:

sudo apt install flatpak

Other Linux may follow this setup guide to install the daemon.

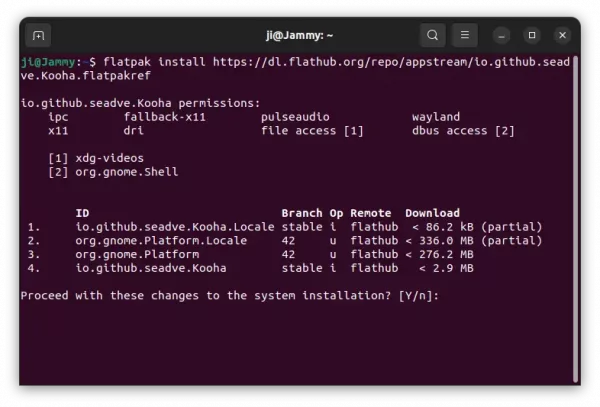
2.) Then, install Kooha as Flatpak via command:

flatpak install https://dl.flathub.org/repo/appstream/io.github.seadve.Kooha.flatpakref

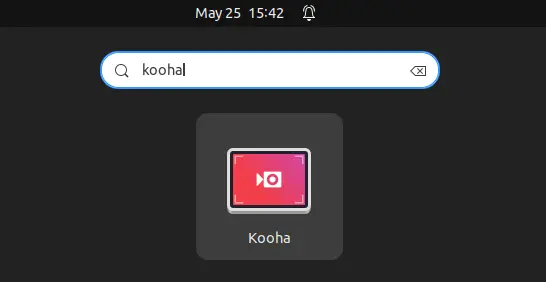
Once installed, click the top-left corner ‘Activities’, then search for and open the app:

How to Remove Kooha

Also, in a terminal window (Ctrl+Alt+T) run the command below will remove the package:

flatpak uninstall --deletedata io.github.seadve.Kooha

And, clean up the run-time libraries via command flatpak uninsatll --unused.

OBS Studio, free and open-source live streaming and screen recording software, reached 21.1 release a day ago. Here’s how to install it in Ubuntu 18.04, Ubuntu 17.10, Ubuntu 16.04, and/or Ubuntu 14.04.

Changes OBS Studio 21.1 include:

  • Updated the Browser source to Chromium 63 with a few fixes and APNG (animated PNG) image files support.
  • Dockable windows can now be nested.
  • Updated the program to use the latest Microsoft development toolchain (Visual Studio 2017) for the Windows version.
  • Changed log file uploading to hastebin (for now) instead of anonymous github gists due to github removing anonymous gist support.
  • Fixed an issue where the AMD encoder wouldn’t show up for some people since 21.0.
  • And various other fixes. See the release page.

How to Install OBS Studio 21.1 in Ubuntu:

The software has a Ubuntu PPA contains the latest packages for all current Ubuntu releases.

1. Open terminal either via Ctrl+Alt+T or by searching for “terminal” from app launcher. When it opens, run command to add the PPA:

sudo add-apt-repository ppa:obsproject/obs-studio

Input your password (no visual feedback while typing) when it prompts and hit Enter.

2. For Ubuntu 14.04 you also need to run command to another PPA for FFmpeg library:

sudo add-apt-repository ppa:kirillshkrogalev/ffmpeg-next

3. Now you can install OBS-Studio via Synaptic package manager, upgrade the software from an existing release via Software Updater, or simply run commands one by one:

sudo apt-get update

sudo apt-get install obs-studio

Once installed, launch the software from Unity Launcher, Gnome Launcher, or other app launcher and enjoy!

Uninstall:

To remove the software, either use Synaptic package manager or run command in terminal:

sudo apt-get remove --autoremove obs-studio

To remove PPA repositories, launch Software & Updates and navigate to ‘Other Software’ tab.

green-recorder-icon

Green Recorder is a simple yet functional Linux desktop recorder written with Python and GTK+ 3. Since 2.0 release, it supports Wayland on GNOME session.

Green Recorder uses ffmpeg libraries and so far supports mkv, avi, mp4, wmv and nut (And only WebM for Wayland’s GNOME session). With it, you can record a running window or select an area to record.

The changelog in Green Recorder 2.0 includes:

  • Added Wayland Support (GNOME Session).
  • Added ability to select a specific window.
  • Added ability to select a specific area.
  • Added ability to show/hide mouse cursor.
  • Added ability to follow mouse cursor.
  • Added ability run a command after finishing recording.
  • Indicator now checking for ffmpeg before running.
  • Fixed some issues about multi-recordings.

green-recorder

green recorder select area

To install the desktop recorder, open terminal from Unity Dash, App Launcher, or via Ctrl+Alt+T keys, and then run following commands one by one:

1. Run command to add the Green project PPA repository:

sudo add-apt-repository ppa:mhsabbagh/greenproject

Type your password (no visual feedback) when it prompts and hit enter.

green recorder ppa

2. Then install green-recorder package either via Synaptic Package Manager (after click refresh):

greenrecorder-synaptic

or by running following commands in terminal:

sudo apt-get update

sudo apt-get install green-recorder

How to Remove:

To uninstall the software, either use Synaptic Package Manager or run command in terminal:

sudo apt-get remove green-recorder && sudo apt-get autoremove

To remove the PPA repository, go to System Settings -> Software & Updates -> Other Software tab.