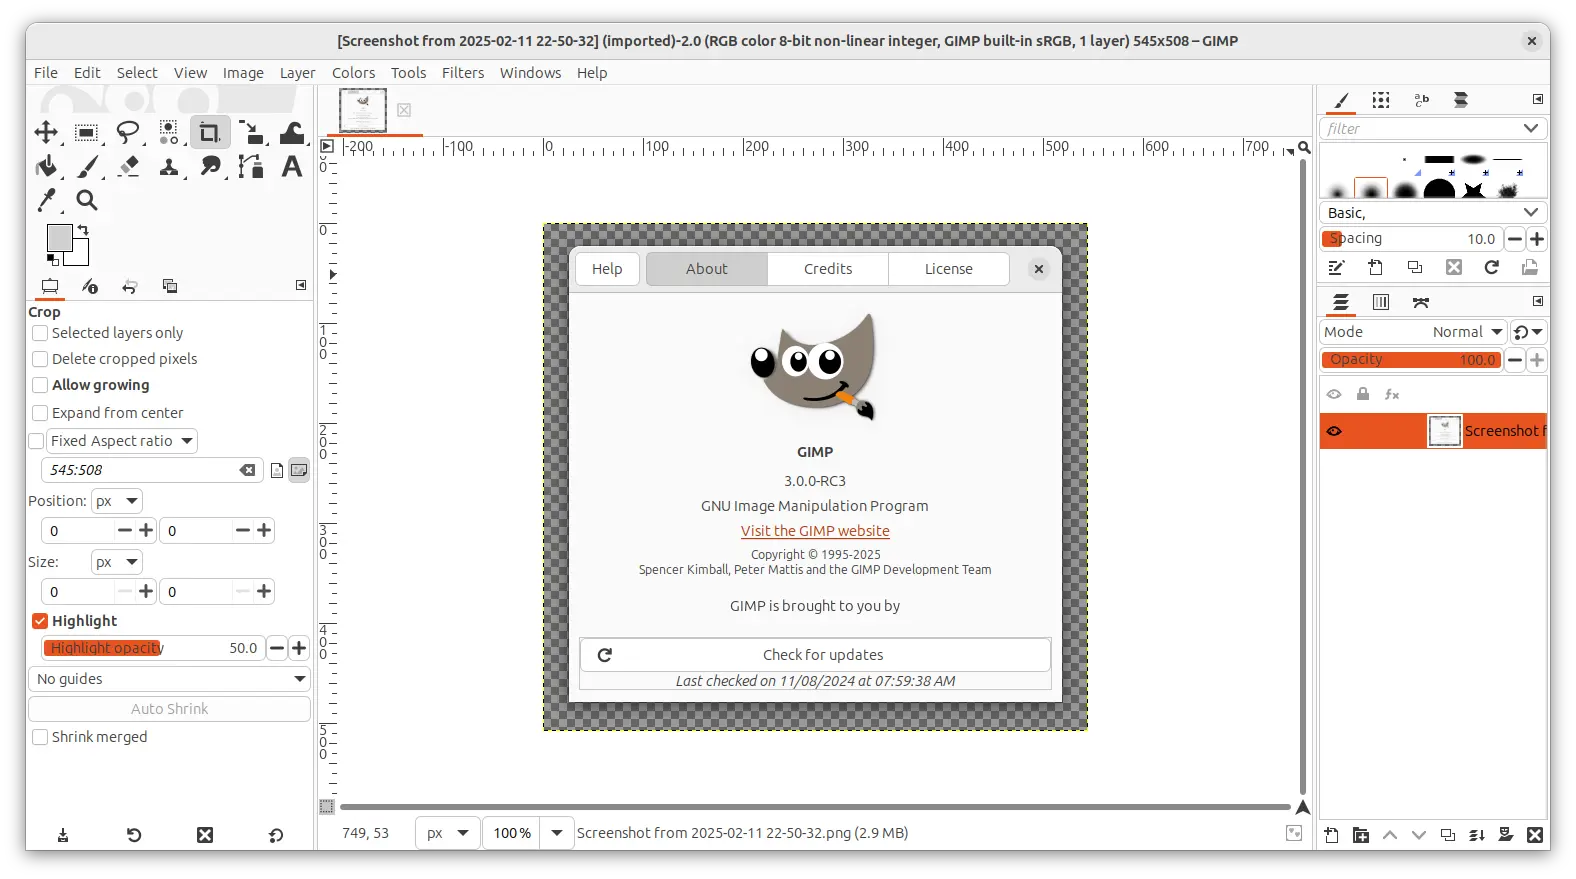
GIMP image editor now is at version 3.0.x, and I’ve made a PPA for those who prefer the native .deb package format.
If somehow you need to install the old GIMP 2.10.38 in Ubuntu, then this tutorial may help!
First of all, GIMP 2.10.38 includes Windows Ink drivers support for better tablets support on Windows. It also backports some small features from GTK3 to GTK2, with some improvements for Windows users. They include:
- Use native Windows API for converting keystrokes to characters,
- Fix keyboard input when using IMEs,
- Fix mouse events in presence of transparent windows on the desktop,
- Win32 IME Fixes, and more.
Besides the improvements for Windows users, the release also includes various bug-fixes, including that GIMP crashes every time on exit in my case in Ubuntu 24.04. See release note for more about GIMP 2.10.38.
(Old content for GIMP 2.10.36) The new release also has some new features. They include Adobe Swatch Exchange (ASE) and Adobe Color Book (ACB) palettes support.
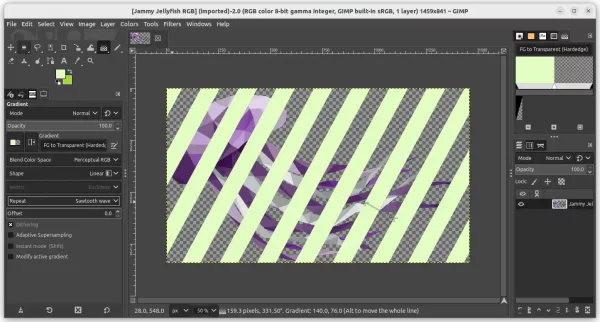
Gradient Tool now has an “FG to Transparent (Hardedge)” option, to generate a gradient from the foreground color to transparency, with hard-edge transitions between the 2 colors. Which, as well includes a “Repeat” option to alternate repetitive colored shapes.
Other changes in GIMP 2.10.36 include:
- Load GIF images with PixelAspectRatio header metadata correctly.
- Improve formatting behavior when selecting and changing text on canvas.
- Add “Table of Contents” option under Help > User Manual submenu.
- Workaround broken graphic tablet with recent linuxwacom driver on Linux.
How to Install GIMP 2.10.38 in Ubuntu
GIMP provides official Linux package through Flatpak. For choices, they are Snap package and Ubuntu PPAs (.deb) maintained by contributors.
Option 1: Flatpak (official)
Flatpak is an universal package format that can be installed in most Linux, though it runs in sandbox.
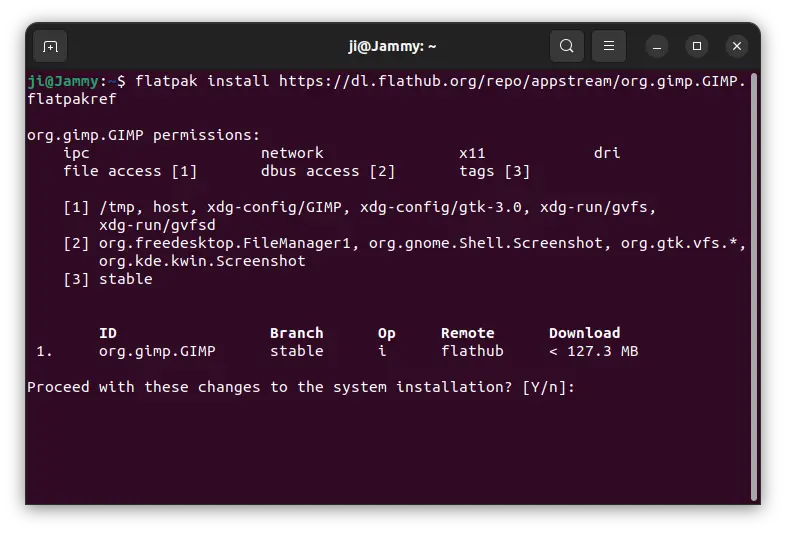
To install GIMP Flatpak package, press Ctrl+Alt+T on keyboard to open terminal and run the 2 commands below one by one:
If you already installed an old version of the Flatpak package, try to update it by running command:
flatpak update org.gimp.GIMP
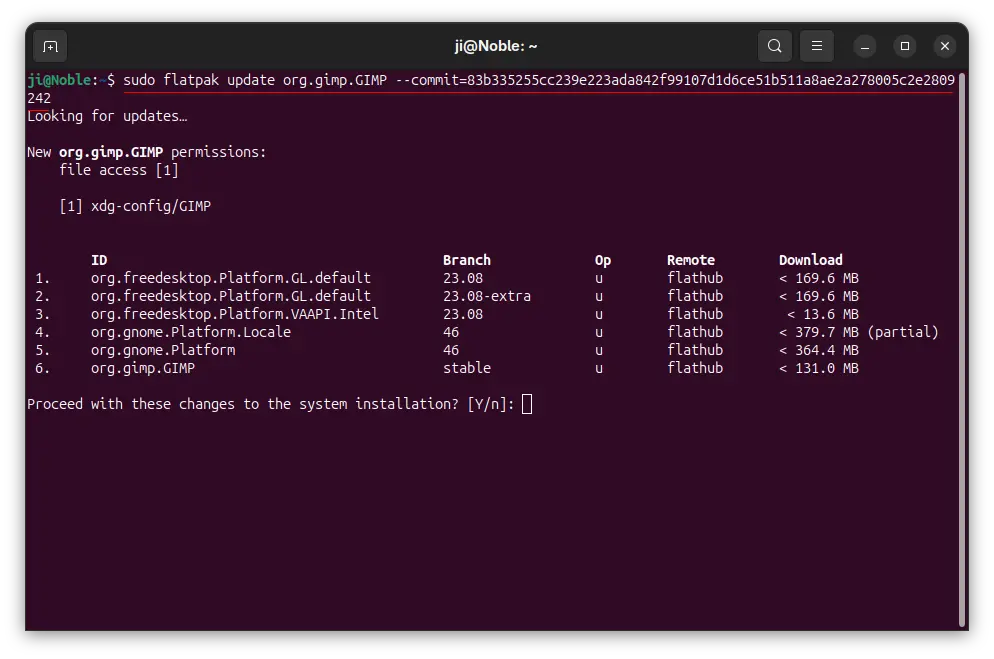
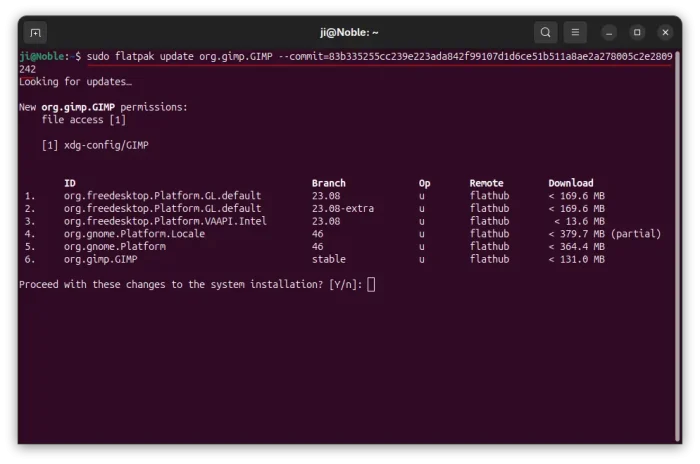
UPDATE: The Flatpak now updated to GIMP 3.0.x! If you do need GIMP 2.10.38, try the command below to downgrade the Flatpack:
sudo flatpak update org.gimp.GIMP --commit=83b335255cc239e223ada842f99107d1d6ce51b511a8ae2a278005c2e2809242
As time goes on, the old commit will be removed! At that time, this command will no longer work.
Option 2: Snap package
Like Flatpak, Snap is also an universal Linux package format runs in sandbox environment. It’s easy to install by simply search & click installing in App Center (or Ubuntu Software for 22.04 & earlier).
NOTE: The Snap package now is updated to GIMP 3.0.x!!!
Option 3: Ubuntu PPA
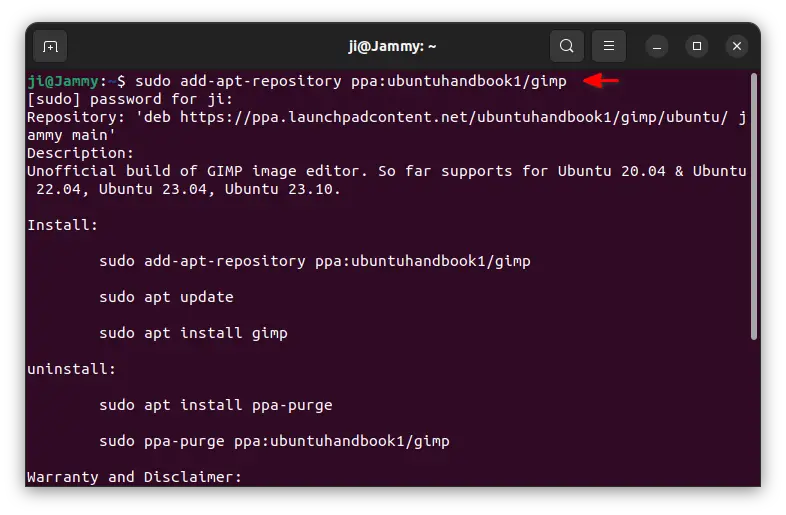
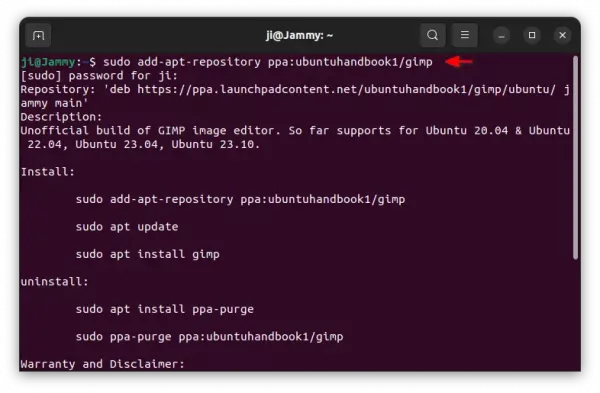
For those who prefer native .deb package format, this unofficial PPA contains GIMP 2.10.38 for Ubuntu 24.04, Ubuntu 22.04, Ubuntu 20.04, and Ubuntu 23.10, with amd64, arm64 and armhf support.
1. First, open terminal (press Ctrl+Alt+T) and run command to add PPA:
sudo add-apt-repository ppa:ubuntuhandbook1/gimp
Type user password (no asterisk feedback) when it asks and hit Enter to continue.
2. Linux Mint users need to manually refresh system package cache, though, it’s done automatically in Ubuntu while adding PPA. To do so, run command:
sudo apt update
3. Finally, run command to install GIMP 2.10.38:
sudo apt install gimp gegl libgexiv2-2
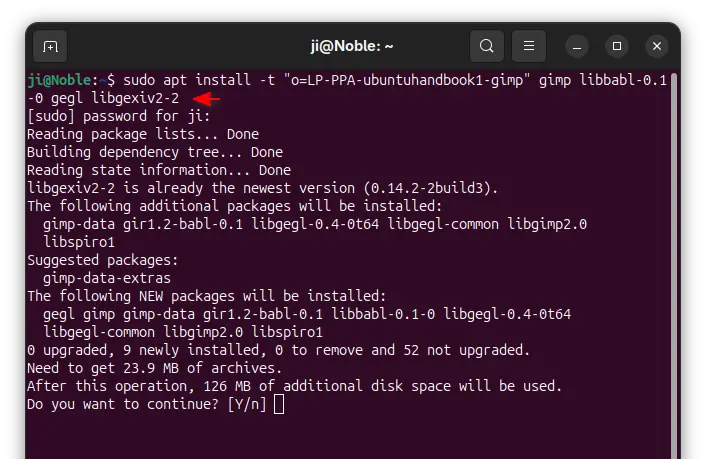
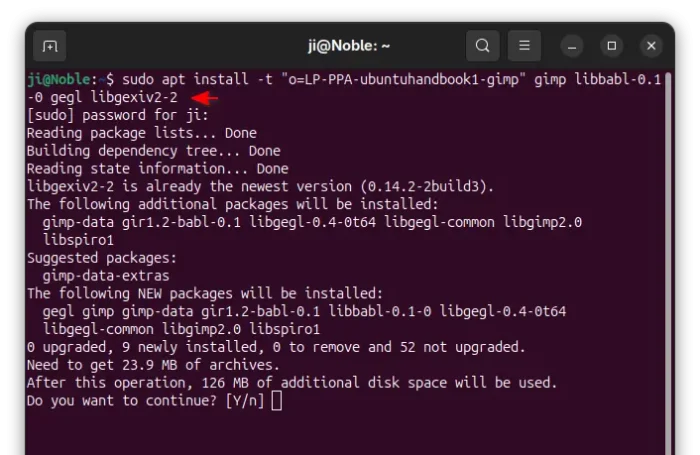
NOTE: If you’ve GIMP 3.0.x installed, first remove it via the command under “Uninstall GIMP” section, then use the command below instead to install GIMP 2.10.x from this PPA:
sudo apt install -t "o=LP-PPA-ubuntuhandbook1-gimp" gimp libbabl-0.1-0 gegl libgexiv2-2
apt GIMP via specified source
Uninstall GIMP
If you installed GIMP via the official Flatpak package, run command below in terminal to uninstall it:
flatpak uninstall --delete-data org.gimp.GIMP
Also run flatpak uninstall --unused to remove useless runtimes.
For the Snap package, simply use Ubuntu Software or App Center to uninstall it.
For the PPA package, either run command to purge PPA and downgrade to the stock version:
sudo apt install ppa-purge && sudo ppa-purge ppa:ubuntuhandbook1/gimp
Or, remove the image editor directly by running command:
sudo apt remove --autoremove gimp gimp-data libgegl-0.4-0* libgimp2.0 libbabl-0.1-0
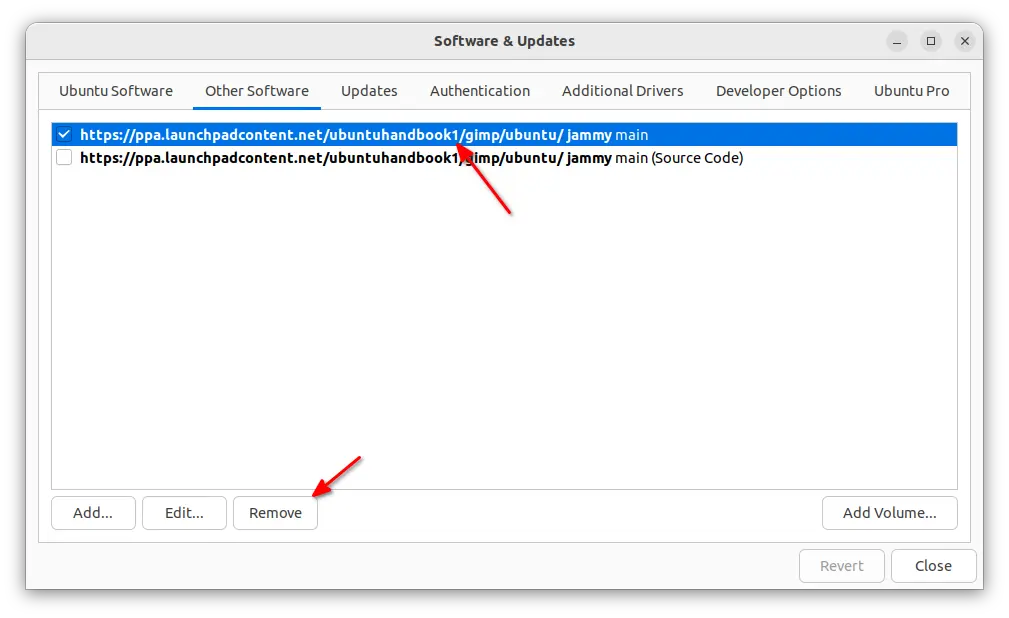
Then, remove the PPA either via command:
sudo add-apt-repository --remove ppa:ubuntuhandbook1/gimp
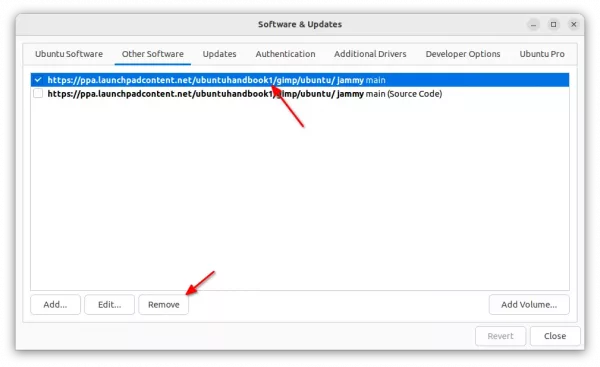
or ‘Software & Updates’ tool under Other Software tab by removing the source line.