Archives For March 31, 2015

audacity-logo1

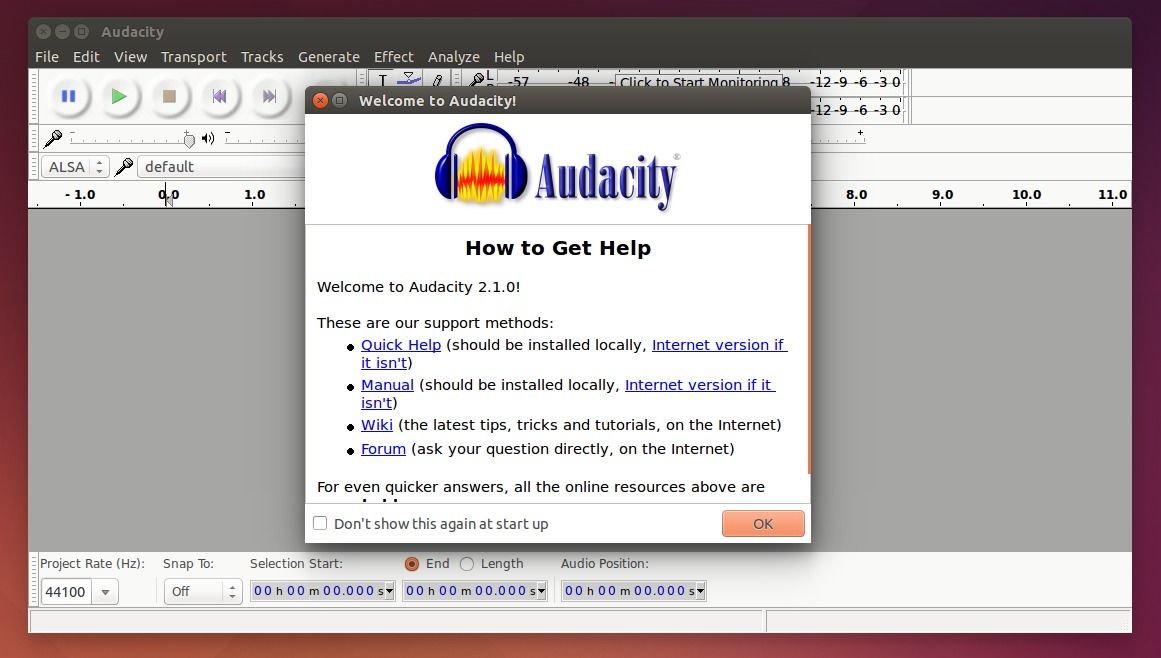
A new stable release of the free and open-source Audio Editor and Recorder, Audacity 2.1.0, was announced a few days ago.

The new release brings Real-Time Preview feature and lots of improvements and bug fixes. Here’s the release highlights:

  • For a long time, we have wanted Real-Time Preview for effects. It seemed nearly unachievable without major restructuring. But with Audacity 2.1.0, we have it in LADSPA, VST, and Audio Unit (OS X) effects! Thanks to Leland Lucius for these great new capabilities!
  • Much improved Noise Reduction effect replaces Noise Removal. Thanks to new contributor Paul Licameli!
  • Lots of other improvements to effects, also thanks to Leland, including:
    • VST: FXB preset banks, hosting multiple plugins
    • All effects can now be used in Chains, and can be sorted on name, publisher, or class.
    • Most Nyquist effects now have Preview button.
  • Redesigned Meter Toolbars show a lot more information in smaller area. Thanks, Leland Lucius and James Crook!
  • Spectral Selection in Spectrogram view. Thanks to Paul Licameli!

For more details, see the release note.

Audacity 2.1.0 in Ubuntu

Install / Upgrade to Audacity 2.1.0 in Ubuntu / Linux Mint:

Since Audacity Team only provides an daily build PPA with latest development packages and Ubuntu repositories still provide old versions in Software Center, I’ve uploaded Audacity 2.1.0 into this PPA.

So far, Ubuntu 12.04, Ubuntu 14.04, Ubuntu 14.10, Ubuntu 15.04, Linux Mint 13 and 17 are supported.

Update: PPA updated with the 2.1.1 packages for 15.10, 15.04, and 14.04! Ubuntu 12.04 is excluded due to the old libsuil library.

1. To add the PPA, open terminal from the Dash, Menu, or by pressing Ctrl+Alt+T on keyboard. When it opens, run command:

sudo add-apt-repository ppa:ubuntuhandbook1/audacity

2. After adding the PPA, you can upgrade the editor using Software Updater (or Updater Manager).

Or just run below commands one by one in terminal:

sudo apt-get update

sudo apt-get install audacity

For issue and help, please use Audacity Forum.

How to Play An Ambient Noise in Ubuntu 14.04

Last updated: April 4, 2015

Ambient Noise Player

ANoise Player is a handy application allows to play some background noises in Ubuntu by simply choosing a noise (e.g., rain, night, wind, sea, storm, fire, forest, and coffee shop) from system tray sound menu. More noises can be added to menu manually.

Ambient Noise

The player is an open-source project created by Marcos Alvarez Costales, an Ubuntu Member and the developer of Folder Color extension.

If you want to try it in your Ubuntu, run below commands one by one in terminal to get it from PPA:

sudo add-apt-repository ppa:costales/anoise

sudo apt-get update

sudo apt-get install anoise anoise-community-extension1

So far, Ubuntu 12.04, Ubuntu 14.04, Ubuntu 14.10, and Ubuntu 15.04 are supported. Note: For GNOME Shell you’ll need this extension.

If you don’t want to add the PPA, grab the .deb packages of anoise and anoise-media from PPA packages page. And I will recommend to install them via below command because they depend on each other.

cd ~/Downloads; sudo dpkg -i anoise*.deb; sudo apt-get -f install

Once installed, start the player for the first time from the Unity Dash and then you can always play a ambient noise the sound indicator.

To add your own .OGG noises to sound indicator, copy and paste the files into Computer > usr > share > anoise > sounds folder. You may run gksudo nautilus command to open file browser with root and do the copy and paste things.

Install Latest Blender in Ubuntu

A new stable release of the open-source 3D software Blender 2.74 was released at the end of March with some new features and numerous improvements.

Blender 2.74 release highlights:

  • Cycles got several precision, noise, speed, memory improvements, new Pointiness attribute.
  • Viewport has new cool compositing features, outliner now manages orphan datablocks better.
  • Modeling now allows custom normals, and transferring data layers between meshes!
  • Massive improvements to hair dynamics and editing tools: a big step forward with more to come…
  • A new tool “Cavity Mask” was added to sculpting/painting, along with other improvements.
  • Great memory consumption optimization in Freestyle NPR stroke rendering.
  • Grease pencil and Game engine improvements, and more…

Read the detailed changes at this page.

blender_splash

How to Install or Upgrade to Blender 2.74 in Ubuntu:

While Blender website provides a portable version for download, you can always install the latest release via these steps in another post (You may first remove the previous Blender installation).

There are some guys maintaining the most recent Blender release in PPAs. Below are some of them:

To add a PPA, run below command in terminal:

sudo add-apt-repository PPA_NAME_HERE

For example, running sudo add-apt-repository ppa:thomas-schiex/blender to add the Thomas Schiex’s PPA.

After adding a PPA, open Software Updater and upgrade Blender after checking for updates.

screen brightness

Running Ubuntu on a laptop? You may found that Ubuntu doesn’t memorize your screen brightness level. Every time you reboot or wake the machine up from sleep, it resets the screen brightness to maximum level.

I’ve written how to save screen brightness level in Ubuntu, but it might not work for all video adapters.

Thanks to Norbert, he made a sysvinit-backlight script that automatically remembers your screen brightness level for all video adapters and loads the backlight levels on boot, reboot, or wake up from sleep.

To install the script:

Open terminal (Ctrl+Alt+T) and run below commands one by one to get it from Norbert’s PPA:

sudo add-apt-repository ppa:nrbrtx/sysvinit-backlight

sudo apt-get update

sudo apt-get install sysvinit-backlight

If you don’t want to add PPA, you may grab the script directly from PPA packages page. So far, Ubuntu 14.10, Ubuntu 14.04 and Ubuntu 12.04 are supported.

For more you may contact the the script author at launchpad.net.