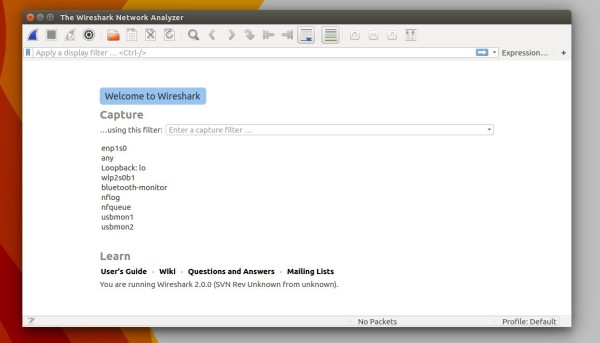
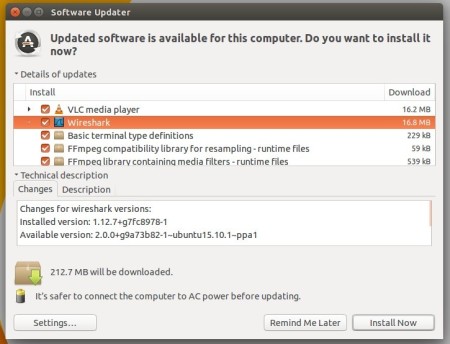
Wireshark has reached the new table 2.0 release recently and it has been made into Ubuntu 16.04’s official repositories. Here’s how to install Wireshark 2.0 in Ubuntu 15.10 using a PPA.
Wireshark 2.0 features a completely new user interface that provides a smoother, faster user experience. It has been fully rewritten in Qt5. It also has new protocol support, new file format decoding support, new dialogs, capture options, and many other improvements. See the release note.
Install Wireshark 2.0 in Ubuntu 15.10:
UPDATE: The official Wireshark PPA just updated with the 2.0 packages, available for not only Ubuntu 15.10, but also Ubuntu 15.04, Ubuntu 14.04 and Ubuntu 12.04.
1. Add PPA.
Open terminal from Unity Dash, App Launcher, or via Ctrl+Alt+T key combination. When it opens, paste below command and hit enter:
sudo add-apt-repository ppa:wireshark-dev/stable
Type in your password when it asks, no visual feedback so just type in mind, and hit Enter to continue.
2. Install / Upgrade Wireshark.
If you have a previous installed, launch Software Updater. After checking for updates, you’ll see this popular network protocol analyzer in the list. Install the updates and done.
Or, paste below commands one by one and run to update repository cache and install/upgrade the software:
sudo apt-get update

sudo apt-get install wireshark
3. Remove PPA.
The PPA also contains many other applications for 15.10 Wily, check HERE. You can keep the PPA or select remove it via below command once Wireshark 2.0 is installed.
sudo add-apt-repository --remove ppa:nicola-onorata/desktop && sudo apt-get update


Hi
WireShark official ppa is now updated to latest version
https://launchpad.net/~wireshark-dev/+archive/ubuntu/stable
Thanks, updated!
Hi,
thanks for this useful information! I have installed wireshark 2.0 – its great.
But what must I do to start wireshark 2.0 without root root permissions? Can anybody help?
Thanks
Uri!
Just run ‘dpkg-reconfigure wireshark-common’ and then select ‘Yes’ to allow Wireshark to run as a non-root user.
To fire wireshark without root privileges (you should NOT run WS as root) I found this:
On Ubuntu
sudo apt-get install wireshark libcap2-bin
sudo groupadd wireshark
sudo usermod -a -G wireshark $USER
sudo chgrp wireshark /usr/bin/dumpcap
sudo chmod 755 /usr/bin/dumpcap
sudo setcap cap_net_raw,cap_net_admin=eip /usr/bin/dumpcap
(step 6 to make the interfaces visible)
On Fedora
To make the interfaces visible using Gnome:
in terminal: sudo system-config-users. (if command not found: first install system-config-users)
select tab Users, scroll down to your username.
dubble click on your username.
select Groups in User Properties.
scroll down to wireshark and put a mark next to it, ok.
reboot.
Source:
https://ask.wireshark.org/questions/1949/wireshark-says-there-are-no-interfaces-on-which-a-capture-can-be-done-how-do-i-fix-this