Archives For October 31, 2016

ssr-icon

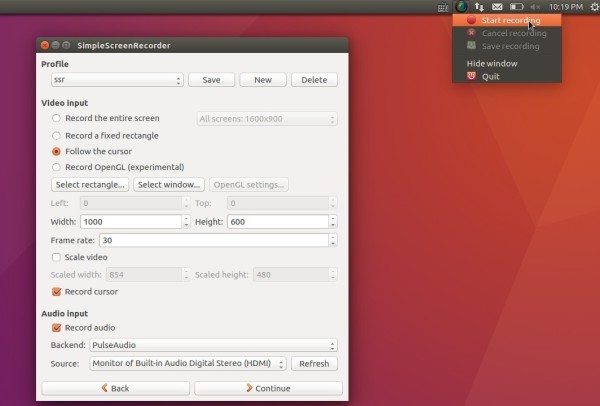
Simple Screen Recorder, an open-source feature-rich screen recorder, sees a new release recently, almost one year after the last.

SimpleScreenRecorder is a screen recorder for Linux. Despite the name, this program is actually quite complex. It’s ‘simple’ in the sense that it’s easier to use than ffmpeg/avconv or VLC, because it has a straightforward user interface.

What’s New in the latest SimpleScreenRecorder:

  • Added support for latest FFmpeg/libav.
  • Make relaxed GLInject permissions actually work.
  • The backend now supports fragmented recording, but there is no GUI for this yet.
  • System tray icon now indicates errors during recording.

simplescreenrecorder

How to Install Simple Screen Recorder in Ubuntu:

The new release has been made into its official PPA for Ubuntu 16.04, Ubuntu 16.10, Ubuntu 14.04, Ubuntu 12.04, and their derivatives.

To install it, open terminal (Ctrl+Alt+T) and follow the steps below:

1. Run command to add the PPA (type your password when it asks and hit Enter):

sudo add-apt-repository ppa:maarten-baert/simplescreenrecorder

simplescreenrecorder-ppa

2. Update your system package index via command:

sudo apt update

3. Finally install the recording software via command:

sudo apt install simplescreenrecorder simplescreenrecorder-lib

To record 32-bit OpenGL applications on a 64-bit system, run:

sudo apt install simplescreenrecorder-lib:i386

Uninstall:

To remove SimpleScreenRecorder, simply run command in terminal:

sudo apt remove simplescreenrecorder simplescreenrecorder-lib

And the PPA can be removed via System Settings -> Software & Updates -> Other Software tab.

0 A.D. PPA

The twenty-first alpha version of 0 A.D., a free open-source RTS game of ancient warfare, was released one day ago. And the PPA repository is ready for Ubuntu 16.04, Ubuntu 16.10, Ubuntu 17.04 and their derivatives.

0 A.D. Alpha 21 “Ulysses” features new game modes, plenty of new maps, the official introduction of the final civilization: The Seleucid Empire and more! See the announcement for more details.

How to Install 0 A.D. Alpha 21 in Ubuntu:

The official 0 A.D. PPA just built the new release a few hours ago, available for Ubuntu 16.04, Ubuntu 16.10, Ubuntu 17.04, and Linux Mint 18, Elementary OS Loki, etc.

To install it, open terminal (Ctrl+Alt+T) and do:

1. Run command to add PPA (Type in password when it asks and hit Enter.):

sudo add-apt-repository ppa:wfg/0ad

oad-xenial-ppa

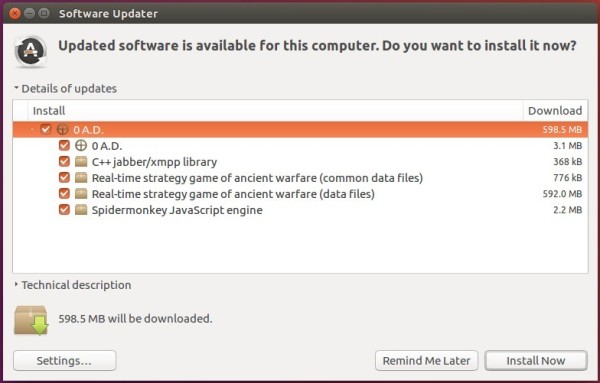
2. To upgrade from a previous release, now launch Software Updater and install the updates for the game:

upgrade 0 A.D.

To install it for the first time or upgrade it from the command line, run command:

sudo apt update && sudo apt install 0ad

Uninstall:

To remove the game, use Ubuntu Software or Synaptic Package Manager. The PPA can be removed via System Settings -> Software & Updates -> Other Software tab.

To downgrade to the stock version of 0 A.D. in official Ubuntu repository, purge the PPA via command:

sudo apt install ppa-purge && sudo ppa-purge ppa:wfg/0ad

Komodo 10

Due to lack of time, Mystic-Mirage has dropped PPA support for Komodo Edit with Unity Global menu integration.

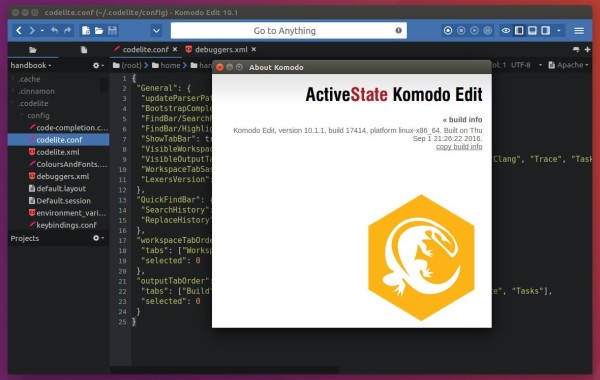
For those sticking to the latest Komodo Edit (10.1.1 so far), you can use the official Linux binaries though there’s no Unity Menubar support. And below is a step by step guide shows you how to install the Komodo Edit in Ubuntu 16.04.

komodo-10-1

1. Download Komodo Edit, Linux (x86) for 32-bit or Linux (x86_64) for 64-bit OS, from the link below:

Download Komodo Edit (Linux x86 / x86_64)

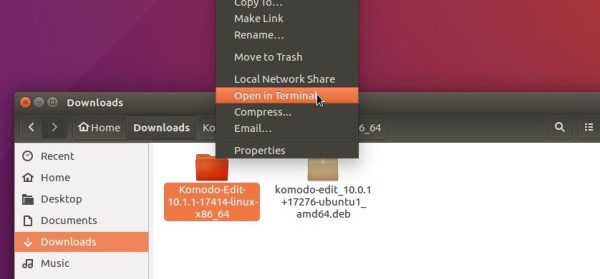
2. Extract the downloaded package, and open result folder in terminal from its context menu:

open-komodo-edit-terminal

Or just run cd ~/Downloads/Komodo-Edit-* command instead in terminal to navigate to extracted folder.

3. When the terminal opens, run the install script via command:

./install.sh

And hit Enter to install Komodo Edit to default location (user’s root directory) for single use.

komodo-install

To install Komodo Edit for global use, available for all users, run the script via sudo:

sudo ./install.sh

Then type in /opt/Komodo-Edit-10 when it asks the install directory and hit Enter.

Uninstall:

The installer does not provide uninstall option at the moment, but you can easily remove the installation by running command:

sudo rm -rf ~/Komodo-Edit* /opt/Komodo-Edit* ~/.local/share/applications/komodo-edit* /usr/local/share/applications/komodo-edit*

New Pepper Flash Installer for Chromium, Firefox

Last updated: November 6, 2016

adobe-flash-icon245

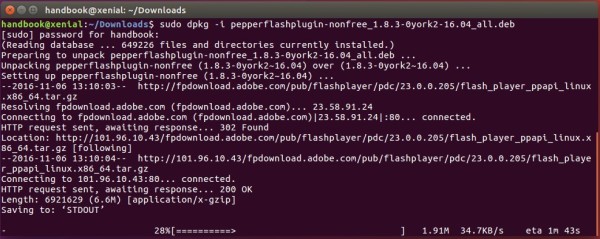
For Ubuntu 16.04, Ubuntu 14.04, and based systems, a backport of pepperflashplugin-nonfree with direct download from Adobe website instead of using Chrome RPM is available to make installing Pepper Flash Player easy again in Chromium based browsers.

Since Google removed the latest PPAPI bundle from Chrome web browser, the Pepper Flash Installer, pepperflashplugin-nonfree, available in official Ubuntu repositories does no longer work.

Although you can manually download the plugin, an updated version of the installer offered by J Fernyhough makes it easier to install the latest PPAPI by downloading it automatically from Adobe website.

new-pepper-flash-installer

To install the new pepperflashplugin-nofree:

1. Open terminal (Ctrl+Alt+T) and run the command below to add the PPA:

sudo add-apt-repository ppa:jonathonf/pepperflashplugin-nonfree

2. Then update and install the new installer:

sudo apt update

sudo apt install pepperflashplugin-nonfree

For those who don’t want to add PPA, grab the .deb package directly from PPA page.

When a new flash release is out, just one command to install the updates:

sudo update-pepperflashplugin-nonfree --install

3. The PPA also contains, browser-plugin-freshplayer-pepperflash, an adapter to make pepper flash work for Firefox based browsers, install it via:

sudo apt install browser-plugin-freshplayer-pepperflash

Uninstall:

To remove the installer, simply run command:

sudo apt remove pepperflashplugin-nonfree browser-plugin-freshplayer-pepperflash && sudo apt autoremove

And the PPA can be removed by going to System Settings -> Software & Updates -> Other Software tab.

Install Touchpad Indicator in Ubuntu 16.04

Last updated: November 3, 2016

touchpad

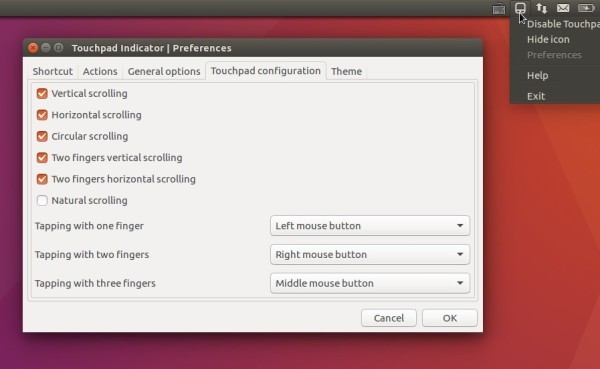
Looking for an app to easily control and configure your touchpad in Ubuntu Desktop? Touchpad Indicator, an open-source system tray applet, is well worth a try.

Touchpad indicator is a great simple applet that indicates your touchpad status, which also offers:

  • Keyboard shortcut to quickly disable/enable touchpad.
  • Ability to disable touchpad on typing.
  • Basic touchpad configuration like:
    • vertical scrolling
    • horizontal scrolling
    • two fingers vertical or horizontal scrolling
    • one finger, two fingers and three fingers tapping actions

touchpad-indicator

How to install Touchpad Indicator in Ubuntu:

The software can be easily installed from the developer’s PPA repository. Simply open terminal from Unity Dash, App Launcher, or via Ctrl+Alt+T shortcut keys, and run commands below one by one:

1. Run command to add the PPA:

sudo add-apt-repository ppa:atareao/atareao

Type in your password when it asks and hit Enter.

touchpad-ppa-xenial

2. Then update and install touchpad indicator via command:

sudo apt update

sudo apt install touchpad-indicator

For those who don’t want to add PPA, grab the .deb package from HERE and click install via Ubuntu Software.

Uninstall:

To remove the software, simply run apt command with remove flag:

sudo apt remove touchpad-indicator && sudo apt autoremove

The PPA can be removed by going to System Settings -> Software & Updates -> Other Software tab.