![]()
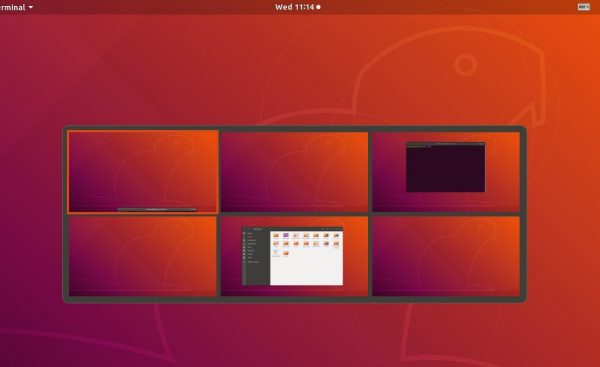
This is another tutorial about how to arrange workspaces in a two dimensional grid (2×2, 2×3, 3×3, etc.) in Ubuntu 18.04 and higher.
The Workspace Grid gnome shell extension does the job, it is however seems to be not maintained anymore.
The Workspace Matrix extension takes up the job and so far supports for Gnome Shell up to version 3.34.
With the extension, you can bring up the workspace grid via Super+W (press again to hide) key, and use arrow keys to navigate between workspaces.

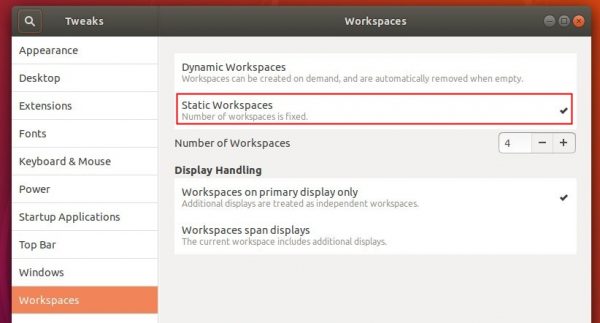
1. First open Gnome Tweaks (install it via Ubuntu Software), and enable “Static Workspaces” under Workspaces tab.

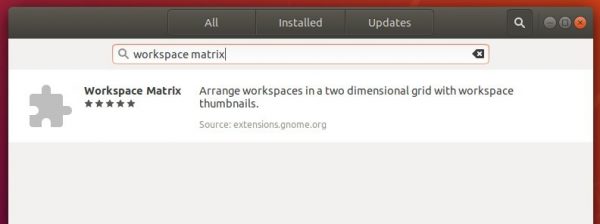
2. Then install the Workspace Matrix extension in Ubuntu Software.

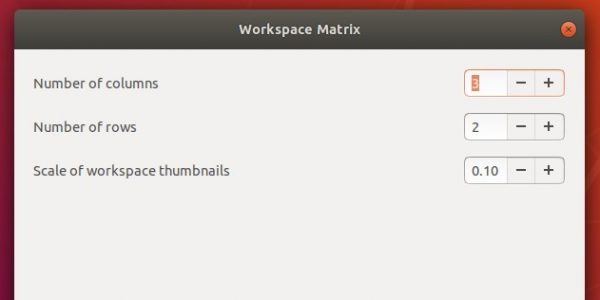
3. Launch the extension settings page either in Ubuntu Software (package installing page) or via Gnome Tweaks -> Extensions.
Finally set the number of rows, columns, and scale of workspace thumbnails.

That’s it. Enjoy!


Thanks Ji! That was really helpful, since I also follow the other articles.
Fabulous. I just upgraded to Bionic and old habits are difficult to give up. Thanks.
How can one move window one workspace left/right?
Hold Ctrl+shift+alt + arrow key of the desired workspace
Dude, thanx a lot! It works!