
This tutorial shows how to install Microsoft .NET software development framework (version 10, 9, or 8) in current Ubuntu 24.04, Ubuntu 22.04, and Ubuntu 26.04 LTS.
Microsoft announced .NET 10 on November 11th, 2025. It features over 1,000 performance related changes across the runtime, workloads, and languages. .NET Aspire 9 now has OpenAI, Ollama, Milvus integration, and preview support for Azure Functions. For other features and changes, see the announcement.
To install .NET framework in Ubuntu, there are 4 choices:
- native .deb package from Ubuntu system repository.
- native .deb package from Microsoft repository.
- Snap package runs in sandbox.
- native .deb package from Ubuntu PPA
According what you need, choose one of the options below.
Option 1: Install .NET from Ubuntu system repository
Ubuntu has .NET packages in system repositories. So far, they include:
- .NET 10 for Ubuntu 24.04 and Ubuntu 26.04
- .NET 6 and .NET 7 for Ubuntu 22.04.
- .NET 8 for Ubuntu 22.04, Ubuntu 24.04.
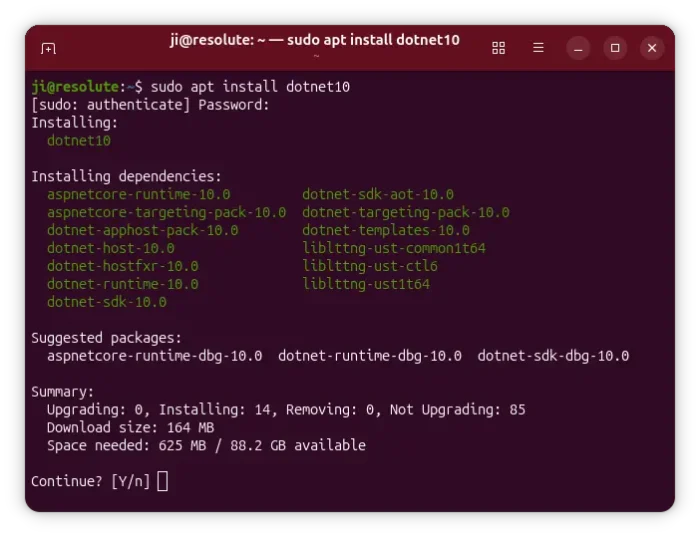
To install .NET 10 in 24.04 and higher, press Ctrl+Alt+T on keyboard to open terminal and run commands:
sudo apt update
sudo apt install dotnet10
For choice, replace number 10 with 8, 7, or 6 in the last command to install the corresponding .NET version.
Option 2: Install .NET from Microsoft repository
Microsoft has an official apt repository for Debian/Ubuntu users. It contains:
- .NET 6, .NET 7, .NET 8, .NET9 for Ubuntu 20.04 and Ubuntu 22.04.
This repository seems no longer provide .NET package for Ubuntu 24.04 and higher.
1. install the key
To add the Microsoft repository, you have to first download & install the key file.
To do so, press Ctrl+Alt+T on keyboard to open terminal. When terminal opens, run single command:
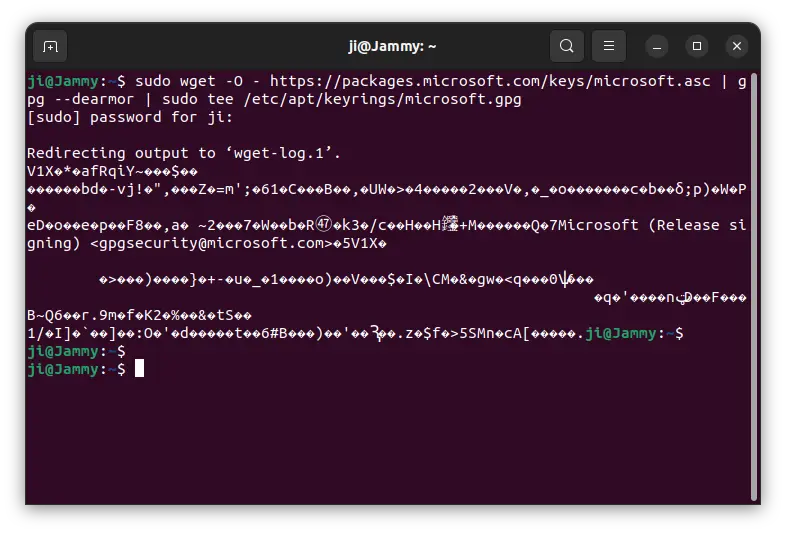
sudo wget -O - https://packages.microsoft.com/keys/microsoft.asc | gpg --dearmor | sudo tee /etc/apt/keyrings/microsoft.gpg
This command will download the key, dearmor it (so it’s unreadable, see the screenshot), and save to ‘/etc/apt/keyrings’ directory.
2. Add the Microsoft repository
Next, in terminal window, run command to create & edit the sources file:
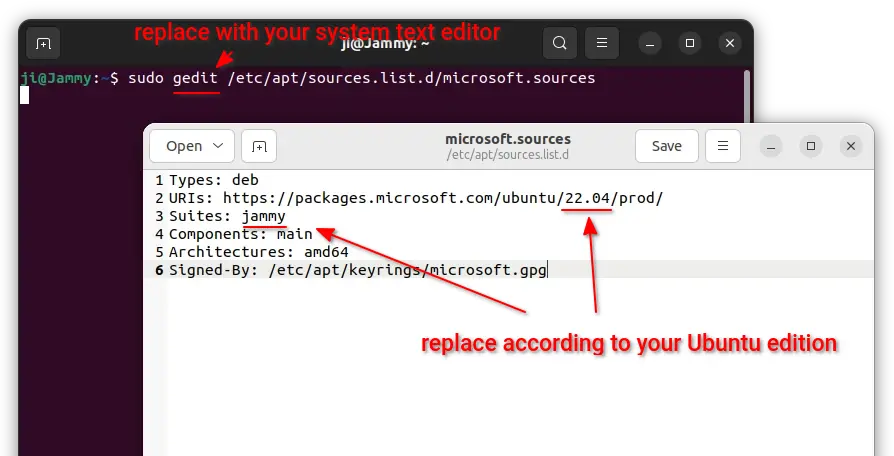
sudo gedit /etc/apt/sources.list.d/microsoft.sources
Depends on your desktop environment, replace gedit with gnome-text-editor for Ubuntu 24.04, mousepad for XFCE, pluma for MATE, or nano that works in most cases.
When the file opens, add following lines and save it.
Types: deb
URIs: https://packages.microsoft.com/ubuntu/22.04/prod/
Suites: jammy
Components: main
Architectures: amd64
Signed-By: /etc/apt/keyrings/microsoft.gpg
Here, replace 22.04 and jammy (they are for 22.04 and Mint 21) in the code with 20.04 and focal for Ubuntu 20.04.
3. Install .NET
Finally, update system package cache by running command:
sudo apt update
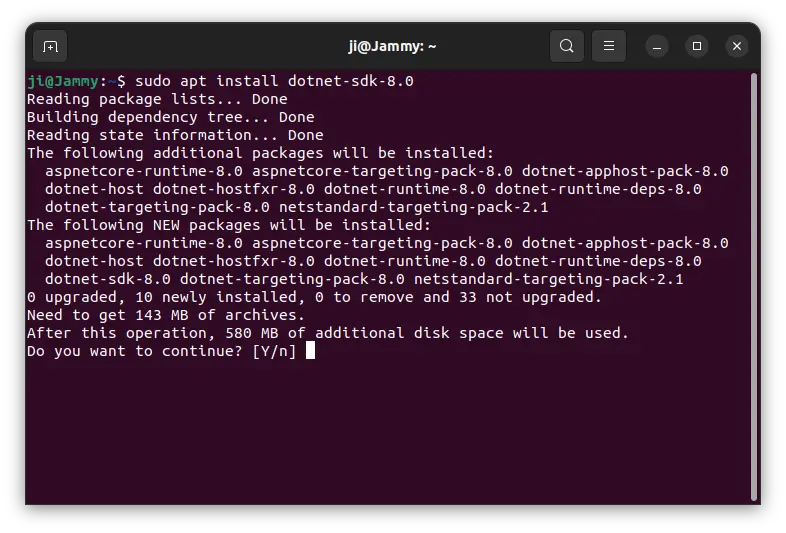
And, install .NET 8 SDK, runtime:
sudo apt install dotnet-sdk-8.0
For choice, you may replace dotnet-sdk-8.0 with dotnet-sdk-9.0 for .NET 9 (20.04 & 22.04 only at the moment), or dotnet-sdk-6.0 for .NET 6.
Option 3: Install .NET from Ubuntu PPA
Ubuntu team members also maintain a backport PPA, which so far contains:
- .NET 8 and .NET 9 for Ubuntu 26.04.
- .NET 6, .NET 7, .NET9 for Ubuntu 24.04.
- .NET 9, .NET 10 for Ubuntu 22.04
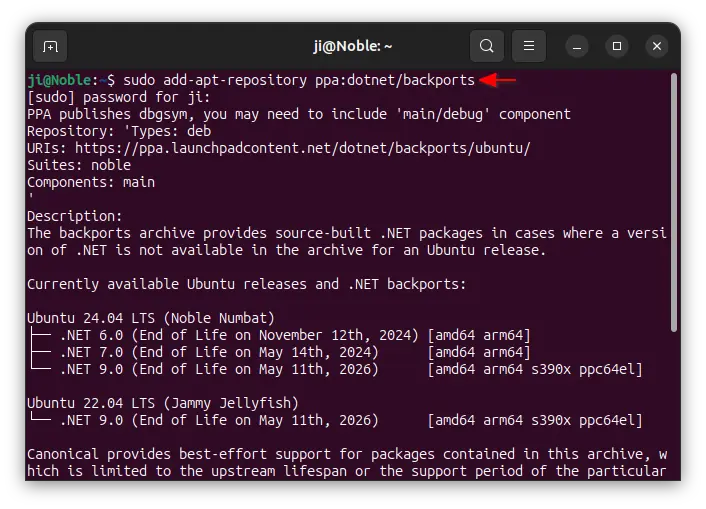
To add the PPA, open terminal (Ctrl+Alt+T) and run command:
sudo add-apt-repository ppa:dotnet/backports
Type user password when it asks, though there’s no asterisk feedback, and hit Enter to continue.
Then, install .NET 9 by running command:
sudo apt install dotnet9
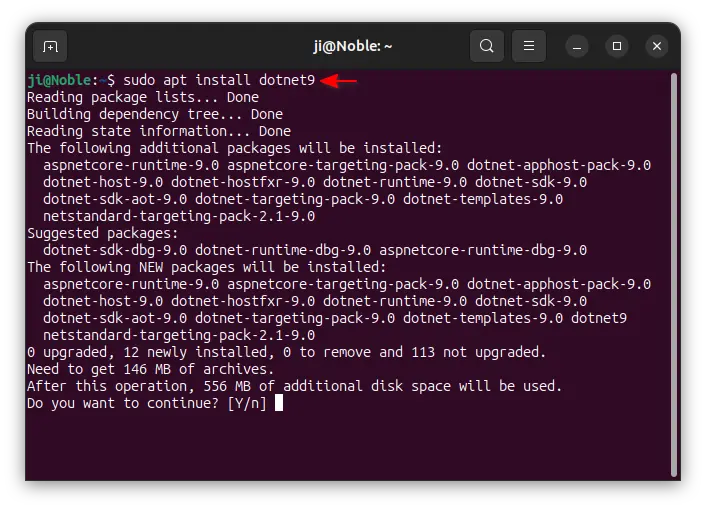
Or install .NET 6 or 7 (replace number 6 in command accordingly), if you want, in Ubuntu 24.04 via command:
sudo apt install dotnet6
Option 4: Install .NET via Snap package
All current Ubuntu users can also install .NET as Snap package, through it runs in sandbox environment.
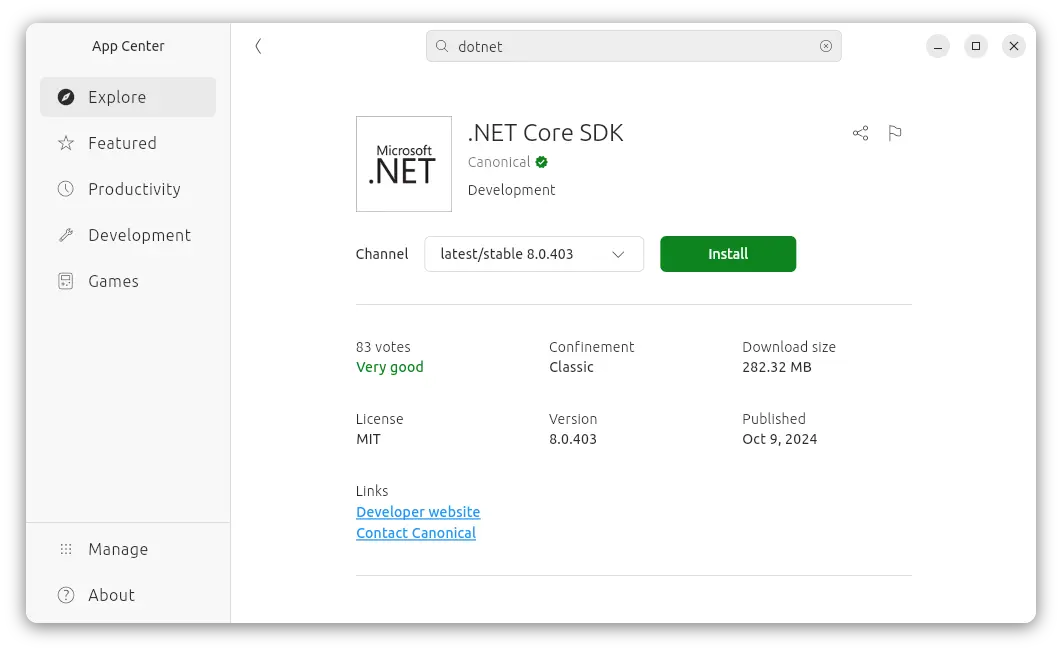
Simply launch Ubuntu Software or App Center, then search ‘dotnet’ filter by Snap package and click install. At the moment of writing, only .NET 8 is available.
Uninstall .NET
To remove .NET .deb package, open terminal (Ctrl+Alt+T) and run command:
sudo apt remove --autoremove dotnet9* dotnet-host-9.0 dotnet-sdk-9.0 dotnet-runtime-9.0
As well, replace number 9 in the command above, according to which version you installed and want to uninstall.