![]()
KeePass password manager 2.43 was released today with user interface and integration enhancements. All users of version 2.x are recommended to upgrade to the new 2.43 release.
Changes in KeePass 2.43 include:
- Added option ‘Remember password hiding setting in the main window’
- Added yellow intermediate step in password quality progress bars.
- Added trigger events ‘Synchronizing database file’ and ‘Synchronized database file’.
- Enhanced the Password Agent import module to support XML files created by version 3.
- KeePass now excludes itself from Windows Error Reporting.
- Added workaround for .NET initial focus bug.
- Auto-Type improvements.
- Improved main window state handling.
- Improved construction and updates of the main menu and the group/entry context menus.
- Main menu items can now be deselected by pressing the Esc key.
- Improved performance of automatic scrolling in the main entry list.
- Various other improvements.

How to Install KeePass 2.43 in Ubuntu:
KeePass2 website only offers source tarball for downloading at the link below:
Julian Taylor’s PPA now contains the 2.43 packages for Ubuntu 14.04, Ubuntu 16.04, Ubuntu 18.04, Ubuntu 19.04, and Ubuntu 19.10,
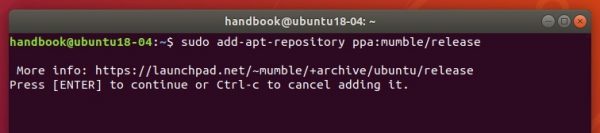
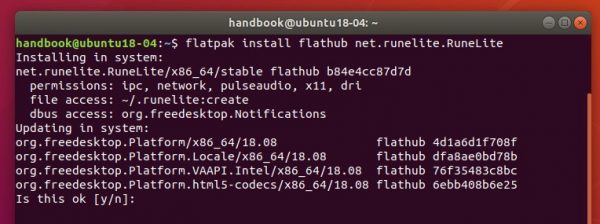
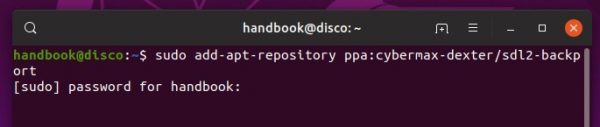
1. Open terminal via Ctrl+Alt+T or by searching for “Terminal” from app launcher. When it opens, run command to add the PPA:
sudo add-apt-repository ppa:ubuntuhandbook1/keepass2
Type user password (no visual feedback due to security reason) when it asks and hit Enter.

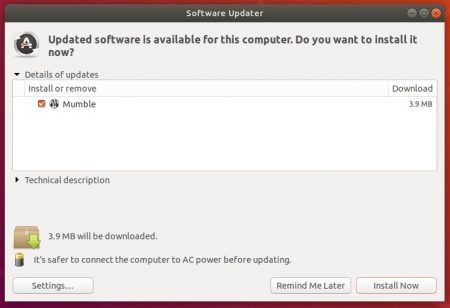
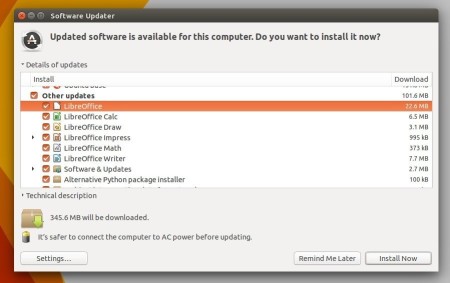
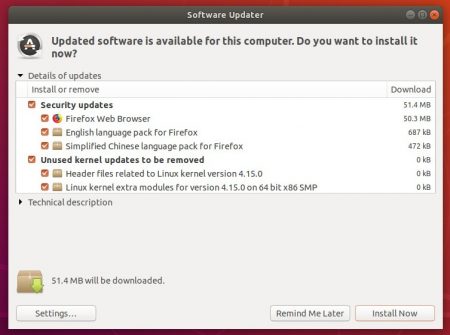
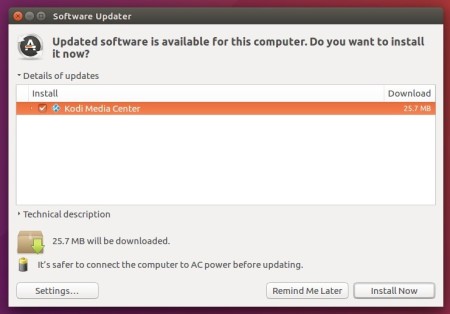
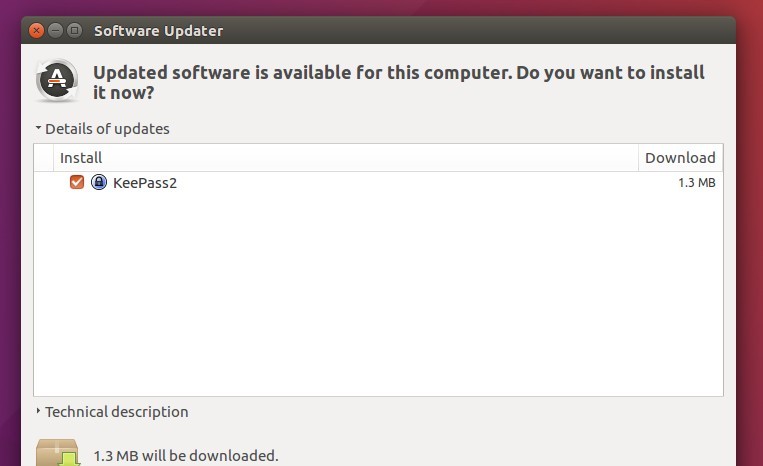
2. Then upgrade KeePass password safe via Software Updater if you have a previous version installed:
Or run commands to install / upgrade the software:
sudo apt-get update && sudo apt-get install keepass2
Uninstall:
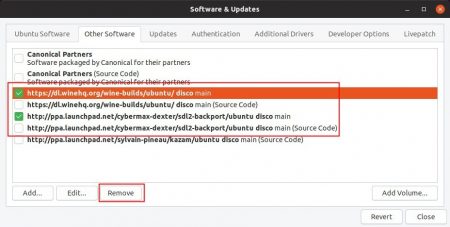
The PPA repository can be removed via Software & Updates utility under Other Software tab. To remove KeePass password safe, simply run command:
sudo apt-get remove --autoremove keepass2