Archives For Howtos

How to Send App Shortcut Icons to Desktop in Ubuntu 19.10

Published: October 10, 2019 — Last updated: October 10, 2019

gnome shell

This is another tutorial shows how to send the application launcher icons to the Desktop in Ubuntu 19.10.

Where Ubuntu stores the application icons:

Ubuntu stores the application shortcut icons as .desktop files. Most of them are available in /usr/share/applications directory, and few in .local/share/applications.

Since Ubuntu 19.04, you can no longer drop and drop or even copy and paste files directly from file manager to the Desktop, because Nautilus file manager is replaced by a Gnome Shell extension to handle the Desktop.

However, the .desktop files can be directly placed into user’s “Desktop” folder. Like Windows, all files in that folder will be displayed on the Desktop.

1.) Open “Files” (Nautilus file manager) and navigate to the Desktop folder.

2.) Right-click on “Files” in left panel and open a new file manager window.
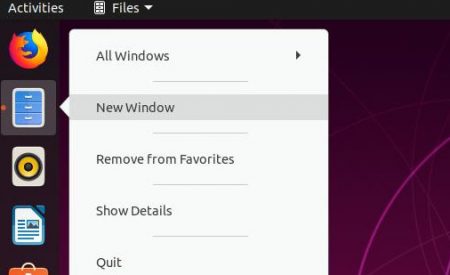
3.) In new file manager window, navigate to Other Locations -> Computer -> usr -> share -> applications.

There choose the app launcher files as you want, drag and drop them to the Desktop folder that you opened in step 1.).

4.) Finally right-click on each file in the desktop, and select ‘Allow Launching’.
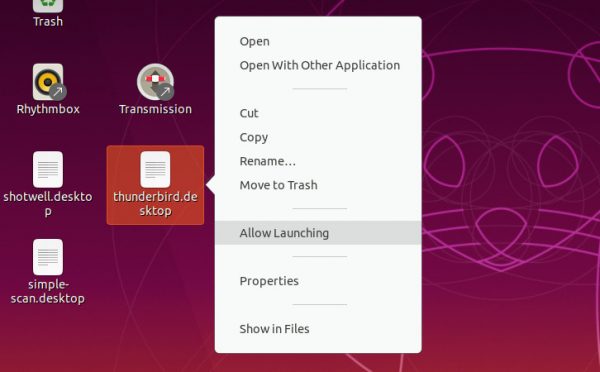
gnome shell

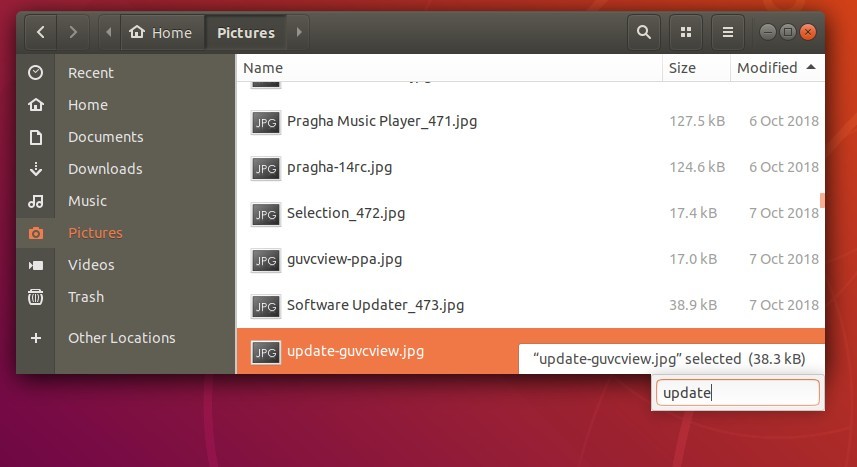
This quick tutorial shows how to restore the type-to-seek (type-ahead) functionality in Ubuntu 18.04 Nautilus file browser.

The type ahead functionality is removed in upstream Nautilus and unavailable in Ubuntu since Ubuntu 17.10 Artful.

For those sticking to the search functionality, Lubomir Brindza has made a patched for Nautilus in Ubuntu 18.04 and higher.

To install the patched Nautilus package, open terminal either via Ctrl+Alt+T keyboard shortcut or by searching for ‘terminal’ from application menu.

When terminal opens, run following commands one by one:

1.) Paste command and hit run to add the PPA. Type user password (no asterisk feedback) for sudo prompts and hit Enter to continue.

sudo add-apt-repository ppa:lubomir-brindza/nautilus-typeahead

2.) Then check updates and upgrade Nautilus package with the patch:

sudo apt update

sudo apt upgrade

The PPA also contains the patch for Ubuntu 19.04 and Ubuntu 19.10, it is however a little older than default Nautilus version so far, and you may either wait the PPA to be updated or download & install the packages manually (see the previous link).

Uninstall:

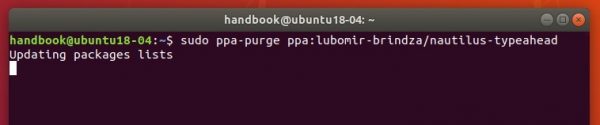
To uninstall the patch and restore Nautilus file browser to its original status, simply purge the PPA via command:

sudo apt install ppa-purge && sudo ppa-purge ppa:lubomir-brindza/nautilus-typeahead

Oracle Java 13 was released a few weeks ago. Here’s how to easily install it in Ubuntu 14.04, Ubuntu 16.04, Ubuntu 18.04, Linux Mint 18.x, 19.x, and higher.

To check out new features and enhancements in Java 13, see the announcement.

The ‘Linux Uprising’ team has made an installer script that automatically downloads and installs Oracle JDK 13, and sets Java 13 as the default Java version (setting JAVA_HOME, etc.).

1.) Open terminal either via Ctrl+Alt+T keyboard shortcut or by searching for ‘terminal’ from application menu. When it opens, run commands to add the PPA:

sudo add-apt-repository ppa:linuxuprising/java

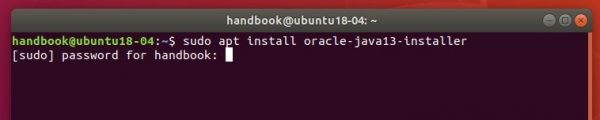
Type your login password (no asterisk feedback) for sudo prompt and hit Enter to continue.

2.) Then check updates and install the script via 2 commands:

sudo apt-get update

sudo apt-get install oracle-java13-installer

The command will automatically downloads Java 13 source tarball, installs on 64-bit Ubuntu, and also sets it as default.

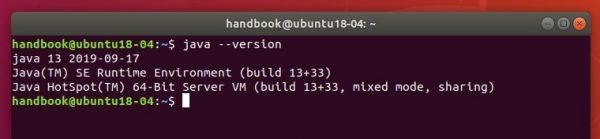
Check the result via command: java --version

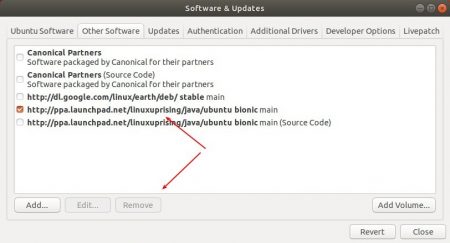
(Optional) You can remove the PPA repository via Software & Updates utility under Other Software tab.

And remove Java 13 if you want via command:

sudo apt-get remove oracle-java13-installer

Ubuntu 18.04

Due to legal reason, Ubuntu does not have multimedia codec installed out of the box, though they are available in the universe repositories.

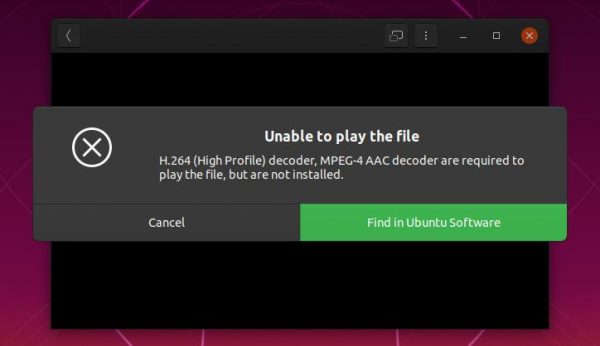
When you’re going to play music or video via the default media players (Rhythmbox and Totem), it prompts to install the decoder:

And Ubuntu Software pops up with a list of software packages after clicked the button.

For those don’t want to be interrupted again, or you don’t know which to install, simple run following single command in terminal.

1.) Open terminal either via Ctrl+Alt+T or by searching for ‘terminal’ from application menu. When it opens, run command:

sudo apt install ubuntu-restricted-extras

Type user password for sudo prompts and hit Enter. Run sudo apt update first if required

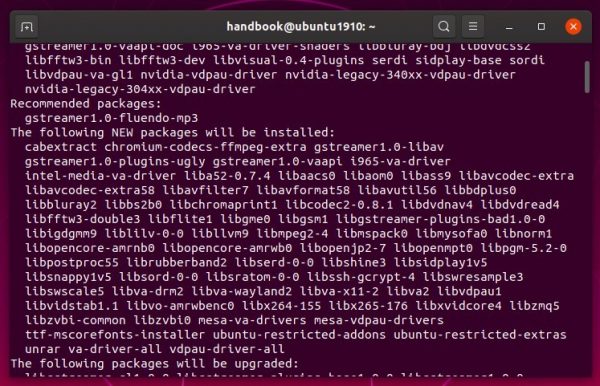
The command will install gstreamer, ffmpeg, dvd reading and navigation libraries, mesa and intel video acceleration drivers, and other most required software libraries.

That’s it. Enjoy!

gnome shell

Now it’s easy to disable overlay scrollbars in Ubuntu 19.10, since Gnome 3.34 added the key to toggle overlay scrolling.

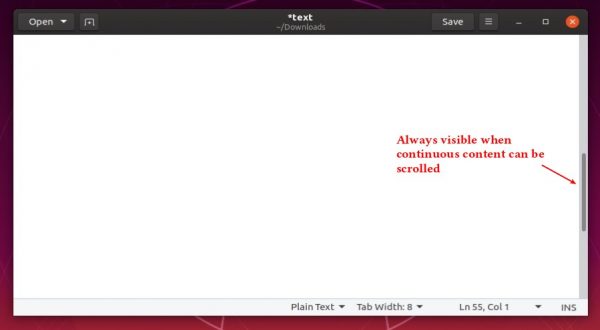
Disable the overlay scrollbars makes GTK+ application windows always have the scrollbar visible when continuous text, pictures, or any other content can be scrolled.

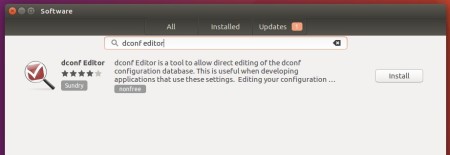
1.) Open Ubuntu Software, search for and install dconf editor.

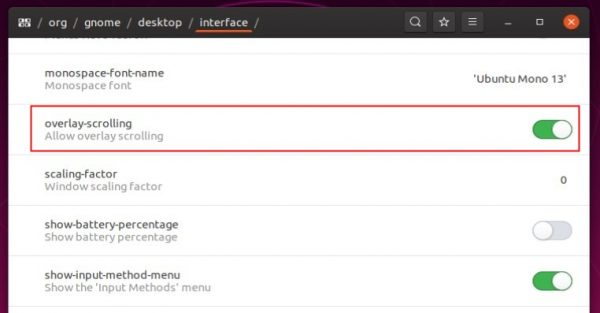
2.) Launch dconf editor, then navigate to org/gnome/desktop/interface.

Scroll down and find out the line says ‘overlay scrolling‘. Turn it off and done.

(Optional) For those familiar with Linux command, open terminal (Ctrl+Alt+T) and run single command to disable the overlay scrolling:

gsettings set org.gnome.desktop.interface overlay-scrolling false

And restore changes via command:

gsettings set org.gnome.desktop.interface overlay-scrolling true

The second bugfix release for the free open-source planetarium Stellarium 0.19 series was released today. Here’s how to install it in Ubuntu 16.04, Ubuntu 18.04, and higher.

Changes in Stellarium 0.19.2 release include:

  • Added support DMS and DD formats for parallactic angle feature
  • Added 2 new scripts (Saturnian and uranian analemmas)
  • Added ‘k Pup’ designation to star HIP 37229
  • Added a new skylore for Stellarium: Anutan
  • Added “observers” for all planets with moons
  • Added 3 new actions
  • Added Vanuatu (Netwar) skyculture
  • Added few asterisms
  • Added few new DSO textures
  • Added support Vec3d into scripting engine
  • Added a Messier Marathon script
  • Updated planetary nomenclature
  • Enabled scaling fonts on High DPI monitors
  • MUCH more other updates and bug-fixes, see the release note.

How to Install Stellarium 0.19.2 in Ubuntu:

1. Open terminal either via Ctrl+Alt+T keyboard shortcut or by searching ‘terminal’ from application menu. When it opens, run command to add the official PPA:

sudo add-apt-repository ppa:stellarium/stellarium-releases

Type user password (no asterisk feedback) when it prompts and hit Enter.

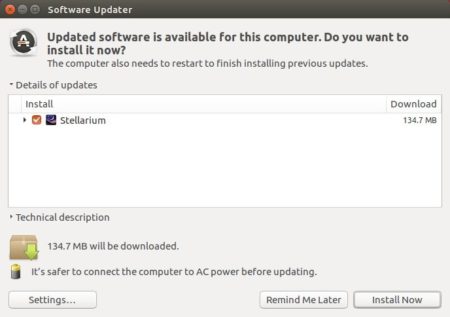
2. Then either upgrade Stellarium from an existing release with Software Updater utility:

Or run following commands to install or upgrade the software from terminal:

sudo apt-get update

sudo apt-get install stellarium

Uninstall:

To remove the software, either use your system package manager or run command:

sudo apt-get remove --autoremove stellarium

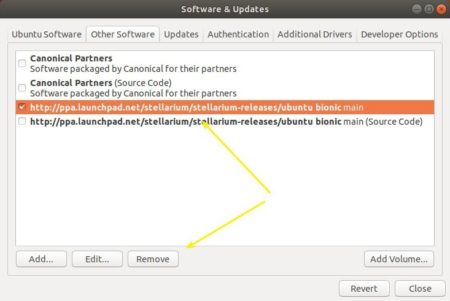
And remove the PPA via “Software & Updates” utility under Other Software tab.

qBittorrent 4.1.8 Released with Stability Fixes (Ubuntu PPA)

Published: September 28, 2019 — Last updated: September 28, 2019

qBittorrent

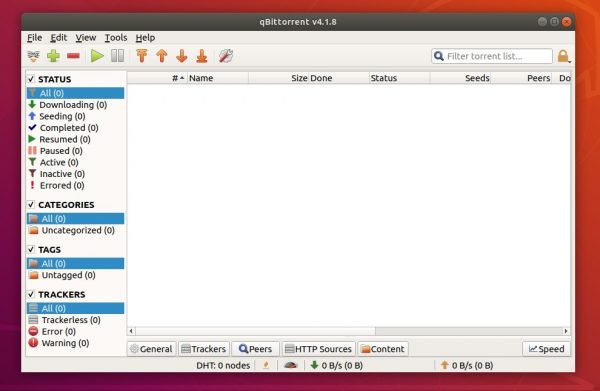
qBittorrent P2P Bittorrent client 4.1.8 and 4.2.0 alpha2 were released a few days ago. Here’s how to install it in Ubuntu 16.04, Ubuntu 18.04, and Ubuntu 19.04.

qBittorrent 4.1.8 is a small release with following bug-fixes:

  • Fix filename validation on non-Windows OS
  • ScanFolders/FileSystemWatcher now detect magnet files with case insensitivity in filename
  • Fix failed seeding after creating a torrent and auto-adding it to the session

How to Install qBittorrent 4.1.8 in Ubuntu:

The official qBittorrent PPA has built the new release packages for all current Ubuntu releases.

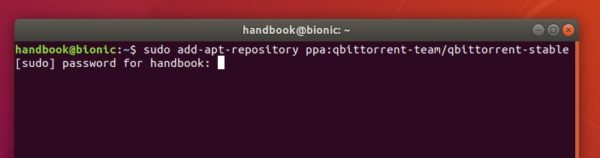
1. To add the PPA, open terminal either via Ctrl+Alt+T keyboard shortcut or by searching for “Terminal” from application menu. When it opens, run command:

sudo add-apt-repository ppa:qbittorrent-team/qbittorrent-stable

Type user password (no asterisk feedback) when it prompts and hit Enter to continue.

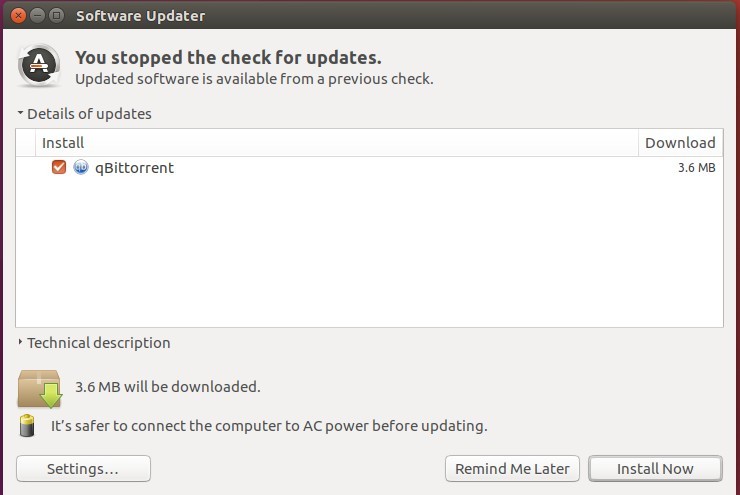
2. To upgrade from existing software version, launch Software Updater and you’ll see qBittorrent available for upgrade after checking for updates.

upgrade qBittorrent

Or run commands below to install /upgrade it from terminal:

sudo apt update && sudo apt install qbittorrent

Uninstall:

To remove qBittorrent PPA, either go to Software & Updates -> Other Software, or run command in terminal:

sudo add-apt-repository --remove ppa:qbittorrent-team/qbittorrent-stable

To remove the bittorrent client, either use your system package manager or run command:

sudo apt-get remove --autoremove qbittorrent

gnome shell

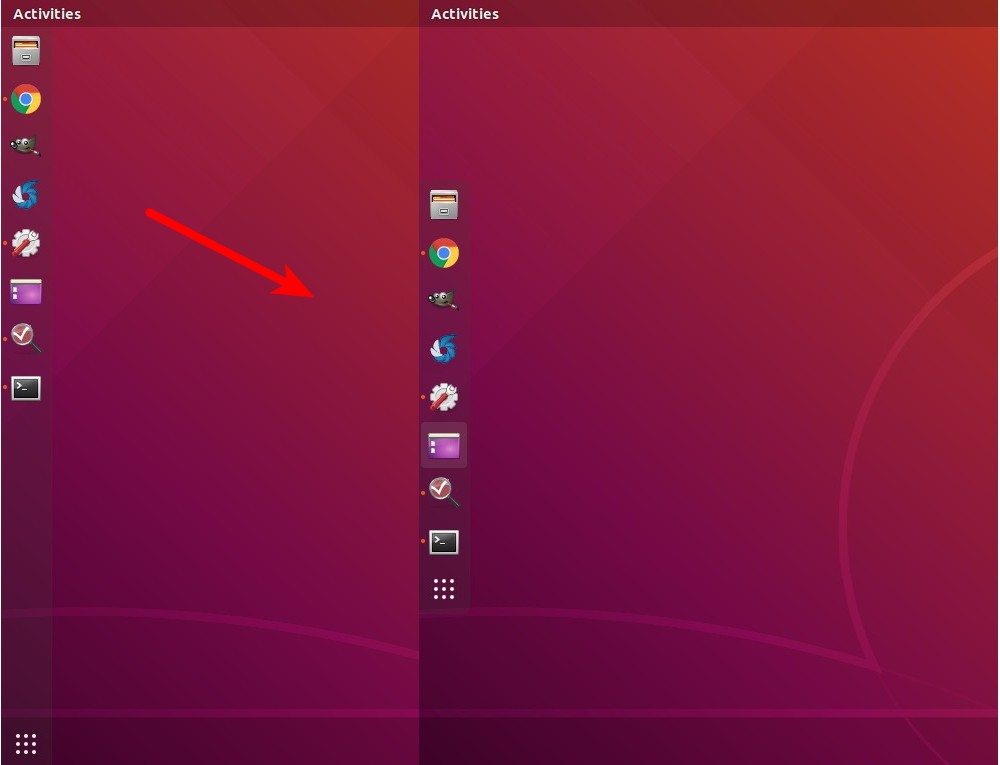
This tutorial is going to show Ubuntu begginers how to enable Gnome’s default left panel (Dock), which has an auto-resize panel height.

In Ubuntu 18.04 and higher, the left panel (called Dock) is by default extended to all the available screen height, which looks just like it does in the previous default Unity desktop.

While the Settings utility only offers options to toggle auto-hide, icon size, and panel position, here’s how to enable auto-resize panel height (or width if panel moved to bottom).

1.) First search for and install dconf editor in Ubuntu Software.

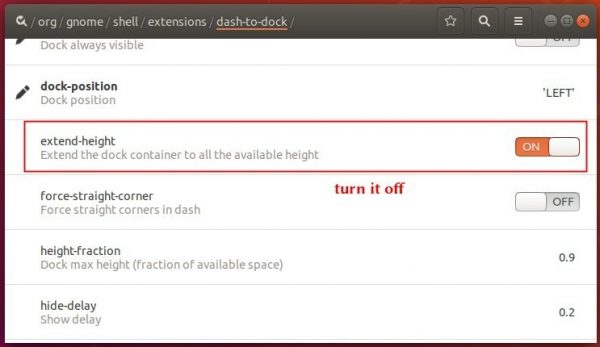
2.) Launch dconf editor, and navigate to org/gnome/shell/extensions/dash-to-dock.

Scroll down and find the line says “extend-height” and turn off the switch.

In addition, for those familiar with Linux command line, open terminal (Ctrl+Alt+T) and run single command to do the job:

gsettings set org.gnome.shell.extensions.dash-to-dock extend-height false

And restore the change via command:

gsettings set org.gnome.shell.extensions.dash-to-dock extend-height true

Install MakeMKV Easily via Snap in Ubuntu 18.04 / 19.04

Published: September 25, 2019 — Last updated: September 25, 2019

MakeMKV icon

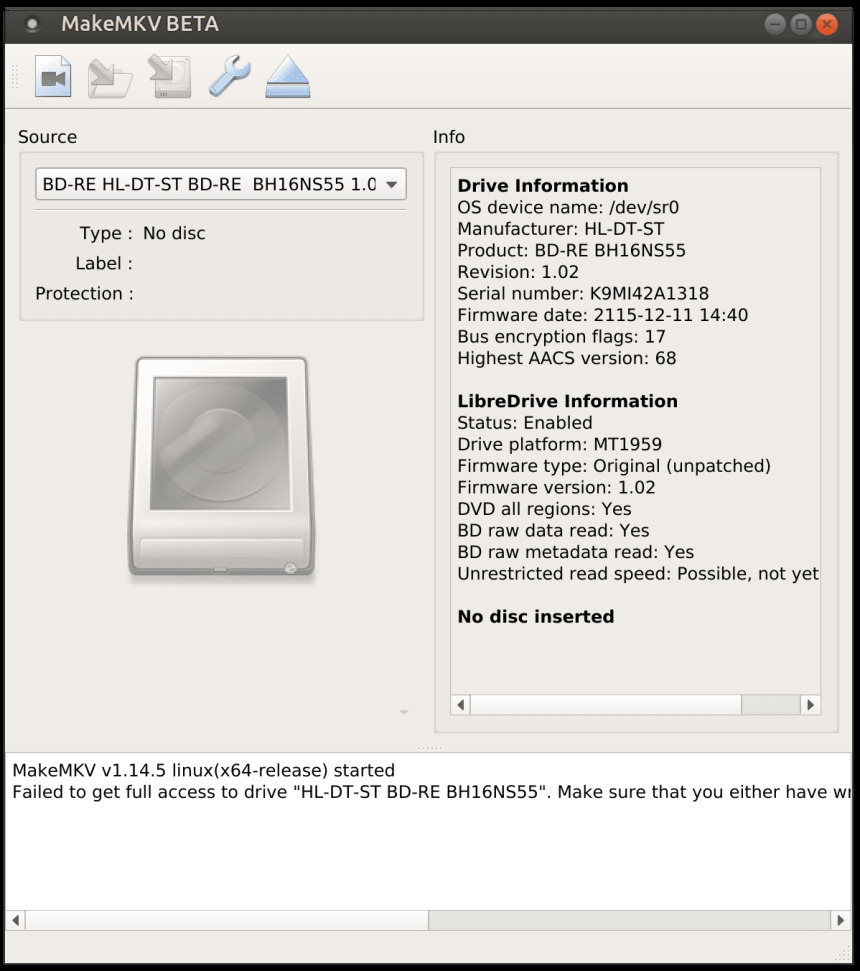
MakeMKV, make MKV from Blu-ray and DVD, now is easy to install via Snap package in Ubuntu 18.04 and higher.

Snap is a containerized software package runs in most Linux desktop. Thanks to Daniel Llewellyn, he has made the MakeMKV Snap package. So it can be easily installed either via Snappy Store or by running single command in terminal.

Install MakeMKV snap in Ubuntu:

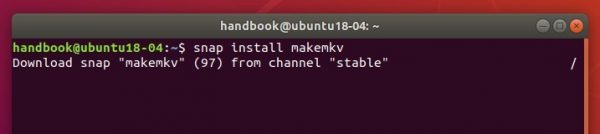
1.) Don’t know why, but I don’t find makemkv in Ubuntu Software in Ubuntu 18.04. However, it can be installed by running single command in terminal (open terminal via Ctrl+Alt+T):

snap install makemkv

2.) One more command is required to run to connect the snap to the hardware-observe interface:

sudo snap connect makemkv:hardware-observe

(Optional) For any reason, you can easily remove the MakeMKV snap package by running command in terminal:

snap remove makemkv

MakeMKV PPA:

For those who prefer installing it via native Ubuntu .deb package, there’s also a PPA repository that contains the software for all current Ubuntu releases.

You can simply open terminal and run 3 commands one by one to add the PPA and install MakeMKV:

sudo add-apt-repository ppa:heyarje/makemkv-beta

sudo apt-get update

sudo apt-get install makemkv-bin makemkv-oss

Peek screen recorder 1.4.0 was released today with stability fixes and some use interface improvements. Here’s how to install it in Ubuntu 18.04, Ubuntu 19.04, and derivatives.

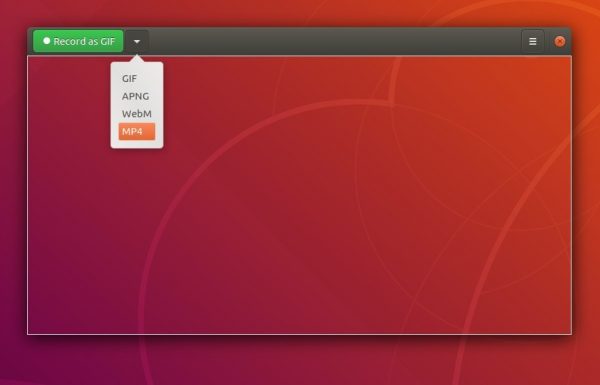
Peek is a handy desktop screen recorder with an easy to use interface. It supports recording to GIF, APNG, Webm, and MP4, and so far works on X11 or inside a GNOME Shell Wayland session using XWayland.

Peek 1.4.0 release highlights:

  • Move app menu into application window
  • New app icon
  • Set window type hint to UTILITY
  • Show shortcut hint in main window
  • Added Recorder, Video and AudioVideo to desktop files categories
  • Build fixes and updated translations.

How to Install Peek 1.4.0 in Ubuntu:

Note the Peek PPA will not update for Ubuntu 16.04 any more, since the 1.4.0 release required GTK >=3.20.

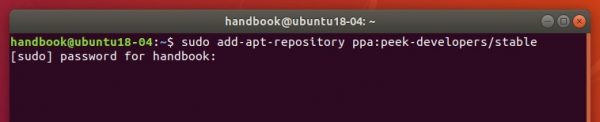
1.) Open terminal either via Ctrl+Alt+T keyboard shortcut or by searching for “Terminal” from application menu. When it opens, run commands to add the Peek PPA:

sudo add-apt-repository ppa:peek-developers/stable

Type user password (no asterisk feedback) for sudo prompt and hit Enter.

2.) Then check updates and install peek via 2 commands:

sudo apt update

sudo apt install peek

For those who don’t want to add PPA, grab the .deb package for your system from PPA packages page.

Uninstall:

To remove the screen recorder, either use your system package manager or run command:

sudo apt-get remove --autoremove peek

You can also remove the PPA repository by going to Application menu -> Software & Updates -> Other Software tab.