![]()
Real-time strategy video game 0 A.D. released version Alpha 25 a day ago. Code name is “Yaunã”.
0 A.D. (pronounced “zero ey-dee”) is a free and open-source RTS game under development by Wildfire Games, that works on Windows, Linux, and MAC. It is a historically-based war/economy game that allows players to relive or rewrite the history of Western civilizations, focusing on the years between 500 B.C. and 500 A.D.
“Yaunã” comes with the twenty-fifth alpha version that initially implements Single Player Campaigns, along with other big ones including:
- Improved Pathfinding, Performance And Reduced Game Lag.
- Push new orders to the front Of their production queues.
- Improved Unit AI.
- New Biomes incorporating wew 2k textures and normal/specular maps.
- GUI improvements.
- Extended Graphics options.
- Improved Mod support and game filtering in the multiplayer lobby.
- Ongoing civilization balancing.
- Various other game stability bug fixes and speedups.
See video about 0 A.D. Alpha 25:
How to Install 0 A.D in Ubuntu:
The game package is available in Ubuntu repository but always old! To get the latest version, keep an eye on this Ubuntu PPA while the official one is not being updated for long time.
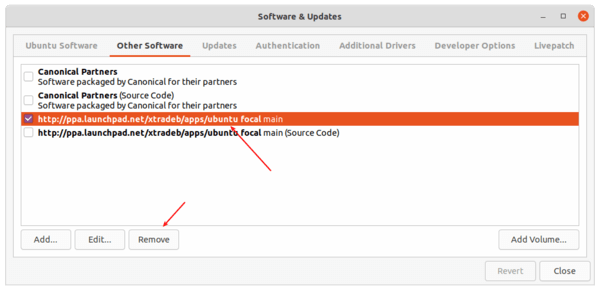
Usually, maintainers update the latest software packages a few days after the release note. For beginners, you can follow this tutorial to add the PPA and install 0 A.D. once the new package published.


