![]()
Flameshot, the popular screenshot software, released version 0.9.0 with great new features!
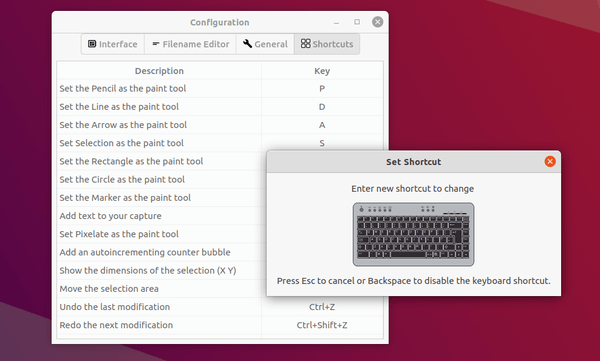
Flameshot 0.9.0 adds new global shortcut menu in configuration dialog. All actions hotkeys are fully customizable.
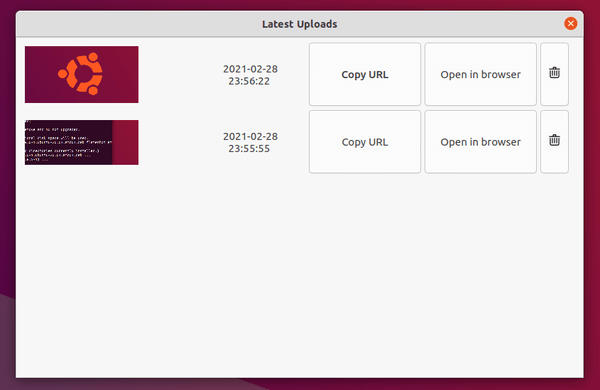
Another great new feature is new “Latest Uploads” option in indicator menu. It opens upload history dialog which lists all images uploaded to imgur with buttons to quickly copy image URL and open in browser.
Other changes in the 0.9.0 release include:
- Official Mac OS support.
- Improved Gnome Wayland support.
- Offer digitally signed windows releases.
- Ability to run flameshot on Sway
- Option to use JPG format for clipboard.
- Take “symmetric” selections by holding the Shift key
- Add “check for updates” option
- The rectangle tool now round the corners based on the current thickness
- New “fixed save path” option.
Download / Install Flameshot in Ubuntu:
The deb packages for Ubuntu 18.04, Ubuntu 20.04, as well as other system packages are available to download at the link below:
Grab the deb for your Ubuntu edition, or download the non-install Appimage package.
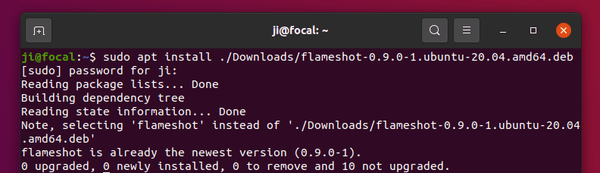
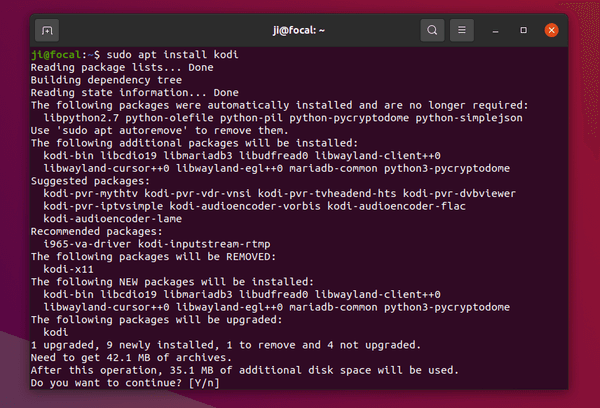
For the deb, double-click to install via Software Install, or run command in terminal to install it:
sudo apt install ./Downloads/flameshot-0.9.0-*.deb