![]()
As you may know, Ubuntu supports for displaying custom text message in the default GDM login screen. There’s now an extension to do the job for the lock screen!
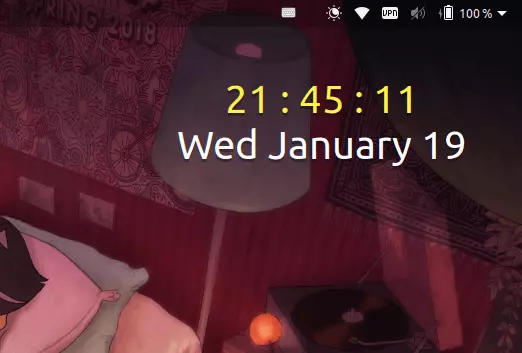
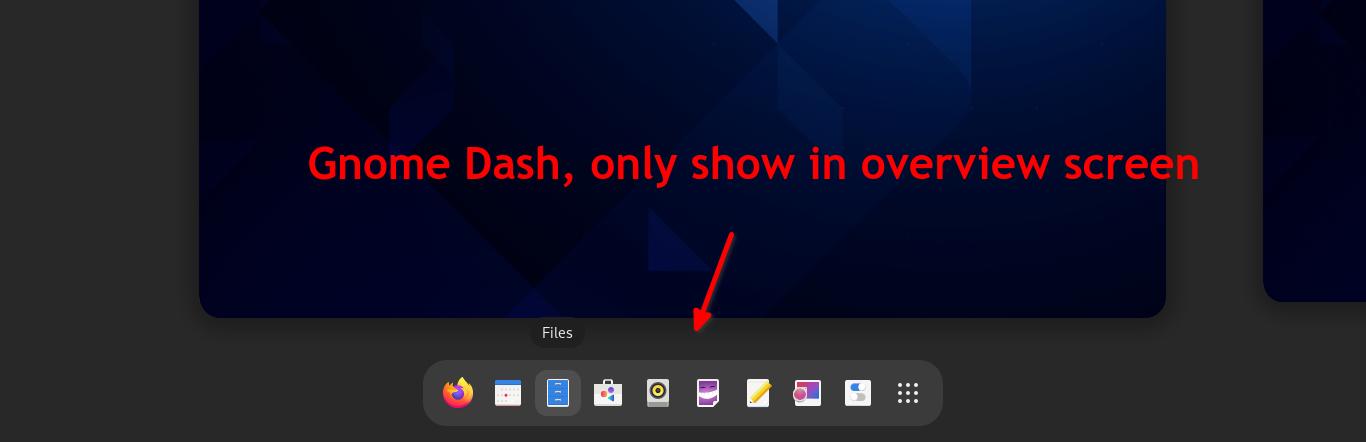
Similar to Android lock screen owner info functionality, it allows you to add your message to the GNOME lock screen.
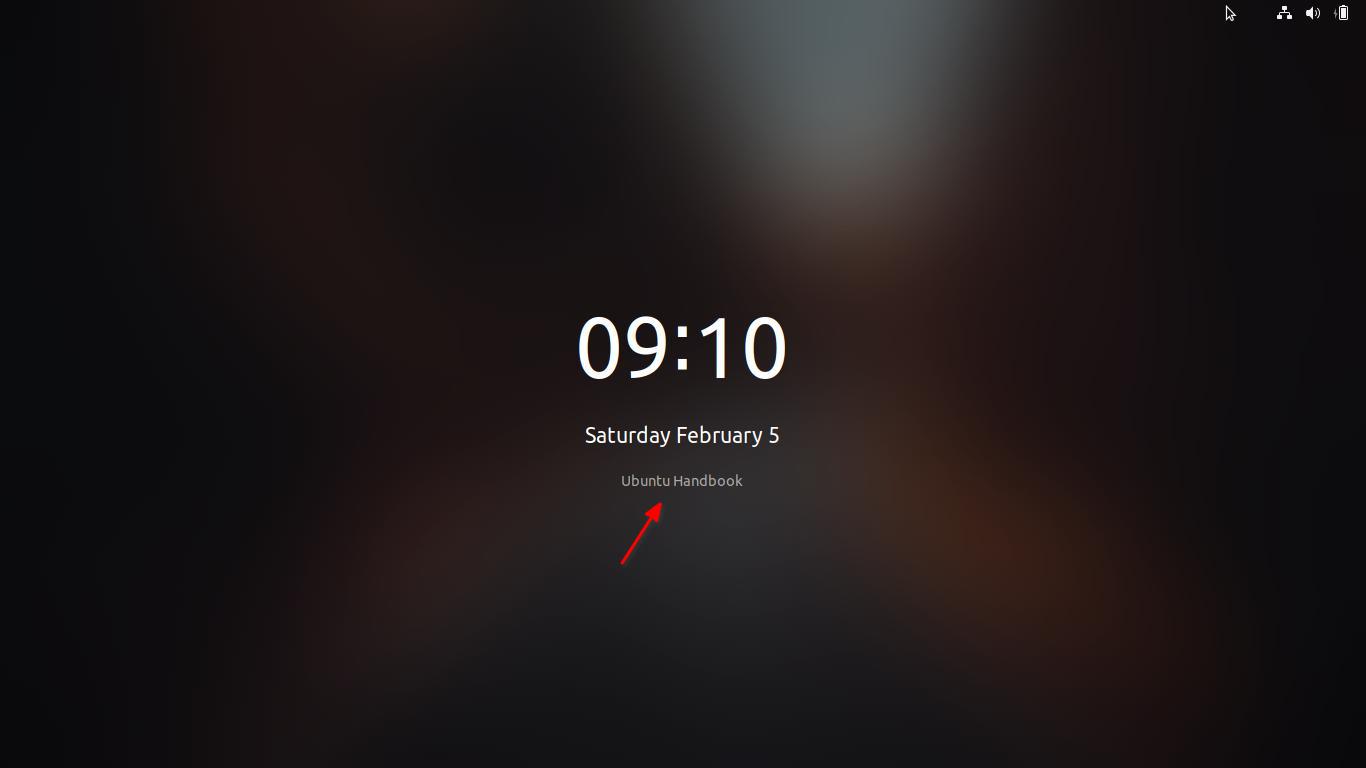
Custom text in lock screen
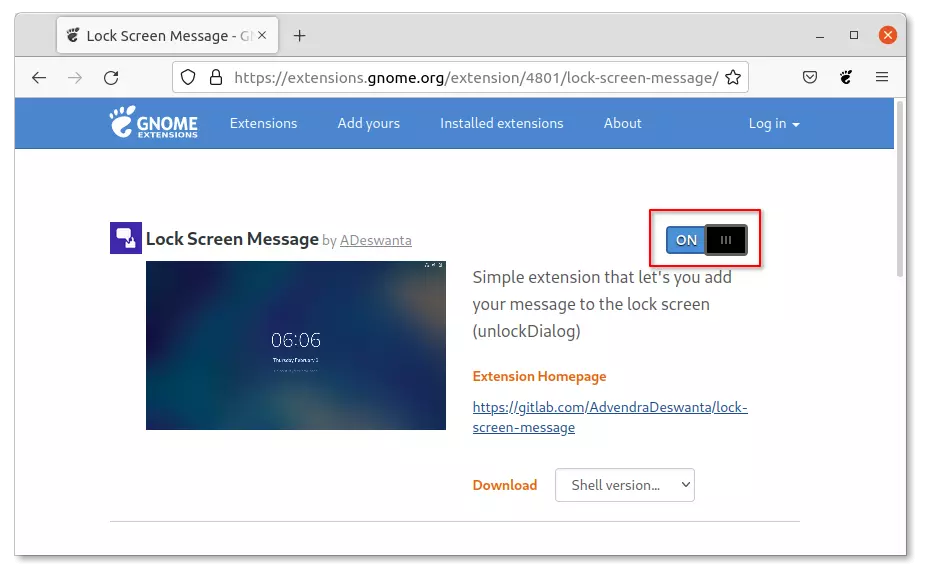
The extension is called ‘Lock Screen Message’. At the moment, it supports GNOME 40 and 41. Which means, you may install it on Ubuntu 21.10, Fedora 34/35, Arch Linux and Manjaro etc.
Install Lock Screen Message extension:
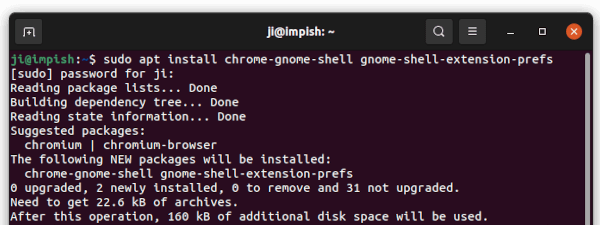
1. Install ‘chrome-gnome-shell’:
Firstly, press Ctrl+Alt+T on keyboard to open terminal. When it opens, run command to install the ‘chrome-gnome-shell’ package and Gnome Extensions app if you don’t have it:
sudo apt install chrome-gnome-shell gnome-shell-extension-prefs
This package enables the ability to install Gnome Extensions via a web browser.
2. Install the Extension:
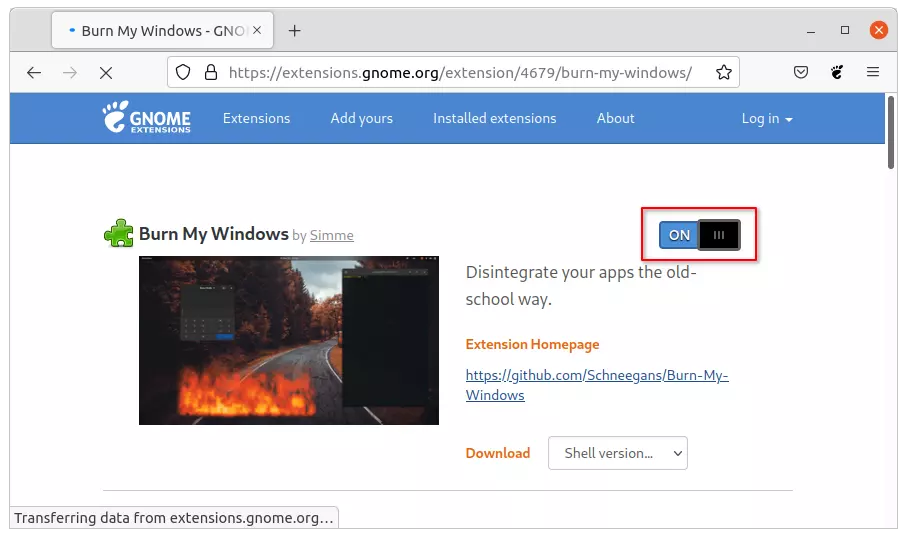
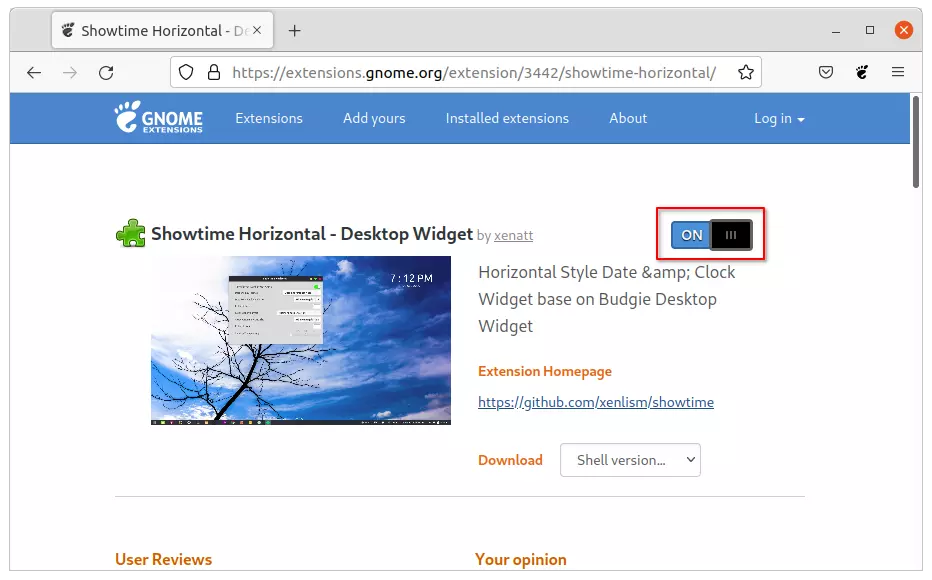
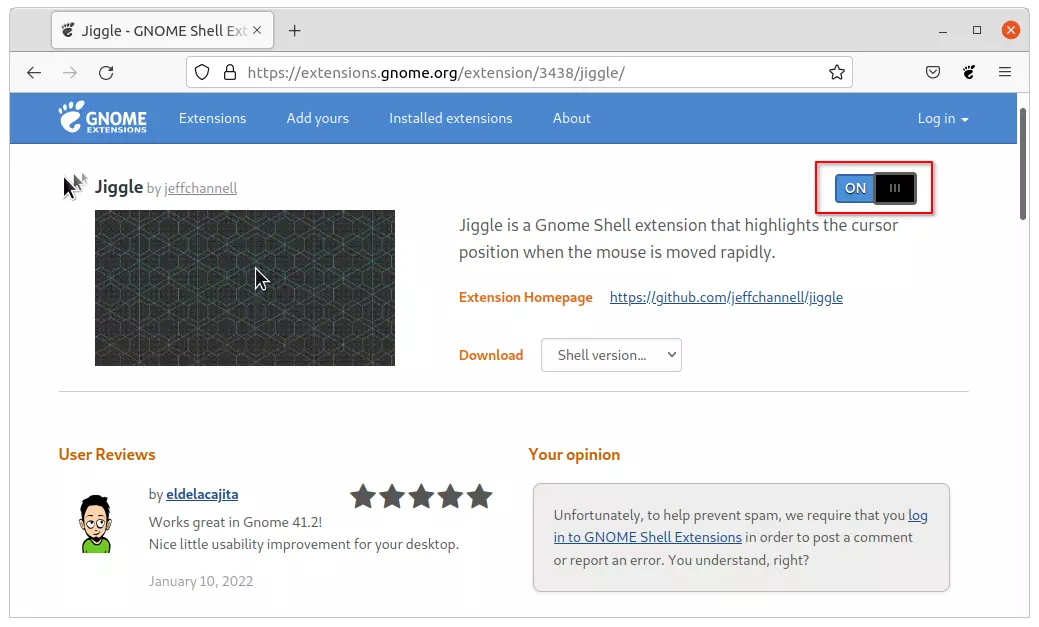
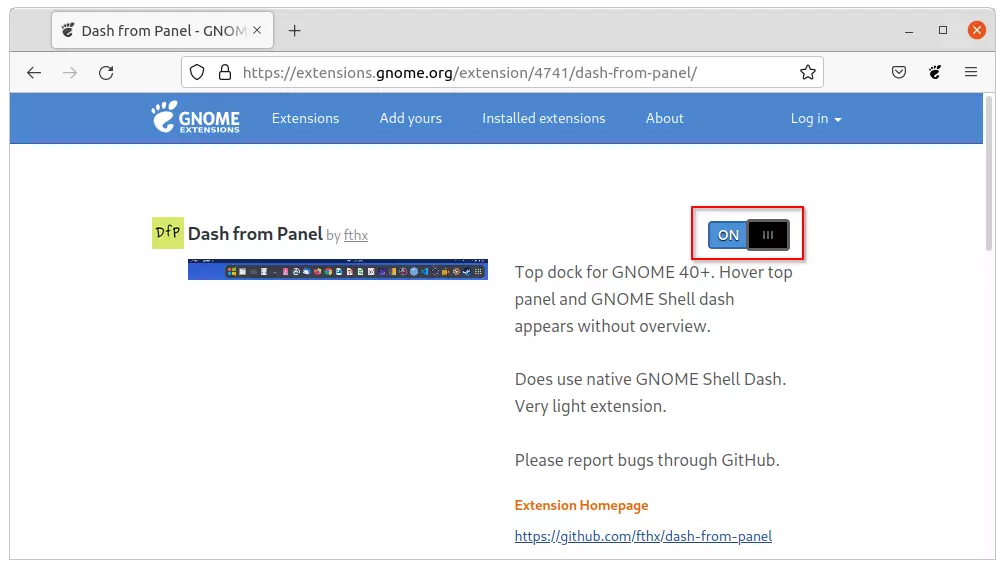
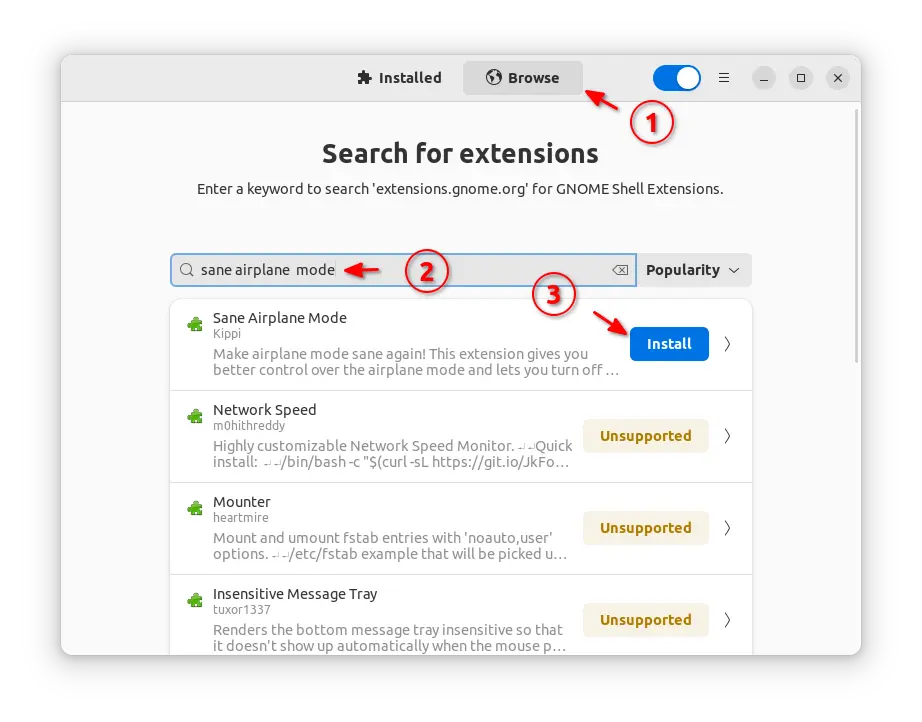
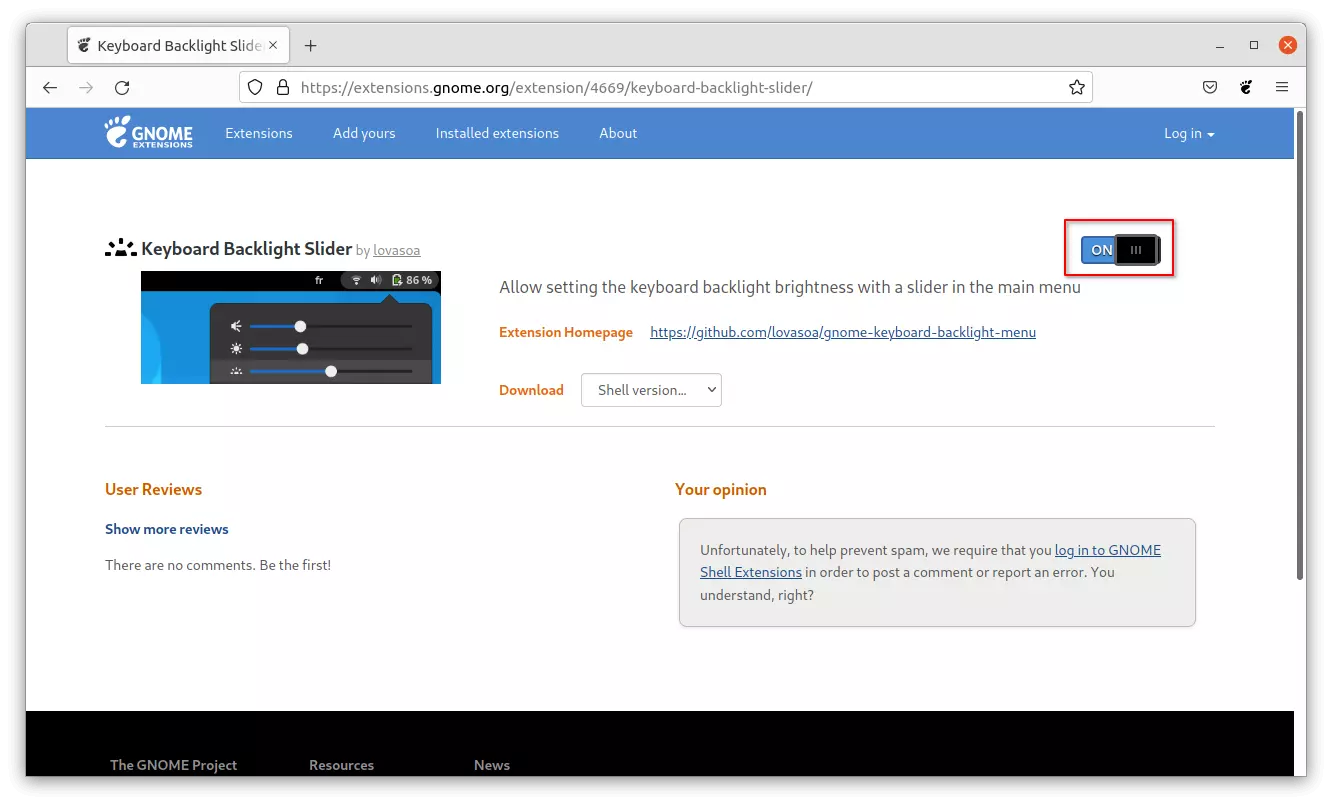
Next, click the link button below to go to the extension web page and turn on the slider icon to install it:
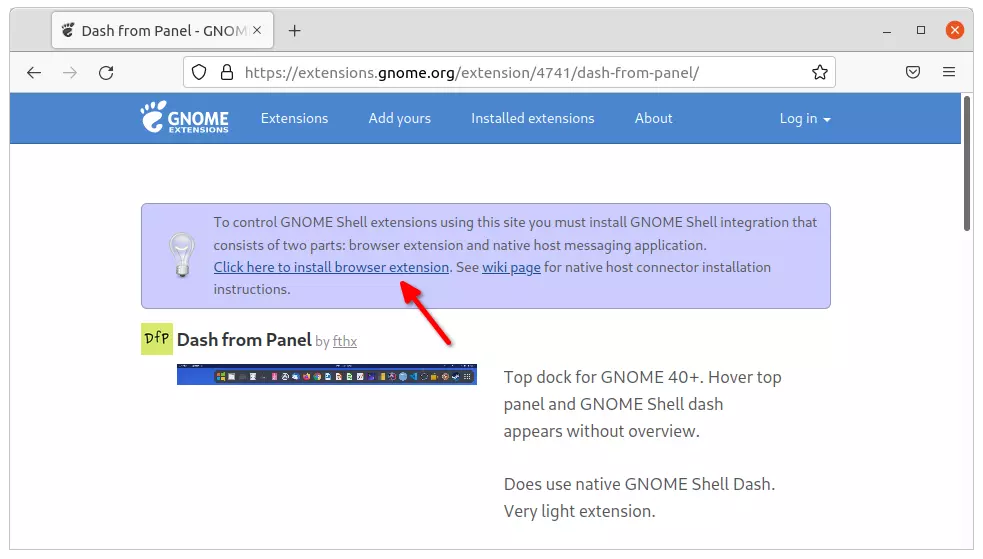
If you don’t see the toggle icon, install the browser extension via the link in that page and refresh it.

NOTE: The pre-installed Firefox in Ubuntu 21.10 is a Snap package that does NOT support for installing Gnome Extensions so far. Use another browser or install Firefox as deb.
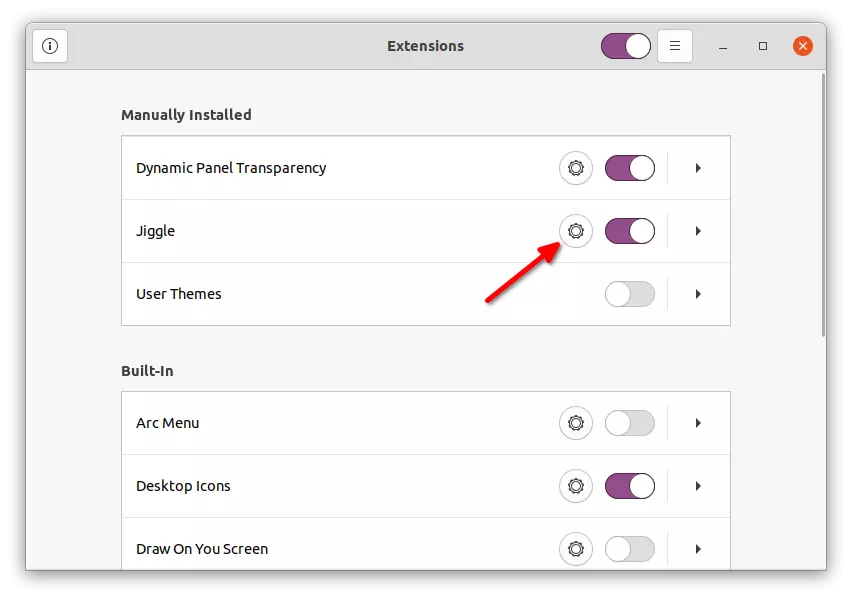
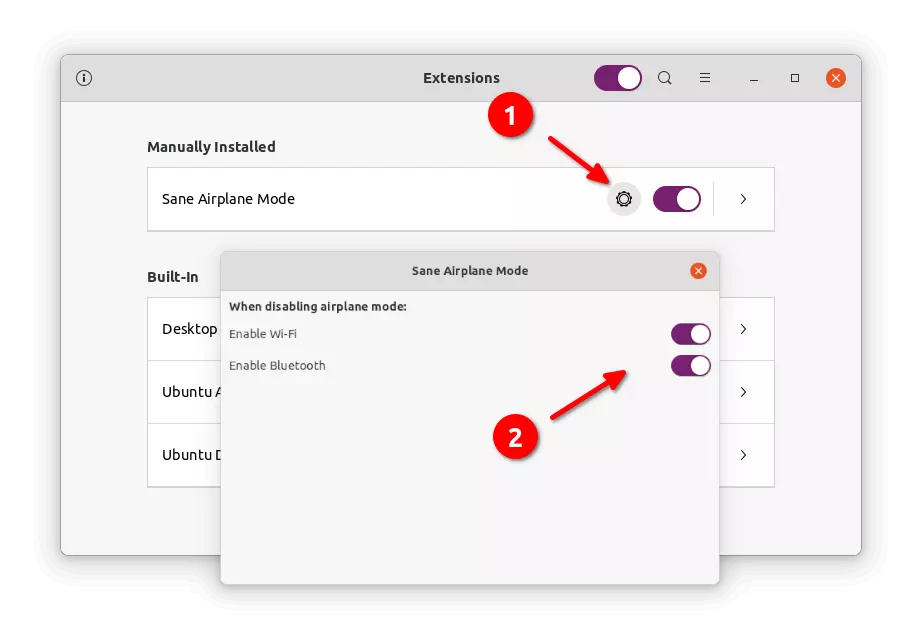
Finally, search for and open ‘Gnome Extensions‘ from overview screen.

Manage Gnome Extensions
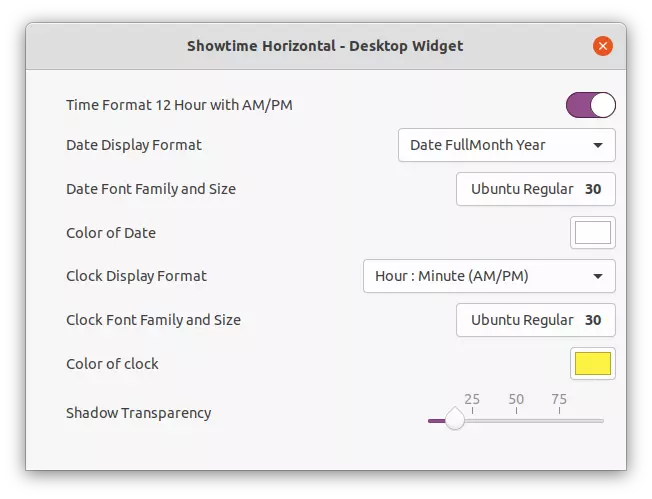
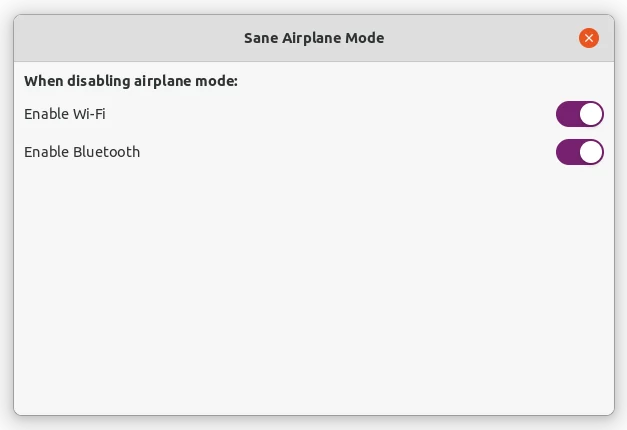
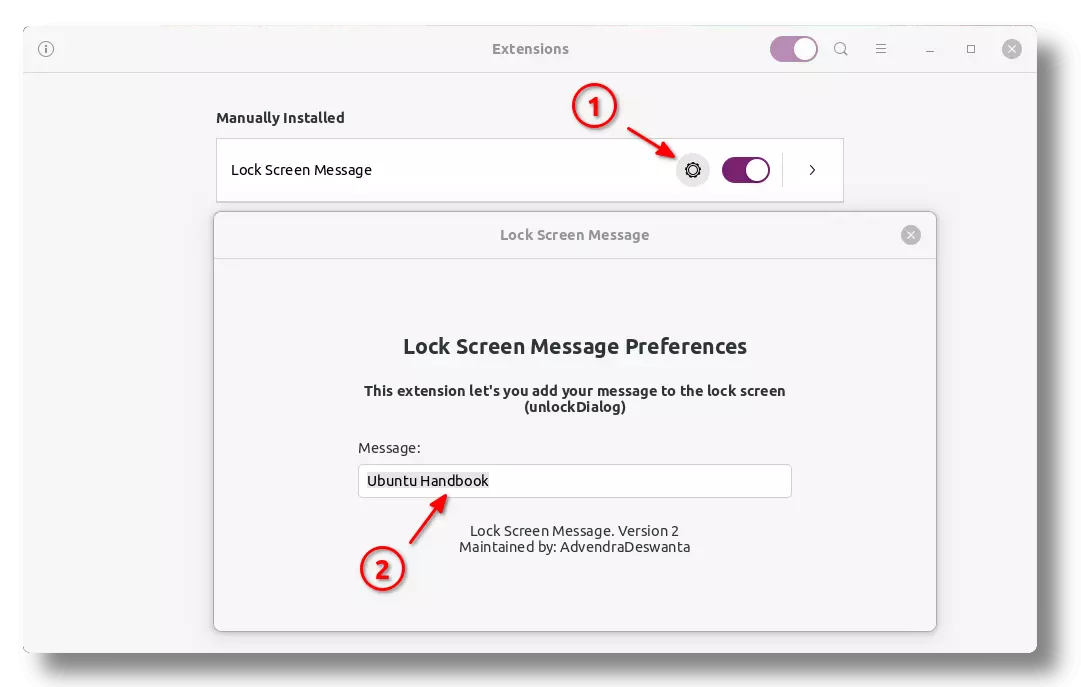
And, click on the gear button after that extension to input the text message to display in lock screen.
That’s all. Enjoy!