Archives For November 30, 1999

Minecraft Alternative Minetest

Minetest, the popular open-source game alternative to Minecraft, has reached the 0.4.11 release recently.

The 0.4.11 release adds new game-play options, provides various visual changes, boasts build system improvements, provides various performance optimizations, and offers a lots of bug-fixes. For a complete list of changes, see the minetest web page.

Minetest 0.4.11 in Ubuntu 14.04

Install Minetest 0.4.11 in Ubuntu:

While Ubuntu repository provide an old version of the game package, the Minetest Stable PPA has made the new release available for Ubuntu 14.04 LTS (also contains the 12.04 build, but failed so far).

To add the PPA and install the game, press Ctrl+Alt+T to open terminal. When it opens, run the commands below one by one:

sudo add-apt-repository ppa:minetestdevs/stable

sudo apt-get update

sudo apt-get install minetest

If you don’t want to add the PPA, grab the .deb installer from Launchpad page. Depends on your OS type, 32-bit or 64-bit, select download:

  • minetest_xxx~ubuntu14.04.1_amd64.deb” for Ubuntu 14.04 64-bit
  • minetest_xxx~ubuntu14.04.1_i386.deb” for Ubuntu 14.04 32-bit.

Once downloaded, double-click to open the .deb package via Ubuntu Software Center and click install.

How to Install Minecraft in Ubuntu 14.10

Last updated: October 18, 2014

minecraft ubuntu 14.10

Installing Minecraft in Ubuntu is quite easy. All we need to do is install Java, download and run the .jar executable from its official website.

1.) To get better game experience, you may first install graphics driver for your video card:

  • For Intel graphics, you’re good to go with the default open-source driver.
  • For NVIDIA or AMD graphics, it’s better to use a proprietary video driver. Open Additional Drivers utility from the Unity Dash, select the NVIDIA or AMD driver from the list and install it.

2.) For Java, you can either install OpenJDK Java 7 from Ubuntu Software Center or install Oracle Java from PPA.

To install OpenJDK Java 7, click the button below to bring up Ubuntu Software Center and click the install button.

Click to Install OpenJDK 7

To install Oracle Java, see this post or just run commands below one by one in terminal:

sudo apt-add-repository ppa:webupd8team/java

sudo apt-get update

sudo apt-get install oracle-java8-installer

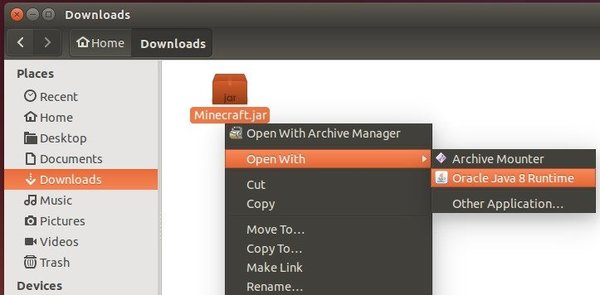
3.) Once Java Runtime is installed, download the Minecraft.jar file from:

Minecraft Download Page

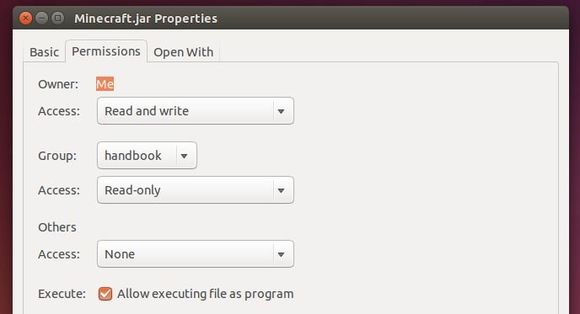
4.) Make the Minecraft.jar file executable.

To do so, right-click on the file in Nautilus browser and go to its Properties windows -> Permissions tab and finally check the box where it says “Allow executing file as program”.

Make Minecraft.jar executable

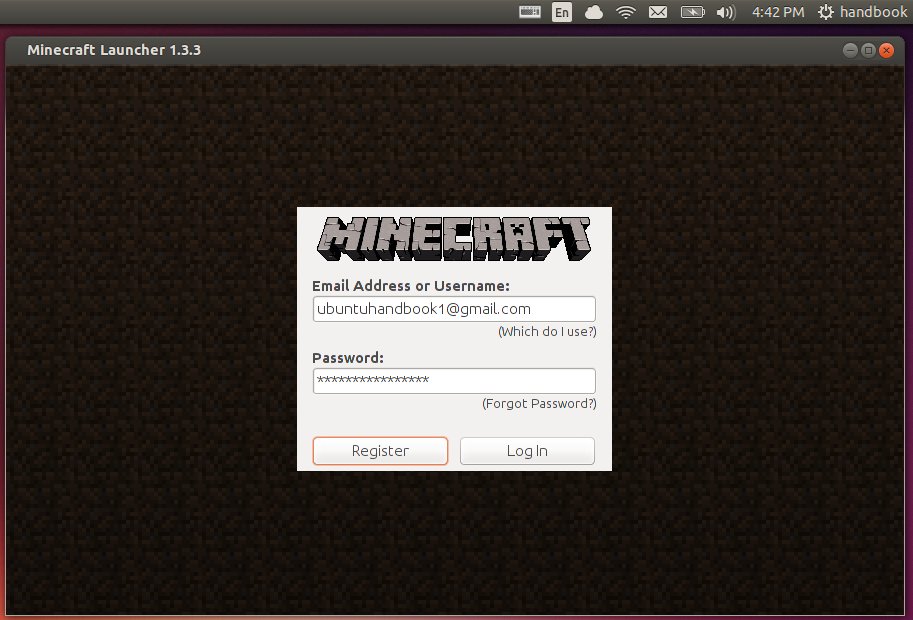
5.) Finally start the Minecraft Launcher:

MineCraft Launcher

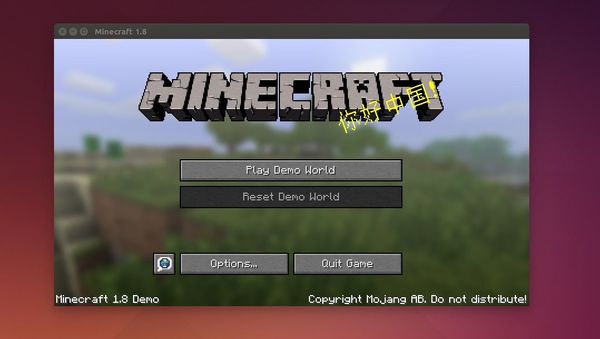
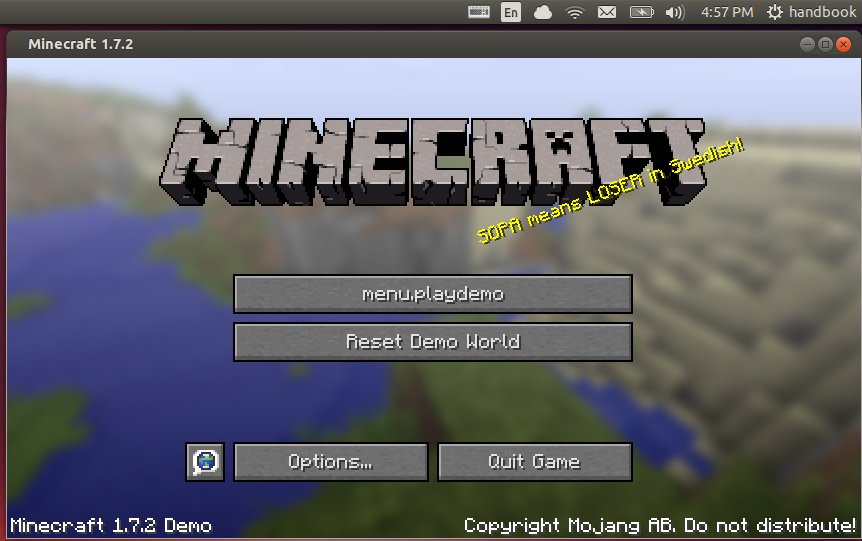
When the launcher opens, log-in with your account and click the Play button. After downloading required packages, you’re finally able to play the game:

Minecraft in Ubuntu 14.10

How to Install Minecraft in Ubuntu 14.04

Last updated: May 14, 2015

minecraft ubuntu 14.04

This quick tutorial is going to show you how to install minecraft, the popular sandbox indie game, in Ubuntu 14.04 Trusty Tahr.

An unofficial PPA provides an installer script to automatically download the files from Mojang’s servers and install the game on your system. So all you to do is get the script from the PPA.

minecraft login

minecraft login

minecraft game window

Before getting started, you may read the PPA description:

# Not Redistribution

Since the script actually goes out to Mojang’s servers to get the files, I’m not redistributing any of their files. This project is simply an installer for their stuff.

# Not a Black Screen Fix

If your computer has issues running Minecraft with OpenJDK 7, then it will have issues running this. Because that’s what this is. I’ve tested this on multiple machines and it’s worked fine, but your mileage may vary. That said, one of the main black screen issues I’ve seen is people not running it with OpenJDK 7. ;)

To get started, press Ctrl+Alt+T on keyboard to open the terminal. When it opens, run the commands below one by one:

sudo add-apt-repository ppa:minecraft-installer-peeps/minecraft-installer

sudo apt-get update

sudo apt-get install minecraft-installer

Once installed, open it from Unity Dash and enjoy! If you don’t want to add the PPA, download and install the .deb directly from launchpad page.

minecraft ubuntu 13.10

This simple tutorial shows you how to easily install minecraft sandbox indie game in Ubuntu 13.10 or Linux Mint 16 via PPA.

The package in this unofficial PPA is only a script that automatically connects to Mojang’s servers and downloads the files.

Pay attention on the PPA description before getting started:

If your computer has issues running Minecraft with OpenJDK 7, then it will have issues running this. Because that’s what this is. I’ve tested this on multiple machines and it’s worked fine, but your mileage may vary. That said, one of the main black screen issues I’ve seen is people not running it with OpenJDK 7. ;)

To get started, press Ctrl+Alt+T on keyboard to open terminal. When it opens, run commands below one by one:

sudo add-apt-repository ppa:minecraft-installer-peeps/minecraft-installer

sudo apt-get update

sudo apt-get install minecraft-installer

Once installed, open MineCraft from Unity Dash, login with your Minecraft account and the installation should start automatically.

minecraft login

minecraft login

minecraft updates

minecraft game window