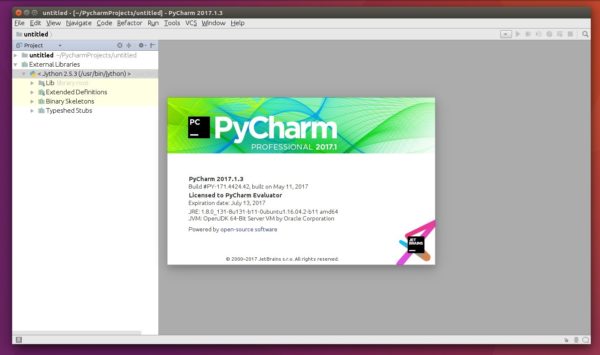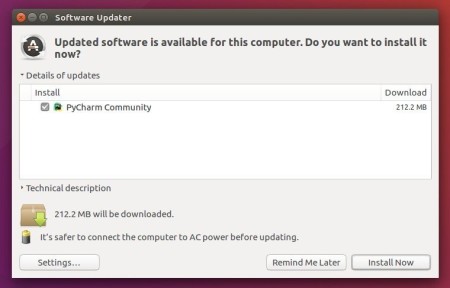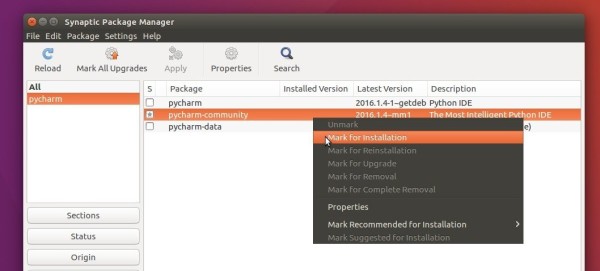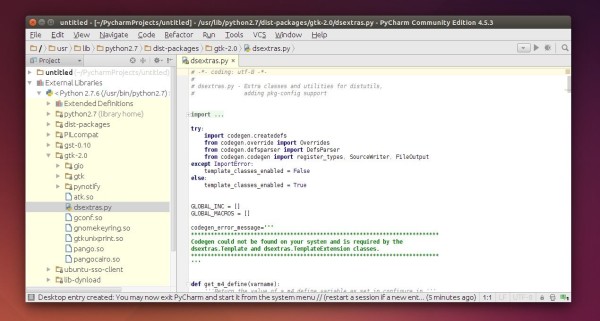
Jetbrains announced the release of its Python IDE, PyCharm 2017.3.2, a day ago. Here’s how you can install it in Ubuntu 16.04 and higher.
Changes in PyCharm 2017.3.2 include:
- Type annotation ahead of time. You can’t put an inline type annotation when defining a variable in a for or a with statement, so you need to provide the annotation in a separate place, read more on the ticket. This is now supported in PyCharm.
- ‘Show command line afterwards’ now works correctly for remote interpreters. And further fixes to this feature
- Various SQL syntax fixes for PostgreSQL and Oracle (PyCharm Professional Edition bundles all DataGrip features)
- React code completion improvements (PyCharm Professional Edition bundles all WebStorm features)
- And more, see the release notes for details

How to Install PyCharm 2017.3.2 in Ubuntu:
You can easily run the new release in Ubuntu either via:
method 1: official Linux binaries. NON-INSTALL version, just extract and run executable file to launch the IDE:
method 2: or install the Snap package. App run in sandbox. Support for Ubuntu 16.04 and higher:
Simply open terminal via Ctrl+Alt+T or by searching for ‘terminal’ from app launcher. When it opens, run command:
snap install pycharm-community --classic

For professional edition, run following command instead:
snap install pycharm-professional --classic
Once installed, launch the IDE from your application launcher and enjoy!
Uninstall:
To remove the snap packages, either use Ubuntu Software or run command in terminal:
sudo snap remove pycharm-community pycharm-professional
For those who prefer traditional Ubuntu PPA, keep an eye on the launchpad PPA.


