


![]()
This tutorial shows how to install Oracle VirtualBox in Ubuntu 22.04 and/or Ubuntu 24.04
VirtualBox is a popular free open-source tool for running different operating systems in virtual machines.
The tool is available in Ubuntu system repositories, but old. So, here’s the step by step how to install guide for latest version for beginners.
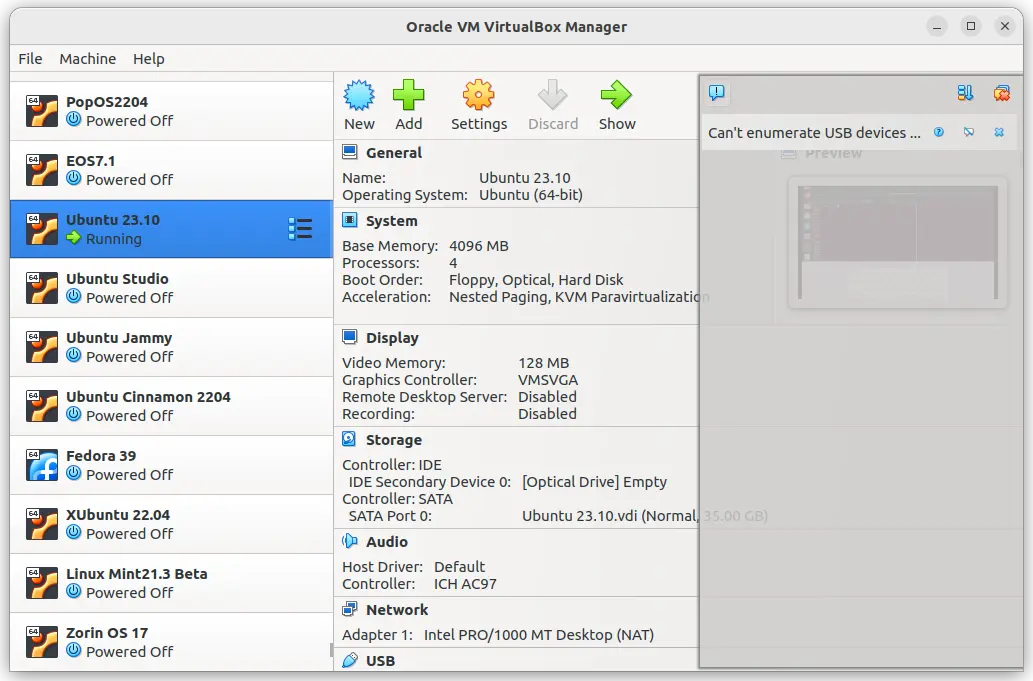
VirtualBox VM Manager
NOTE: VirtualBox so far only support x86_64 (amd64) CPU architecture type. Meaning for modern Intel & AMD CPUs.
Step 1: Download & Install the .deb package (Optional)
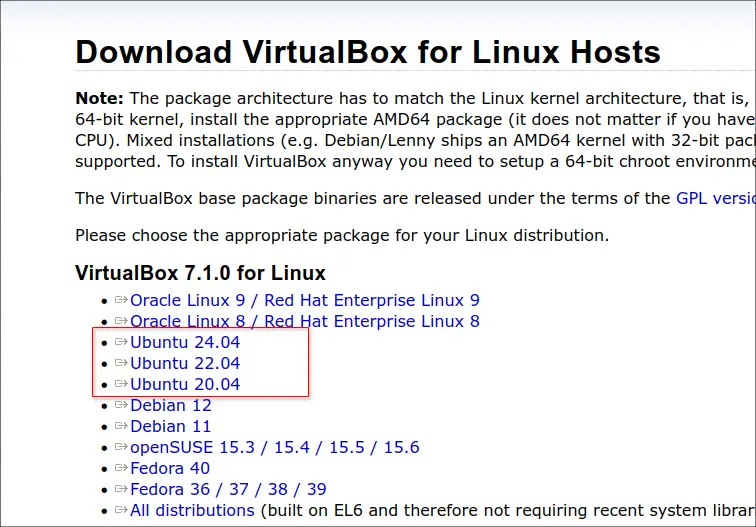
Oracle provides official .deb & .rpm packages for installing the software in Debian/Ubuntu & Fedora based systems.
User can select download the package by going to its website via the link below:
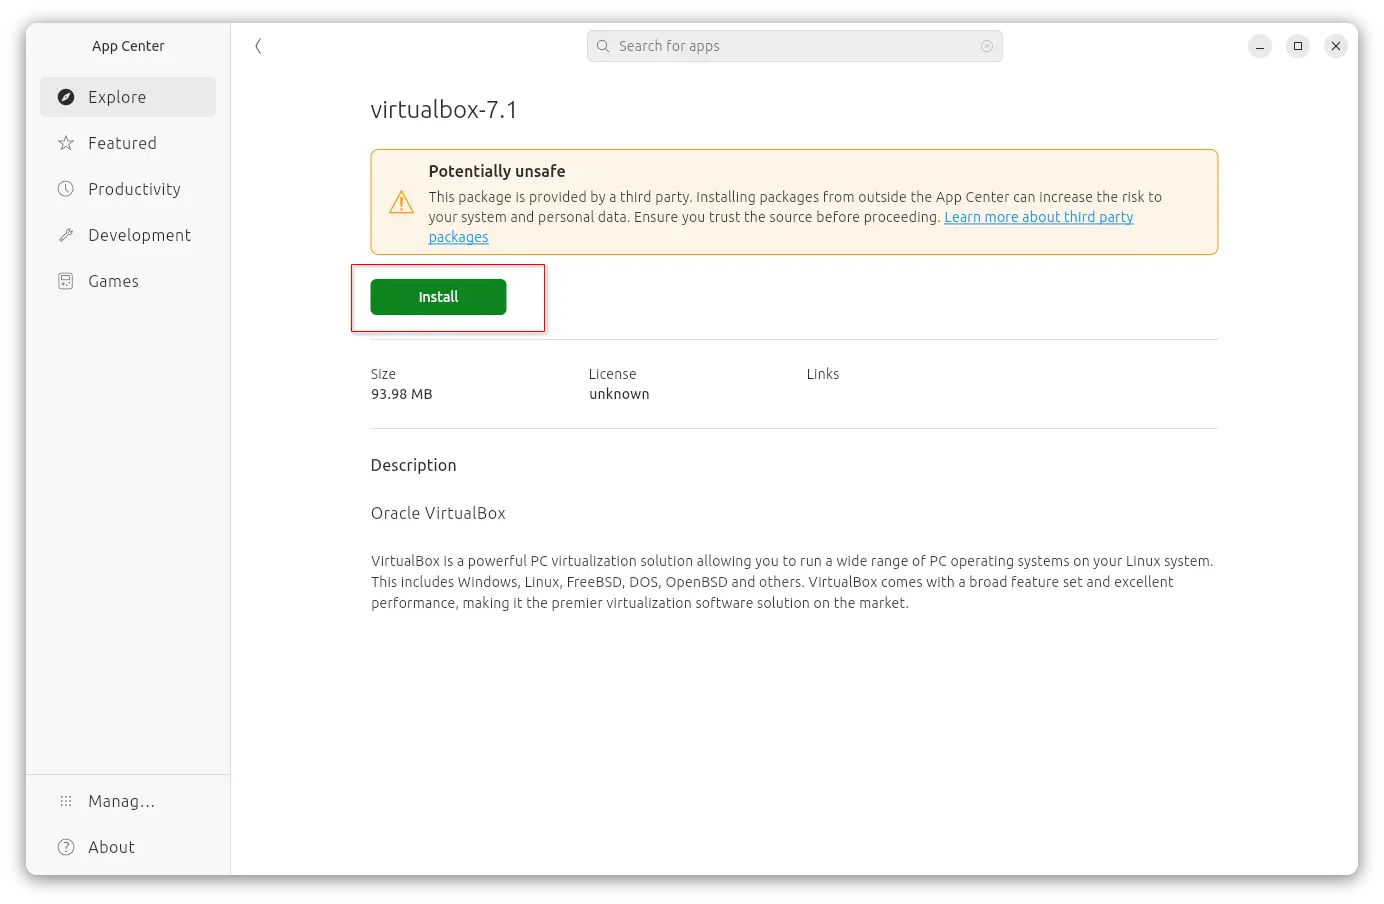
Next, open the Downloads folder, then either double click on the package or use right-click menu “Open With Other Application” and select open the .deb package you just downloaded via Software Install (or App Center). Finally, click install button to install it.
NOTE: The installing process may fail sometimes due to old package in your system, in the case, just uninstall the old one (go to bottom for how) then try to re-install again.
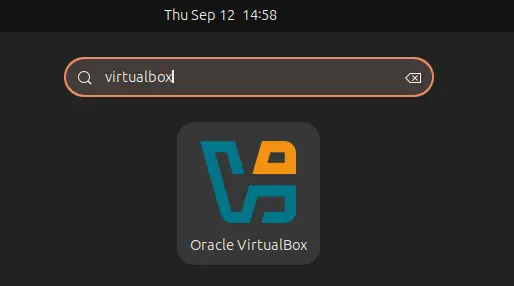
Once installed, search for and launch it either from start menu or ‘Activities’ overview depends on your desktop environment.
Step 2: Add VirtualBox repository to keep it up-to-date
The .deb package you installed via ‘Step 1’ used to automatically add the repository. However, it does NO longer do the trick in recent versions.
So, here’s how to do it step by step via the new Ubuntu PPA policy.
1. Download & install the key
First, press Ctrl+Alt+T on keyboard to open up a terminal window.
When it opens, run command to make sure “/etc/apt/keyrings” directory exist:
sudo mkdir -p /etc/apt/keyrings
Then, run command to use wget to download key, dearmor it (so unreadable), and finally save it to that directory:
wget -q -O- https://www.virtualbox.org/download/oracle_vbox_2016.asc | sudo gpg --dearmor --yes --output /etc/apt/keyrings/oracle-virtualbox-2016.gpg
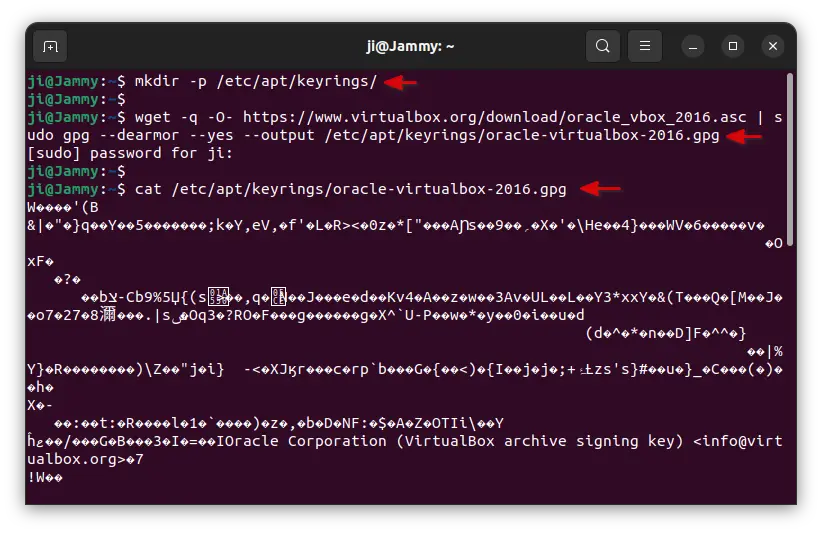
You can finally verify the key file, by running command:
cat /etc/apt/keyrings/oracle-virtualbox-2016.gpg
As the screenshot above shows you, it should outputs unreadable text.
2. Add VirtualBox repository
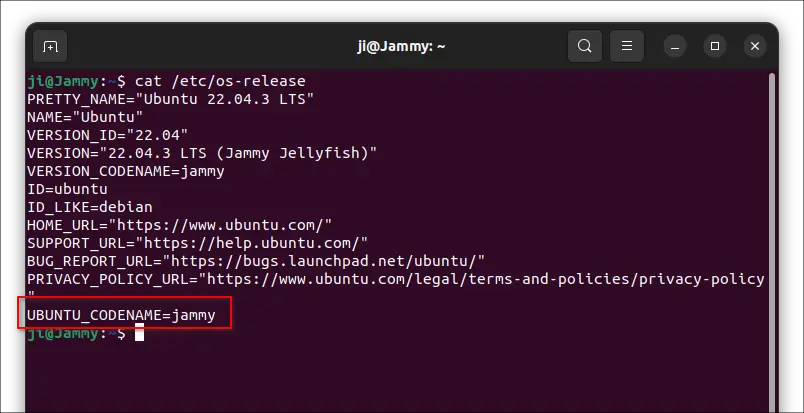
Before adding the source repository, first run command to get system code name:
cat /etc/os-release
The apt repository so far only support Debian Stable (& old stable), Ubuntu 22.04 & 20.04 LTS (focal, jammy). For all their based systems, use the code-name you got via this command.
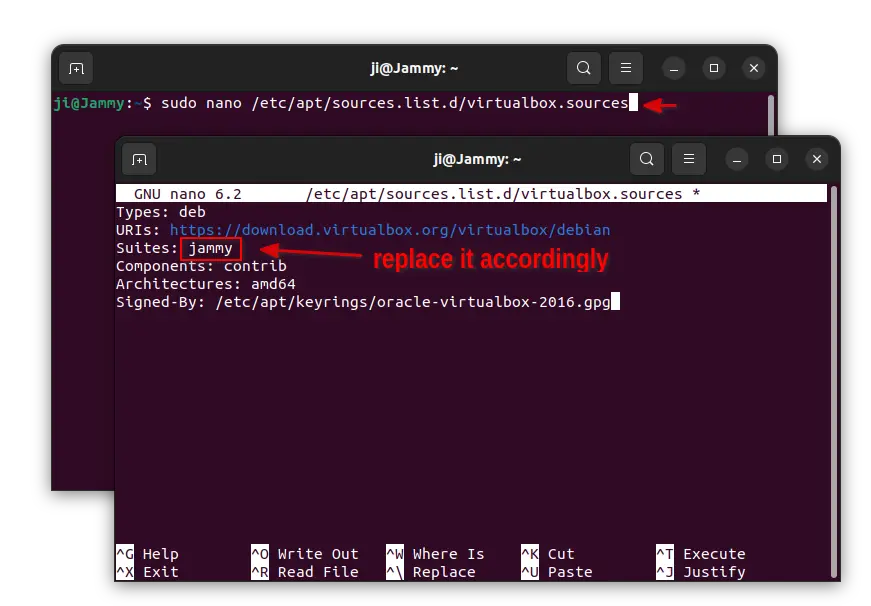
Then, in terminal window, run command to create & edit a sources file:
sudo nano /etc/apt/sources.list.d/virtualbox.sources
Then in the terminal window, paste following lines:
Types: deb
URIs: https://download.virtualbox.org/virtualbox/debian
Suites: jammy
Components: contrib
Architectures: amd64
Signed-By: /etc/apt/keyrings/oracle-virtualbox-2016.gpg
Replace jammy (for 22.04, Mint 21.x) according to last command output, such as noble for 24.04/Mint 22, focal for 20.04/mint20.
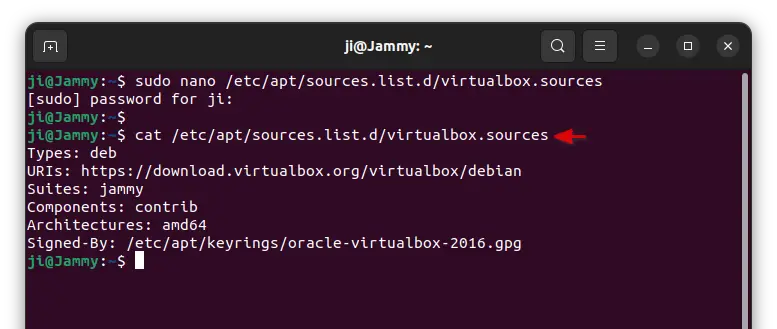
When done, press either Ctrl+S or Ctrl+O and hit Enter to save file, then press Ctrl+X to exit.
Finally, verify the sources file by running command:
cat /etc/apt/sources.list.d/virtualbox.sources
It should outputs the content you just added into that file.
3. Update system package cache
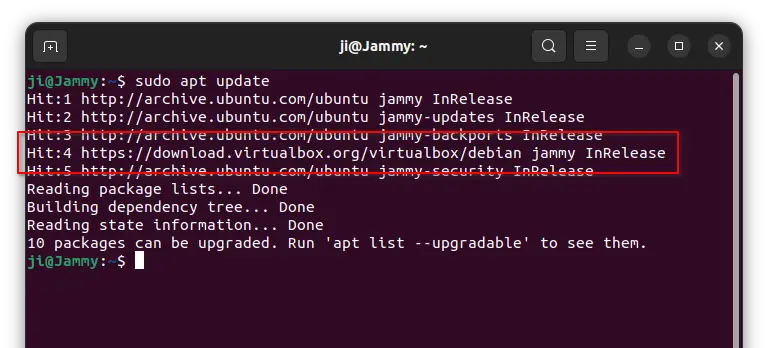
After setup the source repository, run command to refresh your system package cache:
sudo apt update
The terminal output should print a line looks like:
“Hit:5 https://download.virtualbox.org/virtualbox/debian jammy InRelease”
4. Install or Update Virtualbox
If you skipped the “Step 1”, then you can install it (7.0.x series at the moment) by running command in terminal:
sudo apt install virtualbox-7.1
Finally, when a newer release is out, you’ll be able to update it through Software Updater (Update Manager) tool.
Uninstall
To remove VirtualBox, open terminal (Ctrl+Alt+T) window and run command:
sudo apt remove --autoremove virtualbox virtualbox-7.1
And, remove the source repository by simply deleting the key & sources files:
sudo rm /etc/apt/keyrings/oracle-virtualbox-2016.gpg /etc/apt/sources.list.d/virtualbox.sources
Also, run sudo apt update to refresh package cache.


why don´t you use-purge in the removal commandline?
The question what disappears and what does not, kept me going:
for example:
-the virtualbox key in keyrings disappeared
-the vboxuser in groups disappeared
-almost all vbox (system) maps disappeared
except for 2 maps: folder sharing (map “Virtual VM¨), and .config/VirtualBox/ (system log files)