![]()
Ubuntu 18.04.2 was released a day ago with new HWE stack (newer kernel and X packages backported from Ubuntu 18.10), here’s how to install (or remove) it in current Ubuntu 18.04 machines.
While regular system update does only upgrade to Ubuntu 18.04.2, you need to manually do following steps to install the new hardware enablement stacks.
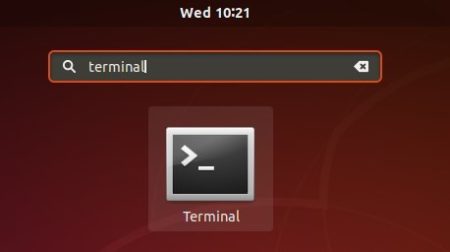
1. Open terminal either via Ctrl+Alt+T keyboard shortcut or by searching for ‘terminal’ from application menu:
2. When terminal opens, run command to install the new Hardware Enablement stacks, including Linux Kernel 4.18, and X stack back-ported from Ubuntu 18.10:
sudo apt install xserver-xorg-hwe-18.04
Type user password (no asterisk feedback) and hit Enter to continue.

Once installed, restart your computer and enjoy!
How to Remove New LTS Enablement Stack in Ubuntu 18.04:
For choice, you can easily remove the new X stack by running following command in terminal:
sudo apt remove xserver-xorg-*-hwe-18.04

Then you have to install back the old X packages via command:
sudo apt install xorg