Though it’s not perfect, Global menu is still possible in Ubuntu 20.04, Ubuntu 21.04 with the default Gnome Desktop.
It used to have a Gnome Global Menu extension to enable focused app menus (e.g., File, Edit, View, Help, etc.) in the top panel. It is however discontinued because GTK+ development is blocking the uniform support for the global menu to the Gtk+ applications.
Users can still use Fildem global menu to get the function in Ubuntu 20.04, Ubuntu 20.10, and Ubuntu 21.04, though it does not work with most Gnome Apps.
NOTE: The Extension is NO longer updated! It won’t work in current Ubuntu 22.04 and higher.
1.) Install Fildem global menu extension.
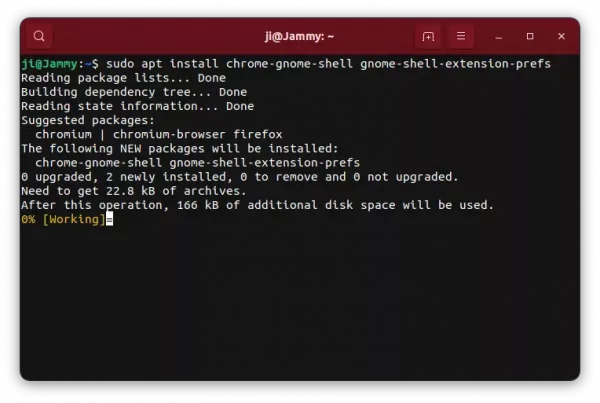
Firstly, open terminal by pressing Ctrl+Alt+T on keyboard. When terminal opens, run commands to install the packages for installing and toggling Gnome Extension:
sudo apt install chrome-gnome-shell gnome-shell-extension-pres

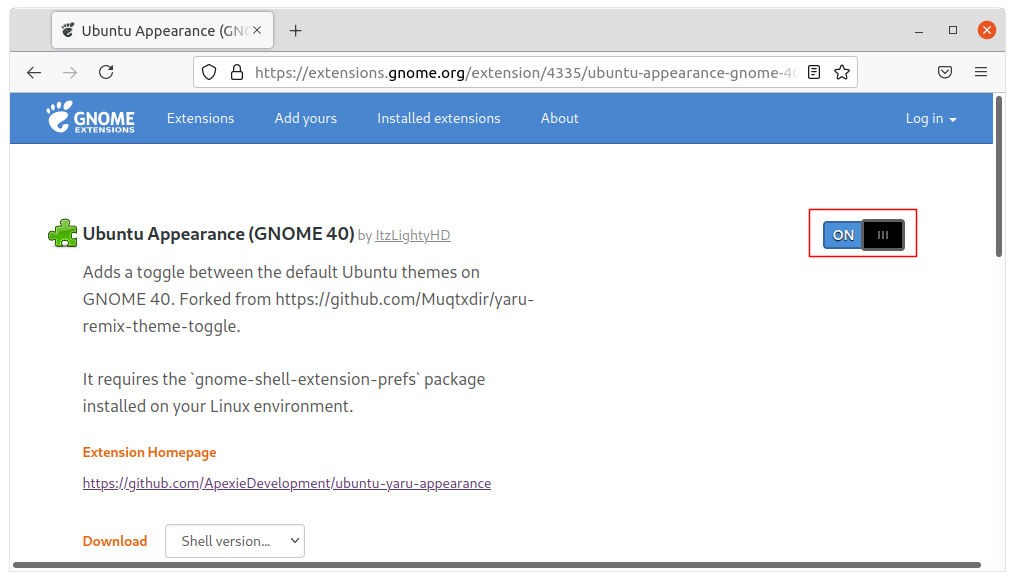
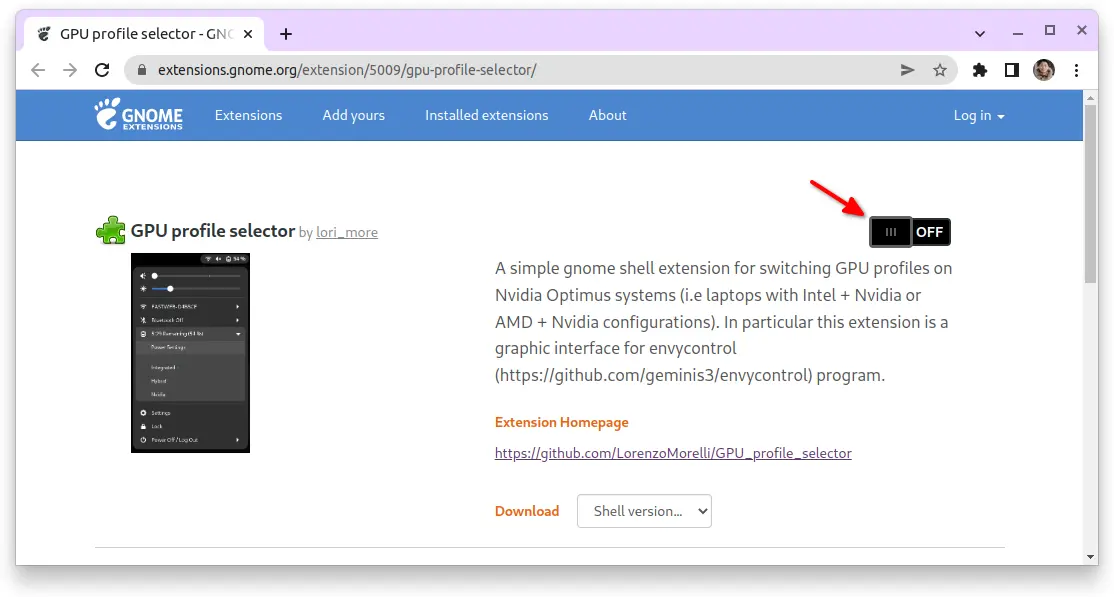
Next, go to extension web page and turn on the slider icon to install it.
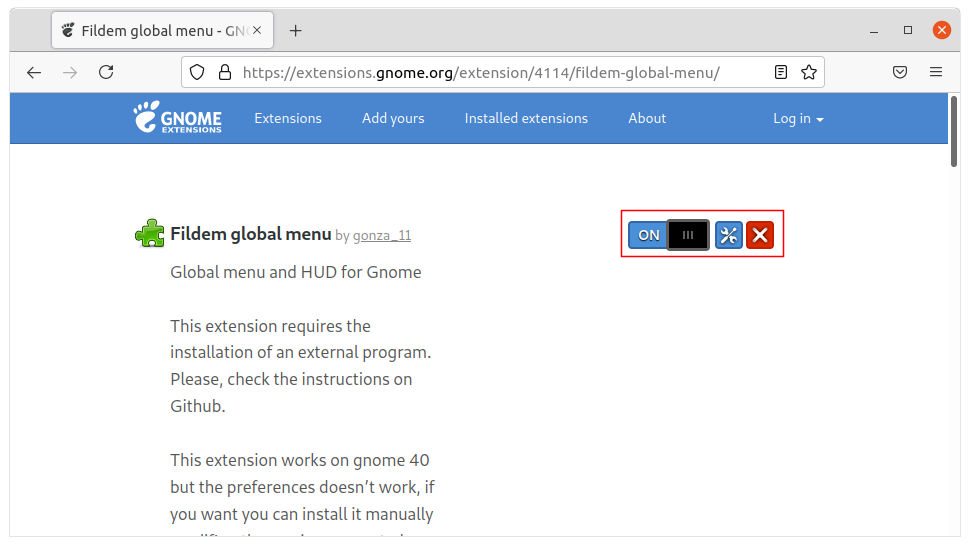
If you don’t see the toggle icon, click the top ‘Click here to install browser extension’ link to install browser extension and refresh the web page.

2.) Install and Configure the External App
To make the function work, you have to install the external app.
a.) Download and double-click to install the “fildem_x.x.x_all.deb” package from the link below:
Or install the package via sudo apt install ~/Downloads/fildem_*_all.deb command.
b.) Open terminal (Ctrl+Alt+T) and run command to edit the .gtkrc-2.0 file.
gedit ~/.gtkrc-2.0
When the file opens, add gtk-modules="appmenu-gtk-module" to the end.

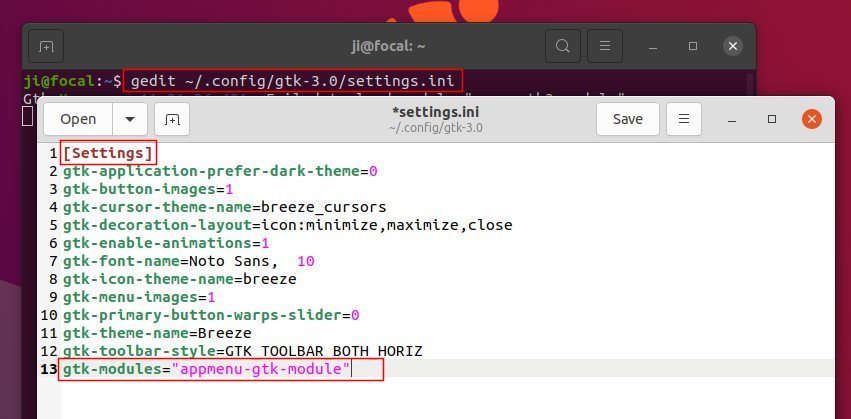
c.) Next edit the .config/gtk-3.0/settings.ini file via command:
gedit ~/.config/gtk-3.0/settings.ini
And also add gtk-modules="appmenu-gtk-module" line to the end. Also, add [Settings] line before it if not exist.
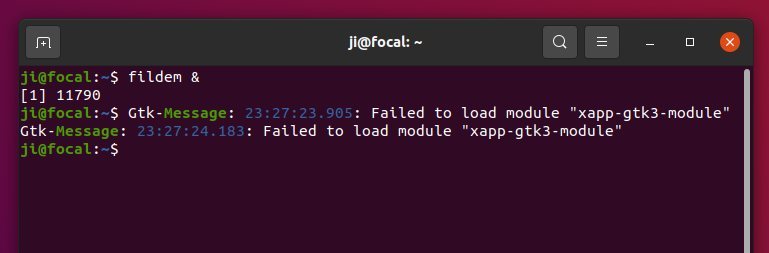
3.) Start Global Menu:
Finally in a terminal window, run command fildem &.
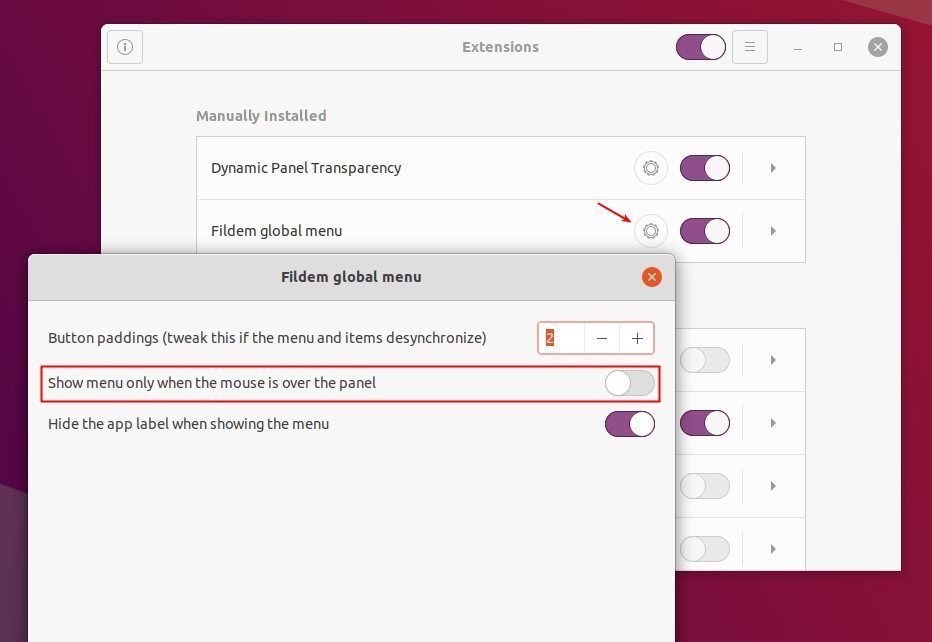
Search for and open Extensions utility. When it opens, click on the gear button to configure the Gnome Extension:
- Toggle off ‘Show menu only when the mouse is over the panel’ option.
- Change the Button padding as you prefer.
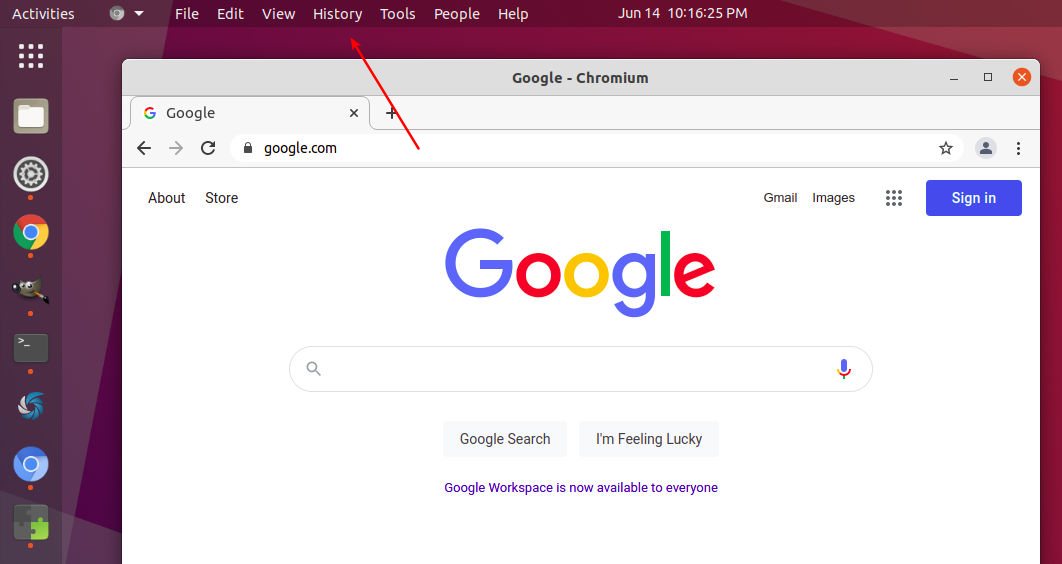
Now global menu should work for apps, e.g., Google Chrome, Chromium, GIMP, Audacious, Shutter, LibreOffice, etc.
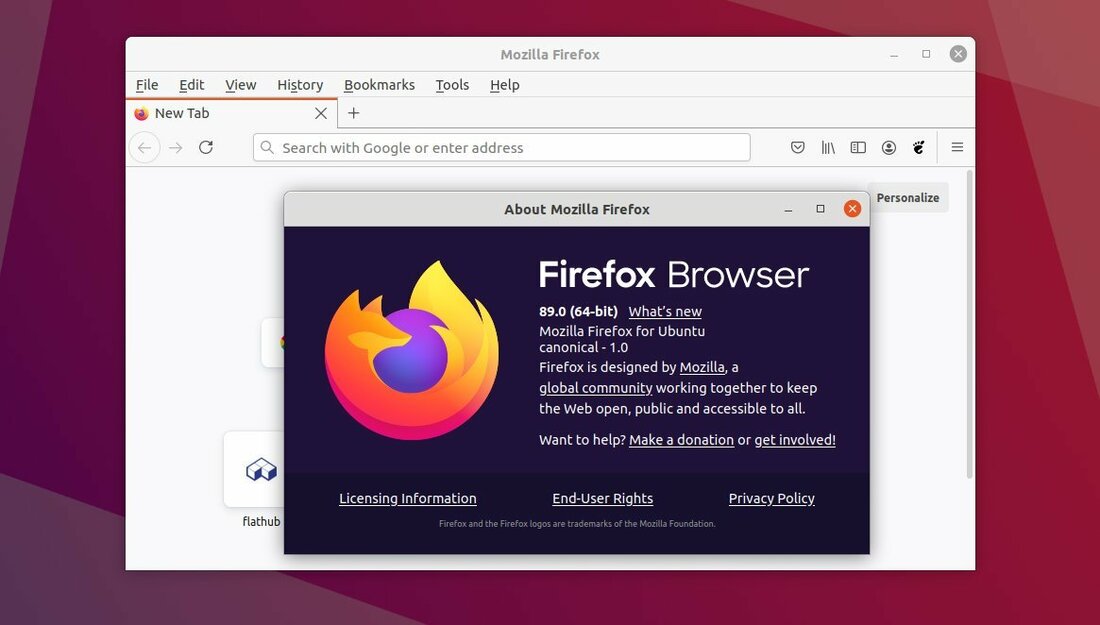
Sadly, most Gnome Apps as well as Firefox does not work with global menu. If you intend to get it work with Firefox, install the one from Ubuntu 18.04 repository (all current Ubuntu releases has the latest Firefox packages).
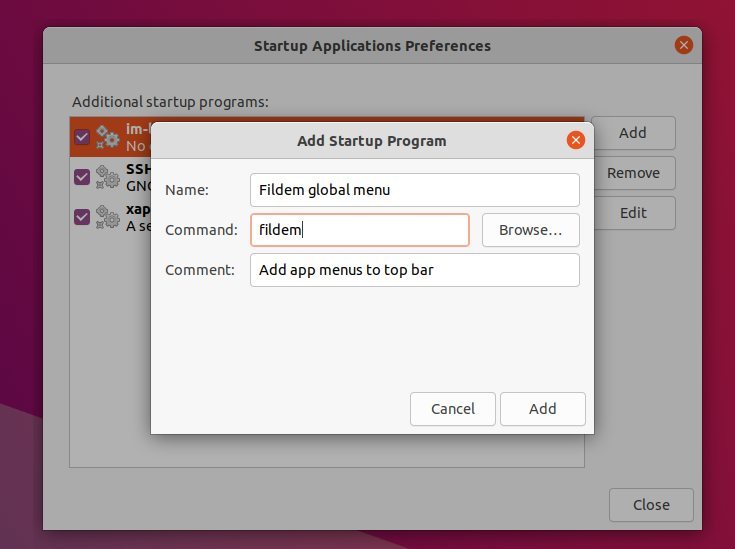
4.) Auto-start Fildem global menu:
To make the function work on startup, search for and open ‘Startup Applications‘ utility. Then click on Add button to add:
- Type fildem in command box.
- Type Name and Comment as you prefer.
How to Remove Fildem global menu:
To remove fildem package, open terminal and run command:
sudo apt remove python3-fildem --autoremove
And remove the extension via Extensions utility.
To remove the auto-start service, just remove which you created in step 4.